Your cart is empty
Tax included and shipping calculated at checkout

Menú de cajones
Tax included and shipping calculated at checkout
A professional account gives you stylist pricing, priority support, early access to new releases, and education developed by working stylists.


A client can feel no pain, see no shedding, and still have an install that's stressing the anchor hair. Tape-ins work by clamping a thin slice of natural hair between two adhesive faces, and that simple sandwich is exactly why section control, removal, and move-up timing matter more than the tape itself.
Two pre-taped wefts clamp a clean, thin slice of natural hair between pressure-sensitive adhesive faces. That is the complete mechanical answer to how do tape ins work. There's no braiding, no stitching, no bead, and no heat required to form the bond, because tape-in attachment uses adhesive-coated flat wefts to sandwich natural hair rather than a sewn track or a keratin point.
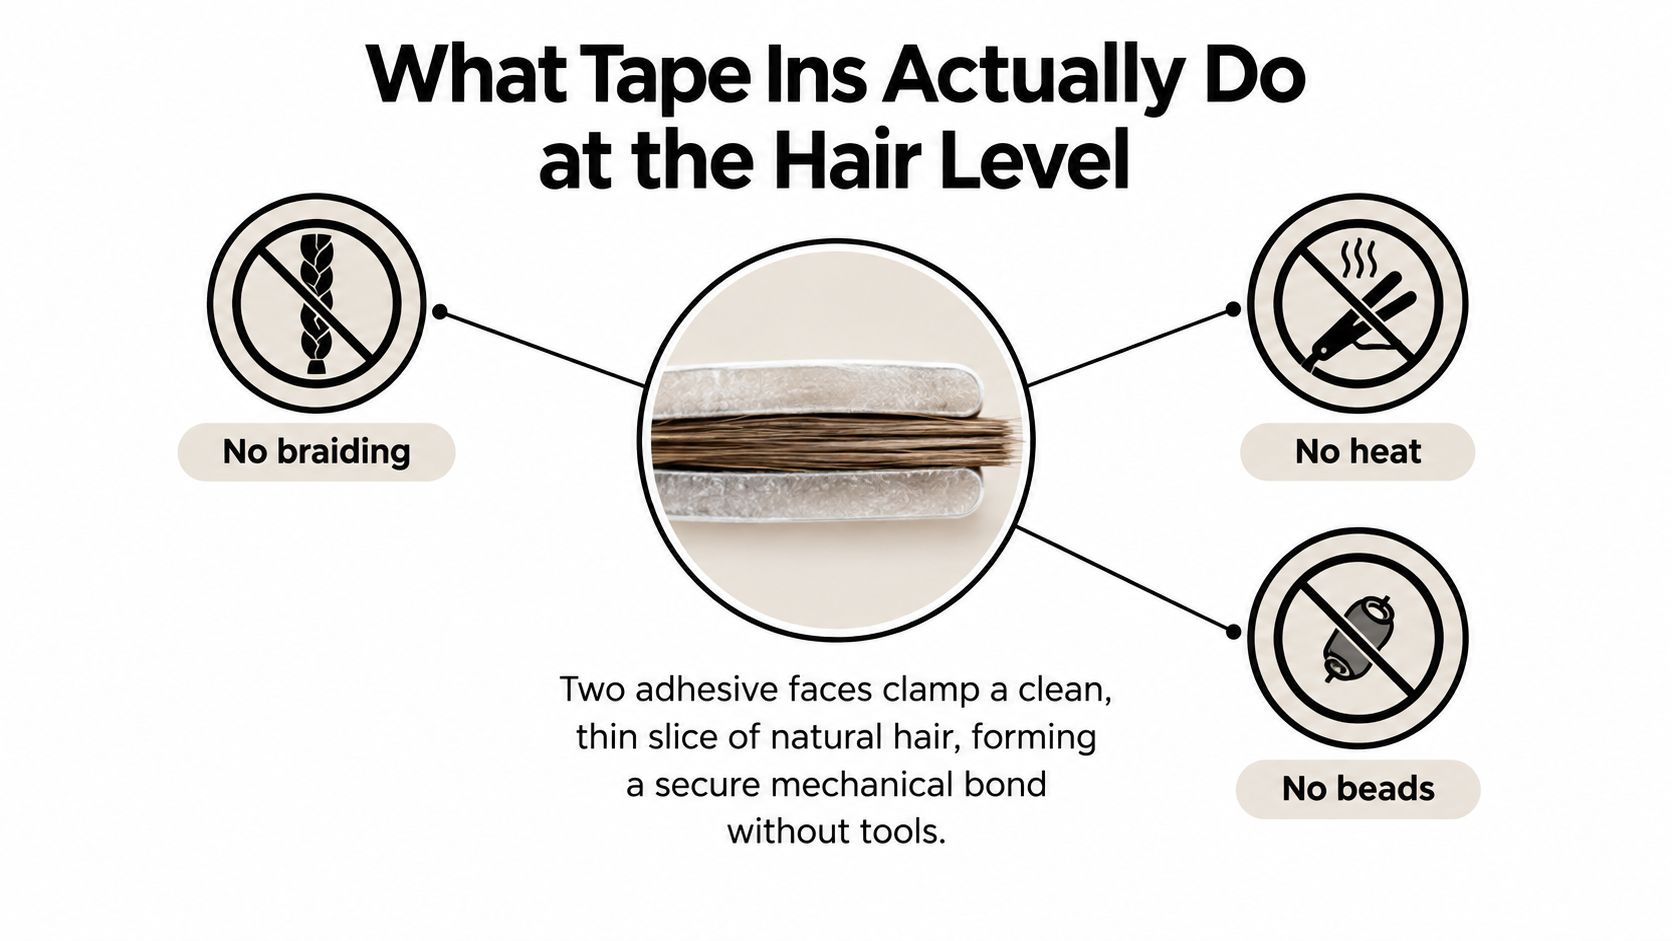
The broad, low-profile attachment zone explains the cosmetic appeal. It lies flat against the head, moves with the client's hair, and doesn't create the raised row or individual bond points a client can feel with other methods. That same flatness is also the load path. Every movement of the added hair transfers through the panel into the limited number of natural hairs captured inside it.
A sewn install anchors weft to a braid or beaded foundation. Microlinks clamp individual strands. Fusion bonds and K-Tips attach strand by strand with keratin. A tape-in install is different in structure, since the natural hair is captured between two tape surfaces rather than attached through a bead, keratin bond, or heat-fusion point.
Working definition: If the extension's mass isn't supported by the hairs inside that tab, the install isn't supported at all.
That distinction drives consultation language. Tape isn't a hair fiber type, a quality grade, or a guarantee of low tension. It's an attachment method, and its safety depends on what the stylist puts inside the sandwich, how long it stays there, and how it's released.
A tape bond doesn't hold because the tab feels sticky in the hand. It holds when a pressure-sensitive adhesive makes intimate, even contact with clean hair and the opposing panel under firm pressure. Contamination breaks that contact before wear time, brushing, or growth ever get a chance to.
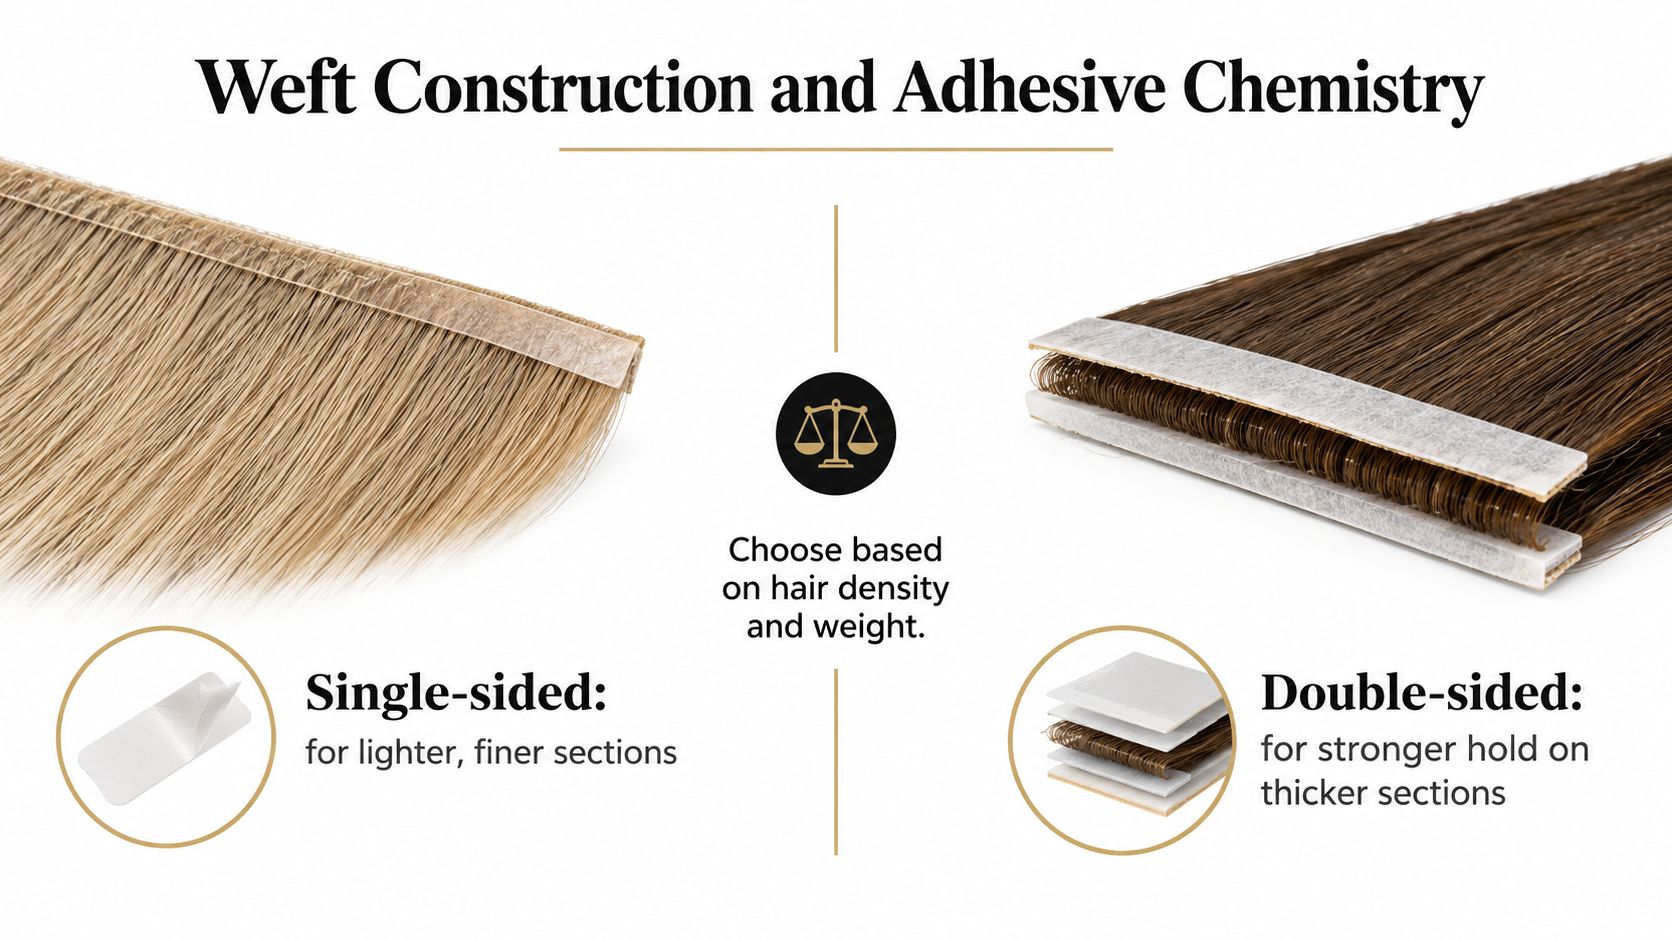
Single-sided application pairs one adhesive panel against a backing tape rather than a second hair panel. It's the lighter option for finer sections, perimeter work, and situations where a full sandwich would put more extension mass on the anchor than the density can justify. The trade-off is less added hair per placement.
A double-sided sandwich uses two hair panels with adhesive faces meeting through the natural slice. It delivers more hair per section and stronger panel to panel contact, provided the slice is thin enough for the adhesive surfaces to meet. Too much natural hair between panels doesn't create a stronger anchor. It blocks contact and leaves a bulky, weak bond.
Evaluate the panel as a manufactured component, not as loose hair with tape attached. Look for a uniform adhesive coat with no dry edges, clean edge integrity on the weft, and hair that stays aligned when combed from the tab downward. Cuticle-intact, Remy alignment matters because misaligned fiber tangles at the panel edge, and that tangling adds mechanical stress during brushing. Double-drawn consistency matters because thin, wispy ends force stylists to add more panels, which adds more anchor points than the design required.
Sebum, silicone, conditioner residue, and oils all compromise adhesion because the adhesive bonds to the contaminant instead of the hair and opposing tape. Alcohol based products near fresh tabs create the same practical problem, premature edge lift that invites more residue under the panel.
Labels such as 6A through 10A don't solve any of this screening. Those grades are supplier marketing with no governing body and no shared test behind them. Measurable criteria carry more weight, including cuticle integrity, alignment, shedding behavior, combability after washing, and whether the tab survives re-taping without fraying.
For a concrete catalog reference, Tape-In Sandy Shore #6/11 Superblend is a 100% human hair adhesive-backed weft panel in a Level 6 to Level 11 multi-tone blend, offered in straight texture in 20, 24, and 28 inch lengths for salon professionals. That specification format is useful because it states method, format, shade family, texture, and length without hiding behind a letter grade.
Clean, dry hair isn't a prep preference. It's the substrate the adhesive has to bond to. Clarify if there's product buildup, dry the hair fully, and work from precise partings so every slice can be inspected before the panel closes.
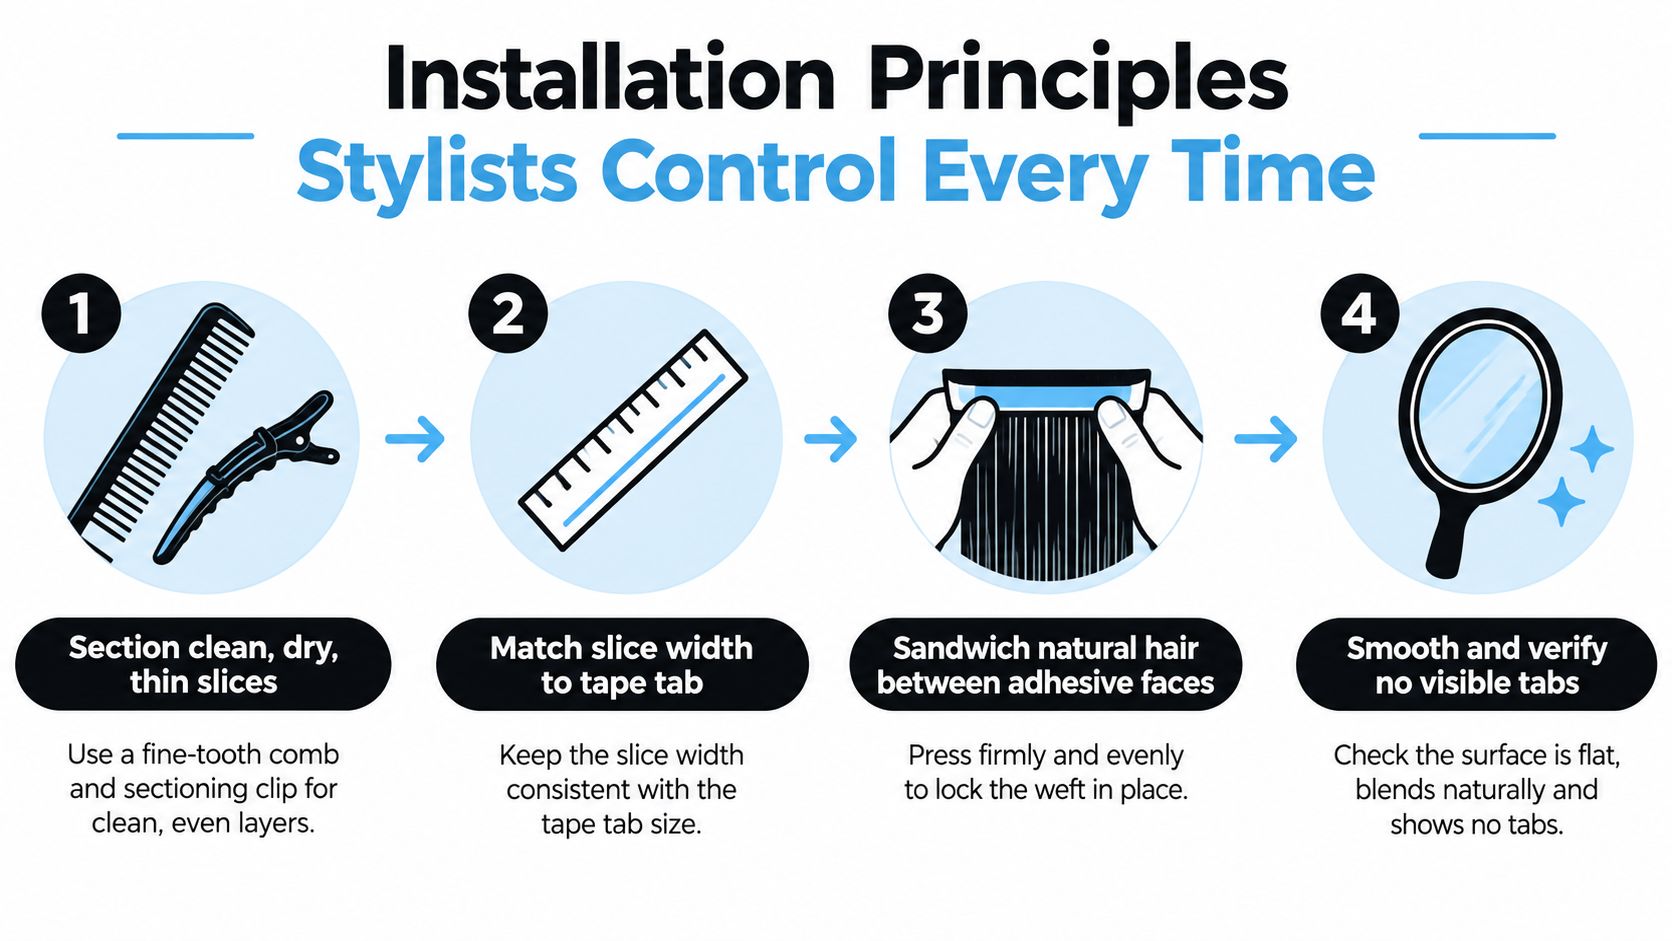
Match the natural slice to the panel width and keep it thin, even, and free of stray hairs crossing into neighboring sections. Professional guidance specifies keeping the attachment approximately 1 cm from the scalp, pressing panels together to eliminate air pockets, and avoiding washing for at least 48 hours after installation so the adhesive can set.
An oversized or thick section prevents full adhesive contact, creates bulk, and distributes extension weight unevenly across the tab. An undersized section does the opposite damage. It concentrates the full panel load on too few natural hairs, and the bond can look perfect while the anchor is overloaded.
Offset from the scalp gives the panel room to move naturally and keeps it out of the heaviest oil migration at the root. Panels placed crooked, folded, or overlapping neighboring hair create localized tension points, visible corners, and early lifting. Cross-check each row before moving up the head, because one rucked panel changes how the row brushes out.
A panel that needs to be repositioned three times during install shouldn't be sealed and hoped for. Replace the tape and reset the section.
The 48 hour cure window in the guidance linked above needs to be stated plainly before the client leaves. No washing, no heavy oils at the root, no aggressive brushing through fresh tabs. Clients who train hard should keep sweat from soaking the root area, dry the roots thoroughly afterward, and avoid tight ponytails that pull directly on fresh panels. That aftercare briefing is part of the install, not an optional handout.
The primary biological concern isn't tape sitting on hair. It's prolonged mechanical load on the hairs and follicles inside the bond. Clinical literature reports a case series of four women who developed multiple patches of alopecia at extension attachment sites, with dermoscopy showing nonscarring alopecia rather than alopecia areata.
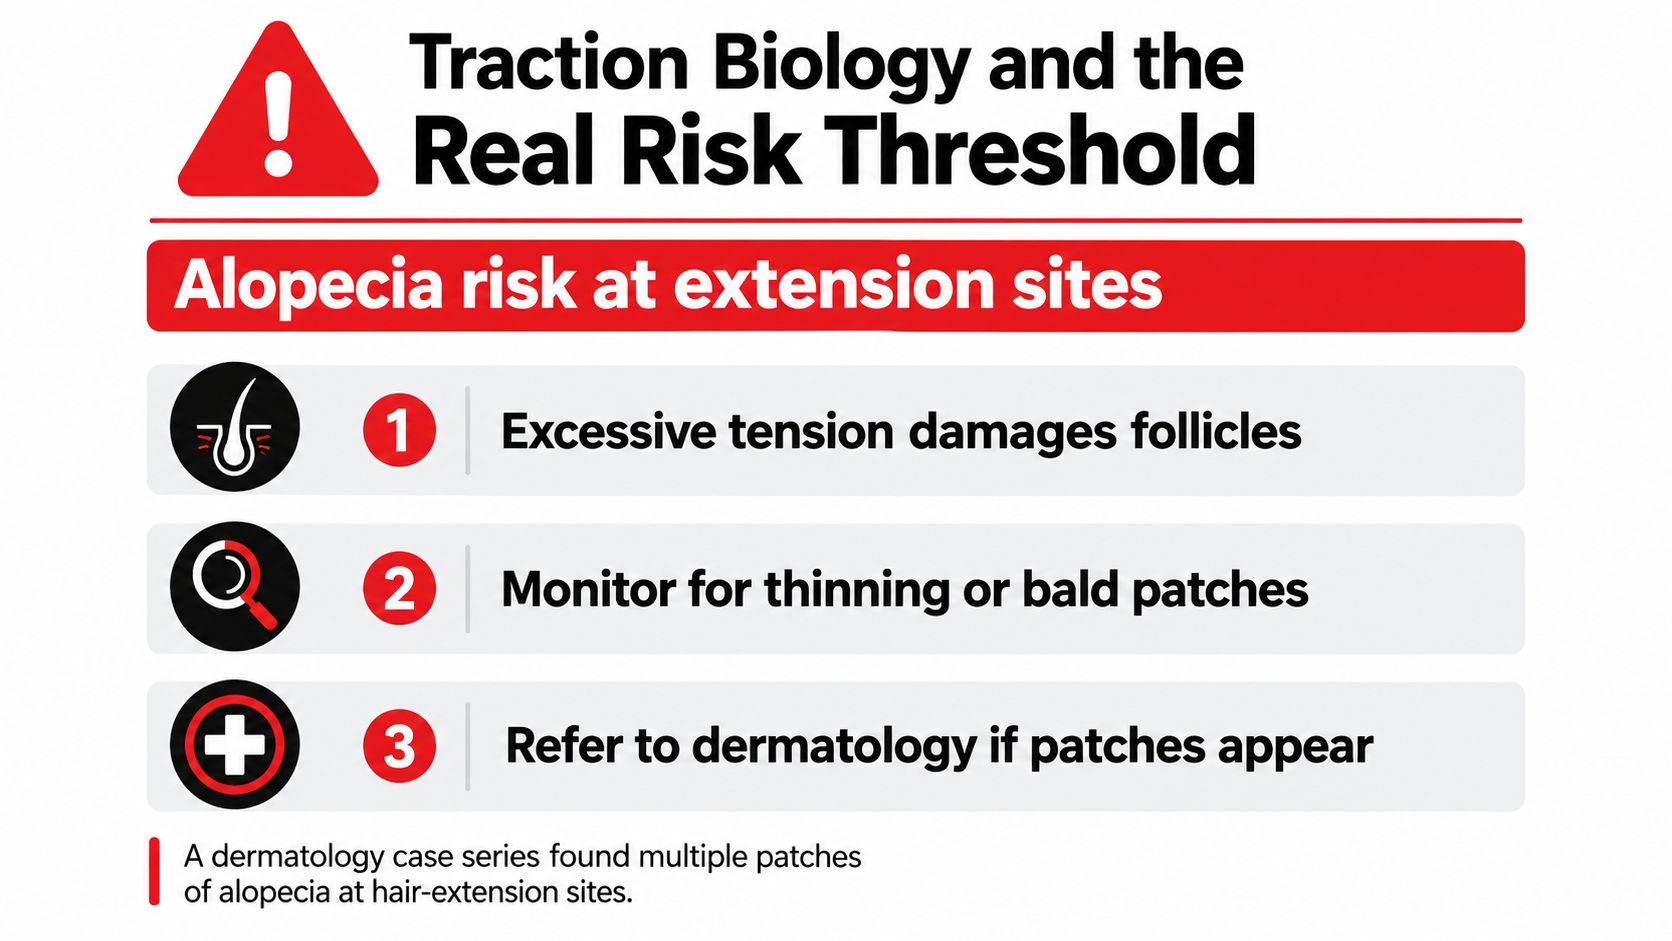
More uncomfortable for routine salon practice, a dermatology study found visible trichoscopic signs of traction alopecia, including broken hairs, in all 12 examined women wearing extensions even though none reported hair loss. Absence of complaint is therefore weak evidence. A stylist who waits for the client to report pain has outsourced screening to the least reliable instrument in the salon.
Risk isn't a binary property of the method. It's the combined effect of section thickness, extension weight relative to anchor density, placement near fragile hairline zones, total wear time before move-up, and removal technique. Change any one variable and the same Tape-In product becomes a different service biologically. Understanding the structure of hair helps frame why the shaft inside a stressed bond breaks before a client notices density change.
Early traction related loss may improve after tension is removed, but prolonged inflammation and repeated pulling can progress to scarring and potentially permanent loss. That progression is exactly why extensions are specifically discouraged for clients with existing traction alopecia. Adding panel load to an already compromised area doesn't camouflage the problem, it accelerates it.
Adhesive chemistry is a separate, less common variable. Dermatology literature documents allergic contact dermatitis associated with acrylates in wig-fixing adhesive tape, which means itching or irritation shouldn't automatically be blamed on tension. The professional response is the same either way. Remove the source, document what was observed, postpone reapplication, and refer out when scalp changes persist. Stylists don't diagnose, and a consultation that pretends otherwise puts both client and license at risk.
No method wins every consultation. Tape-ins earn their place on flatness, install speed, and straightforward move-ups. They give ground on maximum density per session and on clients whose scalp oil, product habits, or training routine constantly attack the adhesive.
| Method | Install Speed | Root Discretion | Density Per Session | Reusability |
|---|---|---|---|---|
| Tape-In | Fast panel placement | Very flat at the root | Moderate, panel dependent | Re-taped at move-up |
| Beaded row | Slower foundation work | Flat row, more root structure | High with Volume Weft | Weft reused across move-ups |
| Microlinks | Slow strand by strand | Small points, flexible movement | Built gradually per strand | Strands can be repositioned |
| Fusion bonds and K-Tip | Slowest detailed placement | Discreet individual bonds | Precise, zone by zone | Limited reuse after removal |
Beaded row work with hand-tied, Thin Weft, or Volume Weft hair suits clients who need substantial density through the back and sides and can maintain row move-ups. Microlinks and K-Tip placements give strand level control around partings and finer perimeter blending, at the cost of chair time and more anchor points to monitor. Fusion bonds offer durable individual placement but make removal and repositioning the most labor intensive part of the lifecycle.
Tape Weft and Tape-In formats, including the professional range from Conde Professional alongside its K-Tip, Clip-In, and Bulk formats, suit fine to medium hair that needs flat, distributed panels and efficient maintenance appointments. A fuller survey of types of hair extension methods is useful background before standardizing a salon menu.
Candid rule: Extremely fine, fragile hair with a traction history is not a tape-in candidate waiting for lighter panels. It's a client who needs a different plan or no extensions.
Heavy root product users and clients who sweat aggressively into the bonds daily will fight adhesive integrity every week. For those clients, a method that doesn't depend on an adhesive face staying clean is the honest recommendation. Selling tape into a lifestyle that dissolves the bond produces slippage complaints, rushed removals, and anchor damage that gets blamed on the product instead of the consultation.
Move-up timing is adhesive integrity management against root growth, contamination, and pulling force. As the attachment migrates away from the scalp, the panel gains swing, brushes catch the tab edge more easily, and root matting starts forming above the bond. A tab that sat flat at install now hangs lower, and every styling pass transfers more force into the anchor hair.
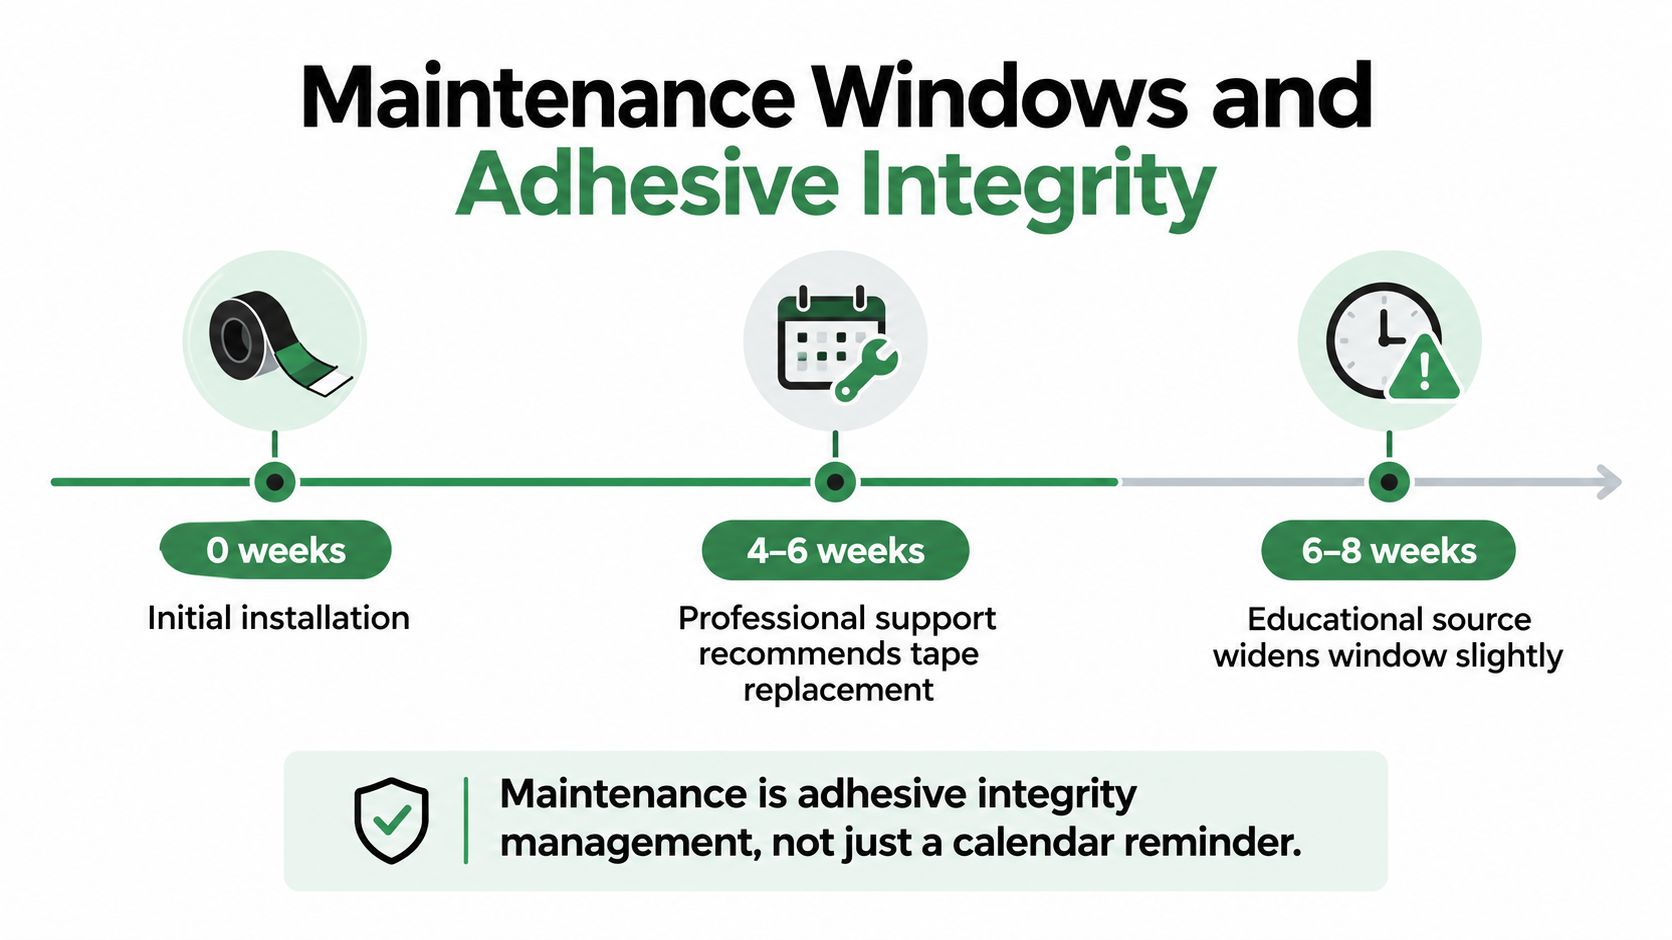
Professional guidance typically specifies tape replacement at approximately 4 to 6 weeks, with some sources giving a broader 4 to 8 week touch-up interval depending on growth rate and bond condition. Growth rate, oil and product exposure, section size, and client compliance move a given client within that range. The interval is a ceiling, not a target. The practical checkpoint is whether migration has compromised control, started tangling at the root, or placed excess pull on the anchor hair.
Three decisions cover most move-up appointments. Re-tape and reinstall on the same sectioning pattern when the anchor hair and scalp look clean and intact. Re-tape after re-sectioning when density has shifted or a previous placement sat too close to a fragile zone. Postpone the service entirely when there's breakage, inflammation, or unexplained thinning, and refer the client for scalp assessment.
That reassessment habit also matches current salon economics, since recent U.S. market reporting found professional extension-product sales rose nearly 3% in 2025 while service revenue declined by just over 5%, with clients stretching replacement cycles and booking more maintenance. Salons that sell the install and neglect the maintenance system are building revenue on the appointment most likely to damage the anchor hair.
A bonded tab isn't pulled apart. It's dissolved, separated, cleaned, and only then evaluated for reapplication. Removal technique is where rushed salons undo careful install work, because force that should go into the adhesive goes into the client's hair shaft instead.
The governing sequence is documented in a professional standard, which specifies saturating adhesive with a bond dissolver, applying firm pressure to break down the bond, and removing all remaining adhesive or silicone residue. That's a usable salon protocol, not tribal knowledge. Product specific guidance on tape-in glue remover selection belongs in the same dispensary conversation.
If a tab needs a hard pull, the removal isn't finished. The solvent step was skipped or rushed.
Post-removal inspection decides what happens next. Check the released hair strand by strand for breakage and short snapped pieces, examine the scalp for inflammation or irritation, and assess residue that may be hiding damage underneath. Distinguish the cause before rebooking. Adhesive residue points to incomplete release, breakage concentrated at the tab line points to overload or rough separation, and scalp changes point to postponing reapplication and referring out.
Documenting that decision protects the client and the stylist. A removal booked as a quick add-on, without inspection time, is a malpractice signal in a working salon.
Pin this above the dispensary and run it before the next tape client sits down.
Screen suppliers with four questions. What evidence supports cuticle integrity and alignment claims. How is double-drawn consistency verified across lengths. How deep is the shade library across Solid, Balayage, Bronde, Highlights, Superblend, Rooted, and Fantasy families, confirmed against a physical color ring rather than a screen. Does the Tape Weft or Tape-In panel survive re-taping cleanly at move-up. Background reading on best professional hair extension brands helps structure that comparison without relying on grade labels.
The concrete next step is operational. Open a professional account with a wholesale-only supplier so shade accuracy, reorder consistency, and education support the full lifecycle, consultation through removal and reassessment, instead of a one-off install.
Tape-In, Tape Weft, Volume Weft, Thin Weft, K-Tip, Clip-In, and Bulk formats are supplied to licensed professionals through Conde Professional, with shade families and color ring support built for consultation level matching. Open a professional account there before the next tape-in consultation so panel selection, re-taping stock, and move-up scheduling run as one lifecycle service.


