Your cart is empty
Tax included and shipping calculated at checkout

Menú de cajones
Tax included and shipping calculated at checkout
A professional account gives you stylist pricing, priority support, early access to new releases, and education developed by working stylists.


"Lightweight" isn't a safety clearance for hair extensions for thinning hair. A low-mass attachment can still create damaging tension if it's placed on miniaturized hair, installed too tight, or left in too long, so screening and zone mapping must come before method selection.
The practical sequence is strict: establish whether thinning is stable and symptom-free, map density by zone, then choose the lightest method the healthy zones can carry. Clients with active, sudden, patchy, or unexplained loss don't get a lighter install. They get a referral, a documented baseline, and a rebooking only when the picture is clear.
Proceed only when thinning is stable, documented, and symptom-free. Anything else means the extension service is deferred. Extensions are cosmetic volume tools, not treatment, and camouflage can hide progression while added tension stresses hair that's already shedding.
The scale of the issue doesn't justify shortcuts. The American Academy of Dermatology statistics page identifies hereditary hair loss as the most common cause of hair loss worldwide and estimates that it affects approximately 30 million women in the United States. Female pattern hair loss is the most common cause of patterned thinning in women, but a widening part doesn't prove heredity. Hormonal change, thyroid disease, anemia, nutritional deficiency, medication, illness, stress, and chemical damage can also produce diffuse shedding.
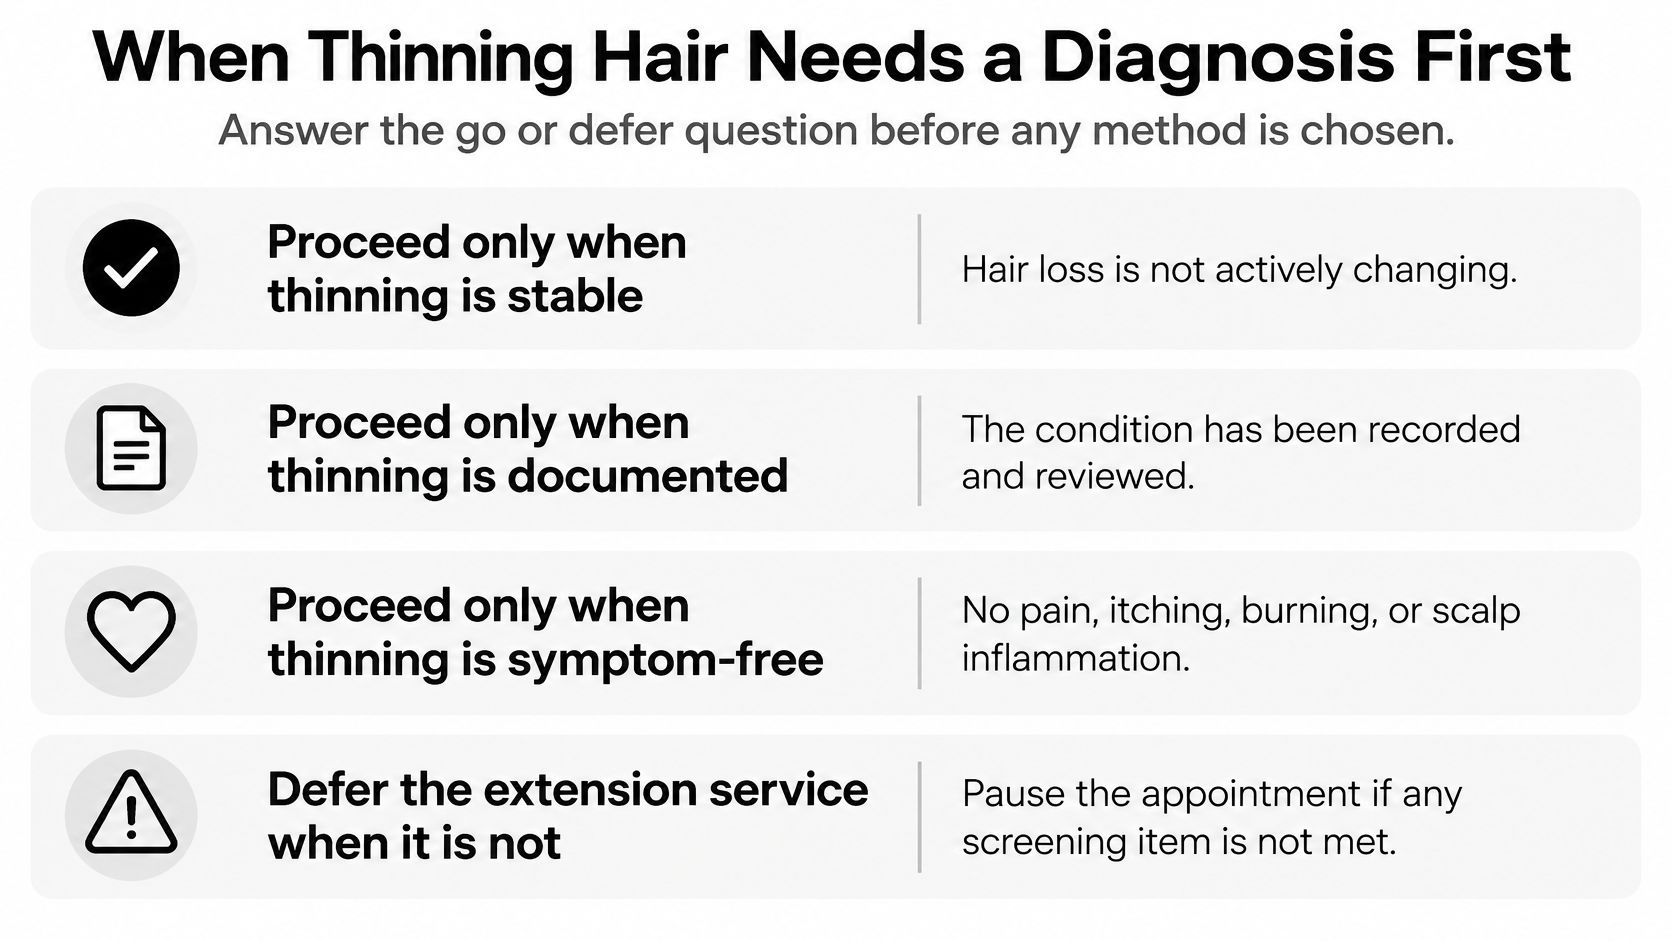
| Finding at consultation | Decision |
|---|---|
| Stable, documented, symptom-free thinning | Proceed with baseline record |
| Rapid or unexplained shedding | Defer and refer |
| Widening central part or patchy, bald areas | Defer and refer |
| Scalp pain, burning, itching, redness or scaling | Defer and refer |
| Broken hairs at the crown or part | Defer and reassess native hair first |
A structured hair extensions consultation records onset, progression, symptoms, recent chemical processing, and medication volunteered by the client. Baseline photographs capture the crown, part, temples, hairline, and nape before any product is ordered. That record protects the stylist at maintenance because change can be compared against dated evidence rather than memory.
Referral is a professional boundary, not a lost sale. Clients comparing medical pathways can also review hair restoration options in Bel Air from ProMD Health Bel Air while seeking appropriate evaluation. Once loss is diagnosed and stable, cosmetic fullness can be planned without presenting extensions as a remedy.
Zone mapping turns a general impression of thinness into placement instructions. Density at the occipital region tells a stylist nothing reliable about the temples, crown, or frontal perimeter. Each zone gets its own grade, and attachment decisions follow the weakest relevant finding, not the strongest area on the head.
The reason is mechanical, not cosmetic. The American Academy of Dermatology guidance on hairstyles that pull identifies extensions and weaves, particularly when tight, as recognized causes of traction alopecia. Repeated tensile loading can initially produce nonscarring loss and may progress to scarring and permanent loss. Pain, stinging, crusting, or visible tension at an attachment point is therefore a stop signal, not normal settling.
A zone that fails the audit receives no attachment, even when that zone would produce the fullness the client requested.
Use extension placement planning only after exclusions are mapped. A clever pattern cannot compensate for an unsuitable foundation. If the remaining healthy zones can't support a believable result, the honest answer is fewer attachments, a removable option on sound hair, or no extension service.
The right method is the lightest attachment that delivers the required fullness from healthy carrier hair. Method loyalty has no place in the decision, and the method choice starts only after screening and zone mapping have ruled out active or unexplained loss. Low tension is a measurable decision: attachment count, section size, distance from fragile margins, and the mass each section must carry all decide whether a method stays on the table. A review of types of hair extension methods helps only when each option is judged against that completed map.
| Method | Attachment | Mass per section | Fits thinning hair when | Avoid when |
|---|---|---|---|---|
| Volume Weft | Sewn to bead row or hand-tied weft | Highest, dense panels | Native hair in the zone is dense and healthy | Fragile or miniaturized zones, active shedding |
| Thin Weft | Sewn to a lighter foundation | Lower than Volume Weft | Fullness is spread across more healthy sections | Foundation would sit on a weakened hairline or temples |
| Tape Weft | Tape adhesive to native hair | Low to moderate | Native hair at the tape zone is intact and well grown | Adhesive would sit on scalp or inflamed skin |
| Tape-In | Tape sandwich at the root | Low to moderate | Small, evenly spaced sections in healthy hair | Native hair breaks at the tape or the client reports tension |
| K-Tip | Keratin bond on native hair | Low per bond | Few bonds on sections with strong, intact shafts, easy to rotate | Bonds would cluster on fine or short native hair |
| Bulk | Loose Remy bundles, attached by the chosen method | Set by the installer | Filling sparse interior areas with light sections | Heavy bundles on a fragile perimeter or temples |
| Clip-In | Removable clips, no permanent bond | Low to moderate, removed nightly | Client needs nightly removal and zone rotation | Clips grip weakened or breaking hair |
Volume Weft carries the most mass per inch, so it is usually the wrong first choice for fine areas. Thin Weft and Tape Weft reduce mass per section and permit broader distribution. Tape-In and K-Tip depend entirely on native hair quality at each attachment. Clip-In allows removal and rotation, yet a clip on weakened hair is still a mechanical load. Bulk consists of loose Remy bundles, so installer judgment determines actual exposure.
A product page such as Tape-In Butter Cream #7/8/12 Balayage belongs in the Tape-In row. Its sandwich application can suit fine-to-medium carrier hair, and the shade still has to be checked against the root zone map before the attachment earns a place in the plan.
The method earns its place only when the mapped healthy zone can carry it and still leave margin for safe removal.
Color, length, and weight decisions affect both blend and mechanical load. Work in a fixed order: root match first, manageable length second, total suspended mass third. Reversing that order often leads to extra hair being added to correct contrast that better shade selection could have solved.
Match at the root and mid-length; ends alone reveal too little. Thin areas expose scalp contrast, and a flat extension shade can make the native root look even sparser. Solid shades run from Level 1 to Level 12 for single-tone matches, while dimensional work draws from Solid, Balayage, Bronde, Highlights, Superblend, Rooted, and Fantasy. Rooted shades deserve particular attention where the native root is thin and the attachment sits close to the scalp, because a softer root transition hides a hard color break. A disciplined color matching process for hair extensions checks the match in daylight and salon lighting before install.
Every added inch increases strain at the attachment. Conde Professional lengths include 18", 20", 22", 24", 26", and 28", and availability doesn't make the longest option suitable. Fine carrier hair usually supports a more conservative length and a controlled density target. If healthy zones can't carry the requested length, shorten the plan rather than concentrating more mass to create the illusion of strength.
Gram tolerance varies with hair diameter, density, chemical history, and attachment pattern, so no single maximum load applies to every client. Keep weight decisions qualitative unless a supplier provides a batch-specific figure in writing. Ask for batch weight, then choose the lightest option that meets the volume target from healthy zones.
Grade warning: 6A through 10A labels are supplier marketing with no governing body. Cuticle integrity, alignment, shedding, combability, and wash durability are measurable criteria.
Double-drawn hair also needs judgment. Uniform fullness through the ends can look excellent, yet dense ends increase the visual and physical difference between extension hair and fine native hair. Cutting and internal weight removal improve blend. An overloaded foundation stays unsafe either way.
A low-tension install is assembled through decisions at every attachment, not achieved by naming a method "gentle." Section size, direction, spacing, adhesive placement, and final tension checks determine whether hair extensions for thinning hair remain cosmetic camouflage or become another source of mechanical stress.
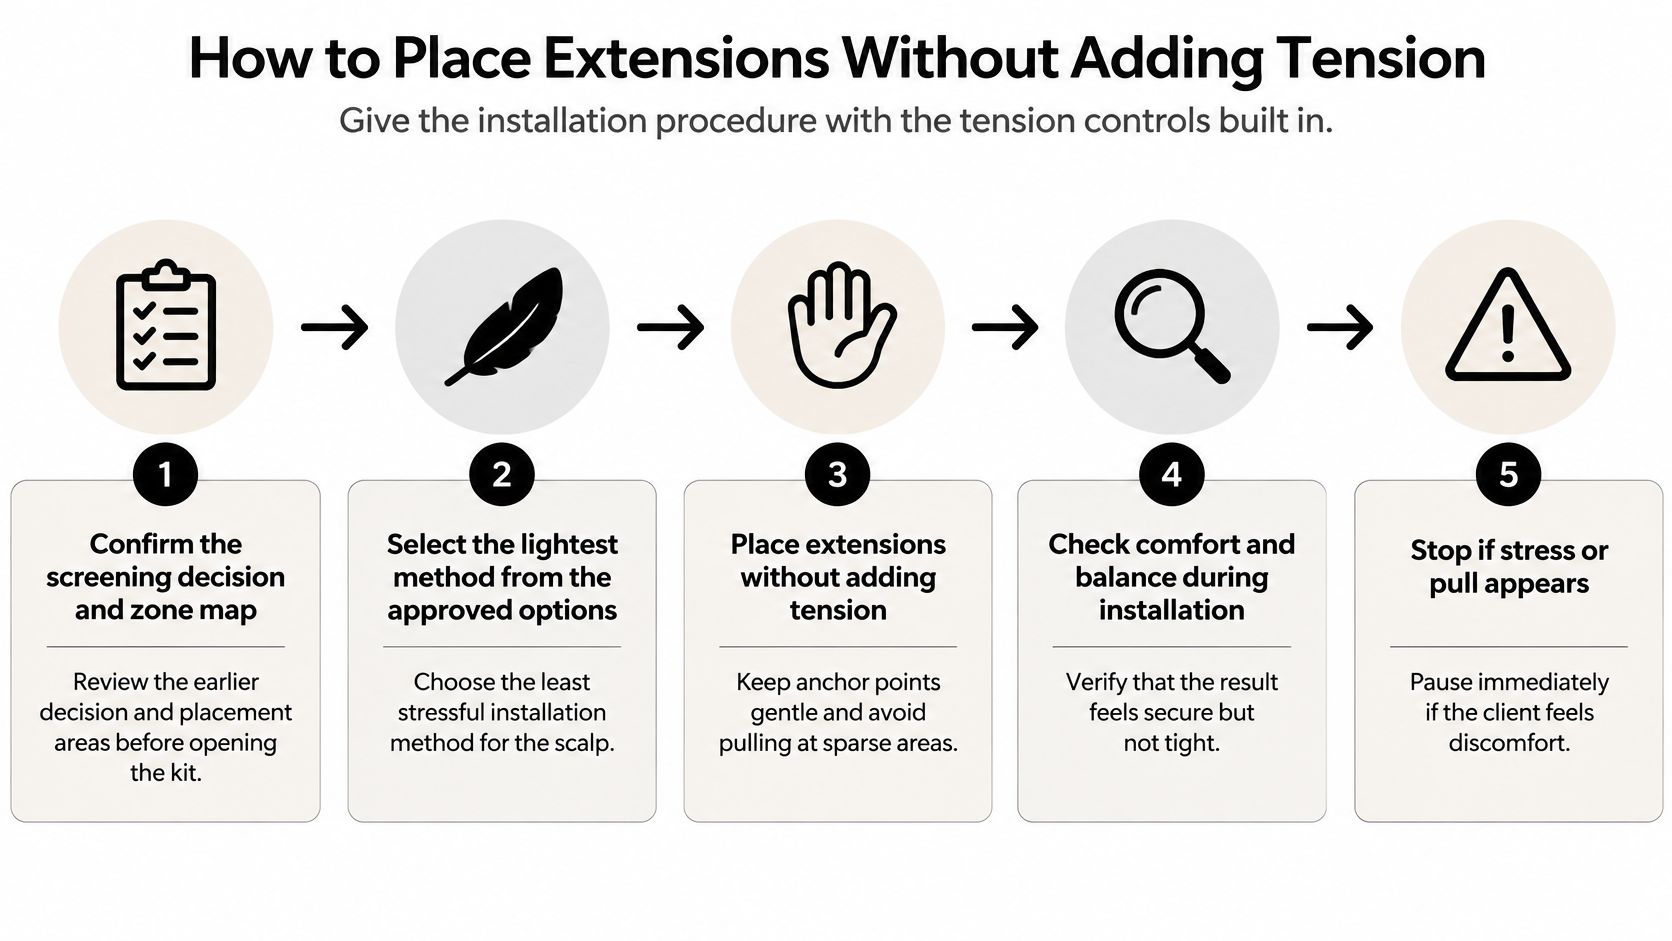
The finished result should feel tension-free immediately, move freely, and permit gentle brushing without a focal pull. Visible scalp tenting, redness around attachments, or short broken hairs at bonds are objective reasons to stop and reduce load.
Finish with documentation: attachment count, placement zones, method, length, client sensations, and visible bond condition. Those details make the move-up an assessment rather than an automatic reinstall. They also prevent a later stylist from repeating a placement pattern that already produced symptoms.
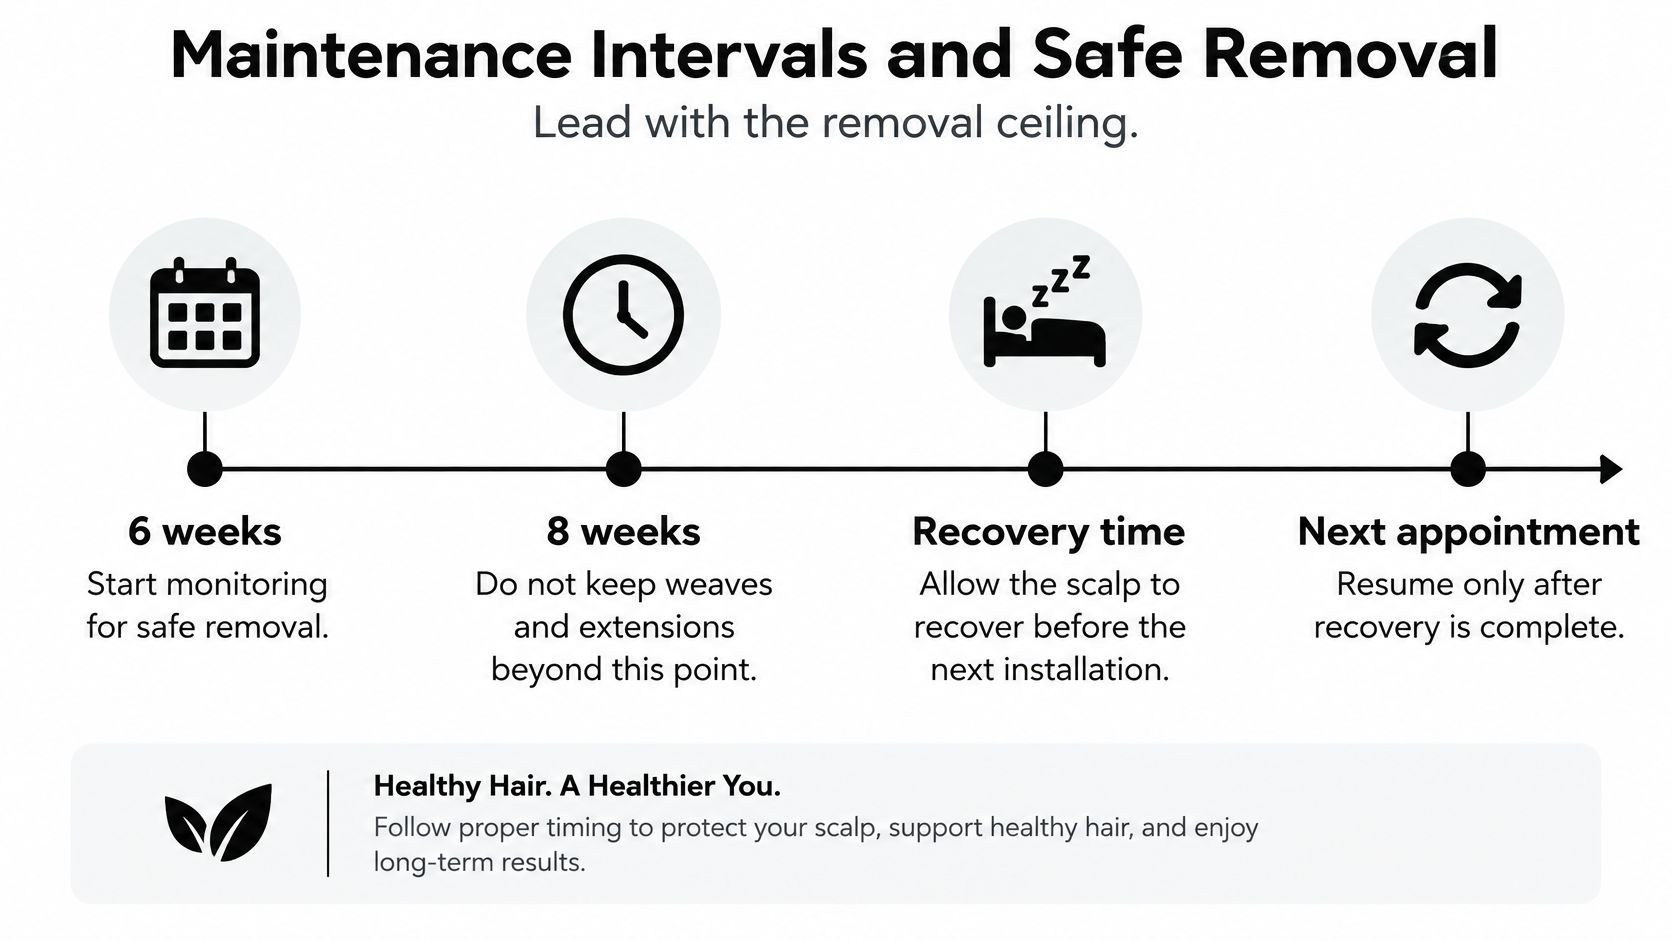
Treat roughly six to eight weeks as the removal ceiling. The American Academy of Dermatology guidance on preventing damage from weaves and extensions recommends removing weaves and extensions within that window and allowing recovery time. A manufacturer wear claim doesn't override that risk-control interval.
| Checkpoint | What to inspect | Action if positive |
|---|---|---|
| Install (baseline) | Zone density photos, bond alignment, attachment security | Record the baseline; reduce load if any zone fails the audit |
| Maintenance visit | Scalp, perimeter, broken hairs at bonds, parts | Reduce load or remove; never reinstall tighter |
| Client report between visits | Itching, slipping attachments, tangling at the root | Book an earlier inspection and pause wear |
| Removal, at or before roughly six to eight weeks | Bond release, breakage, density versus baseline | Document post-removal density; allow recovery before the next placement |
| Any visit | Patchy, sudden or progressive loss | Stop the service and refer for medical evaluation |
At maintenance, inspect the scalp and perimeter under strong light, compare parts with baseline photographs, and look for perifollicular redness or broken hairs concentrated at bonds. Several weeks of new growth changes how each attachment sits, so check for bonds that have slipped, rotated, or started matting where the root has grown out. Any positive finding leads to the same response: reduce the load or remove the hair. The answer is never a tighter move-up.
Removal should be slow and controlled, with adhesive or bonds fully released before separation. Pulling through resistance can shear fine strands that survived the wear period. Work in small sections, release each attachment completely, and stop if a bond resists. After removal, photograph the same zones, record density and symptoms, rotate future placement where feasible, and allow recovery before another install. Ongoing or progressive loss requires medical evaluation before camouflage resumes.
Supplier information should support a placement decision, not replace screening. Once the zone map identifies usable carrier hair, written product details help the stylist narrow method, shade, texture, and length without relying on grade labels or generalized comfort claims.
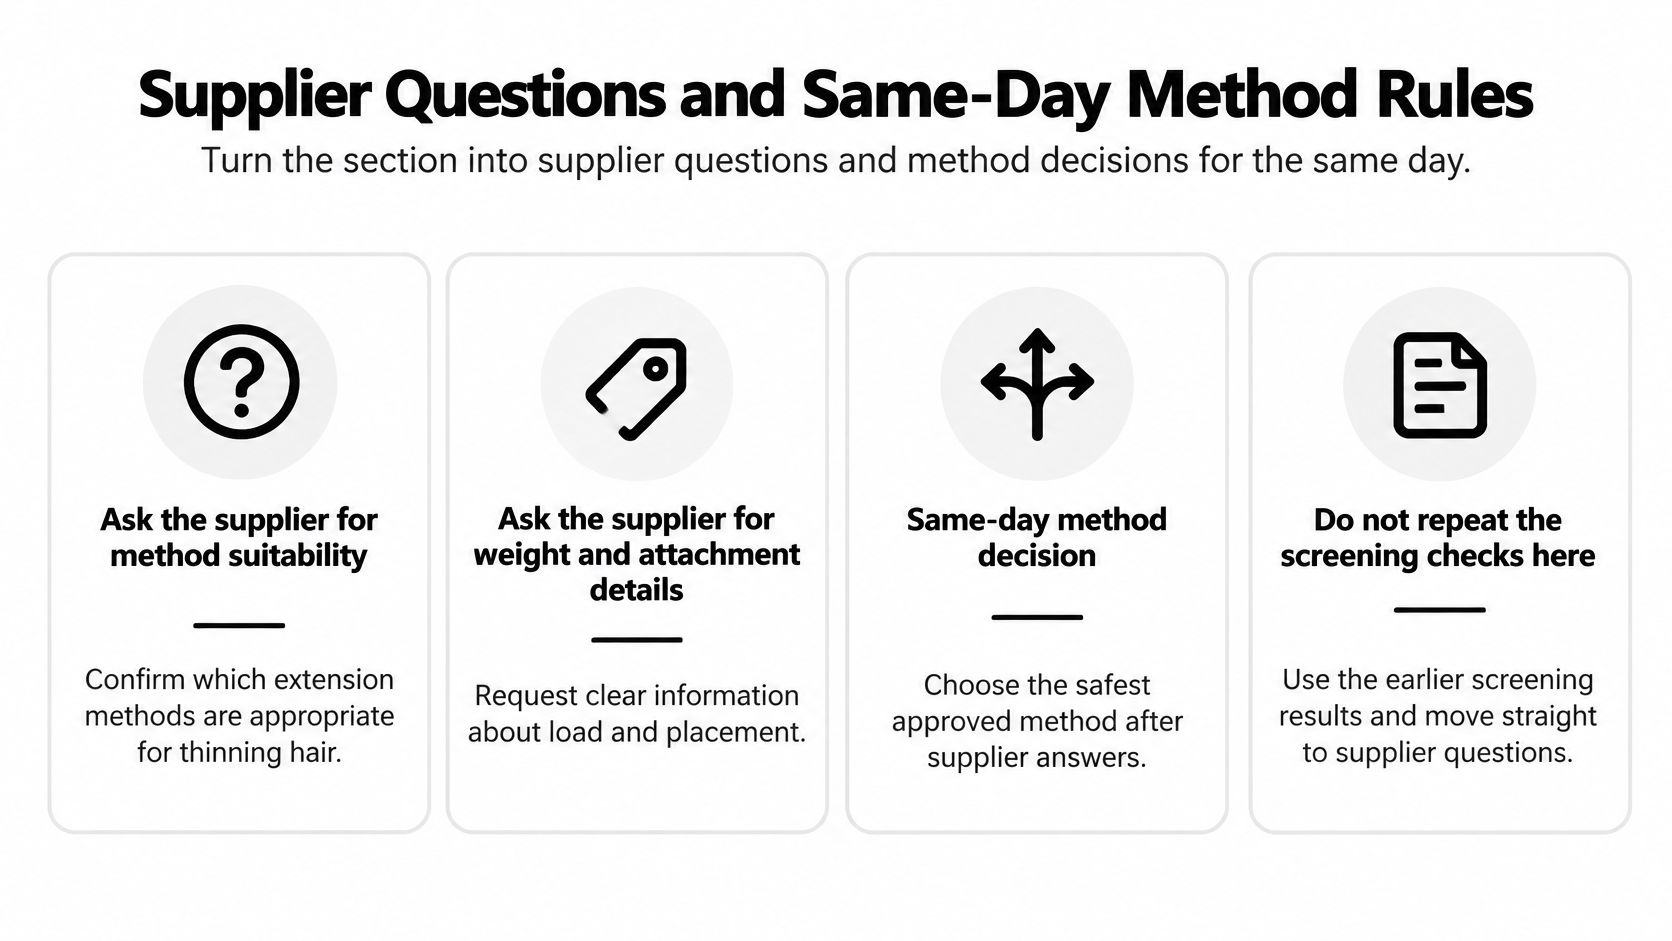
At Conde Professional, every batch is checked for weight, color accuracy, and strand strength, and hair that falls short stays at the facility. Its wholesale human hair extensions information can be reviewed against those questions before a professional order is placed.
That final note converts good intentions into an auditable salon protocol. It also keeps future ordering tied to carrier-zone capacity rather than before-and-after volume alone.
A supplier account does its best work before the order exists. Set yours up ahead of the next thinning-hair fitting so the consultation record drives what you buy. Conde's team answers by text, phone, or email with real-time product selection and shade guidance, so a question about a Rooted blend or weft weight gets resolved while the zone map is still in front of you.
Bring the record to that conversation. Share the lengths and textures on your shortlist within the 18 to 28 inch range, the shade family you are weighing, and the carrier zones cleared for attachment. If the volume the client wants would force bonds or wefts into excluded areas, shrink the order or defer it entirely. The safety boundary holds; the order adjusts.
I'd also use the education side before checkout. Method guides and color matching support exist for exactly this kind of judgment call, and a second pass on method choice costs nothing compared with removing a bad install from fragile hair.
On the next thinning-hair consultation, work the screening table from the diagnosis section first, finish the zone map, and file baseline photographs before methods enter the discussion. The order goes in only after that record is complete. Assessment leads; purchase follows.
Conde Professional supplies licensed stylists with Volume Weft, Thin Weft, Tape Weft, Tape-In, K-Tip, Bulk, and Clip-In options, plus stylist education that supports disciplined selection for fragile carrier hair. Open a professional account, complete the screening and zone map for the next fitting, then order against that record at Conde Professional.


