Your cart is empty
Tax included and shipping calculated at checkout

Menú de cajones
Tax included and shipping calculated at checkout
A professional account gives you stylist pricing, priority support, early access to new releases, and education developed by working stylists.
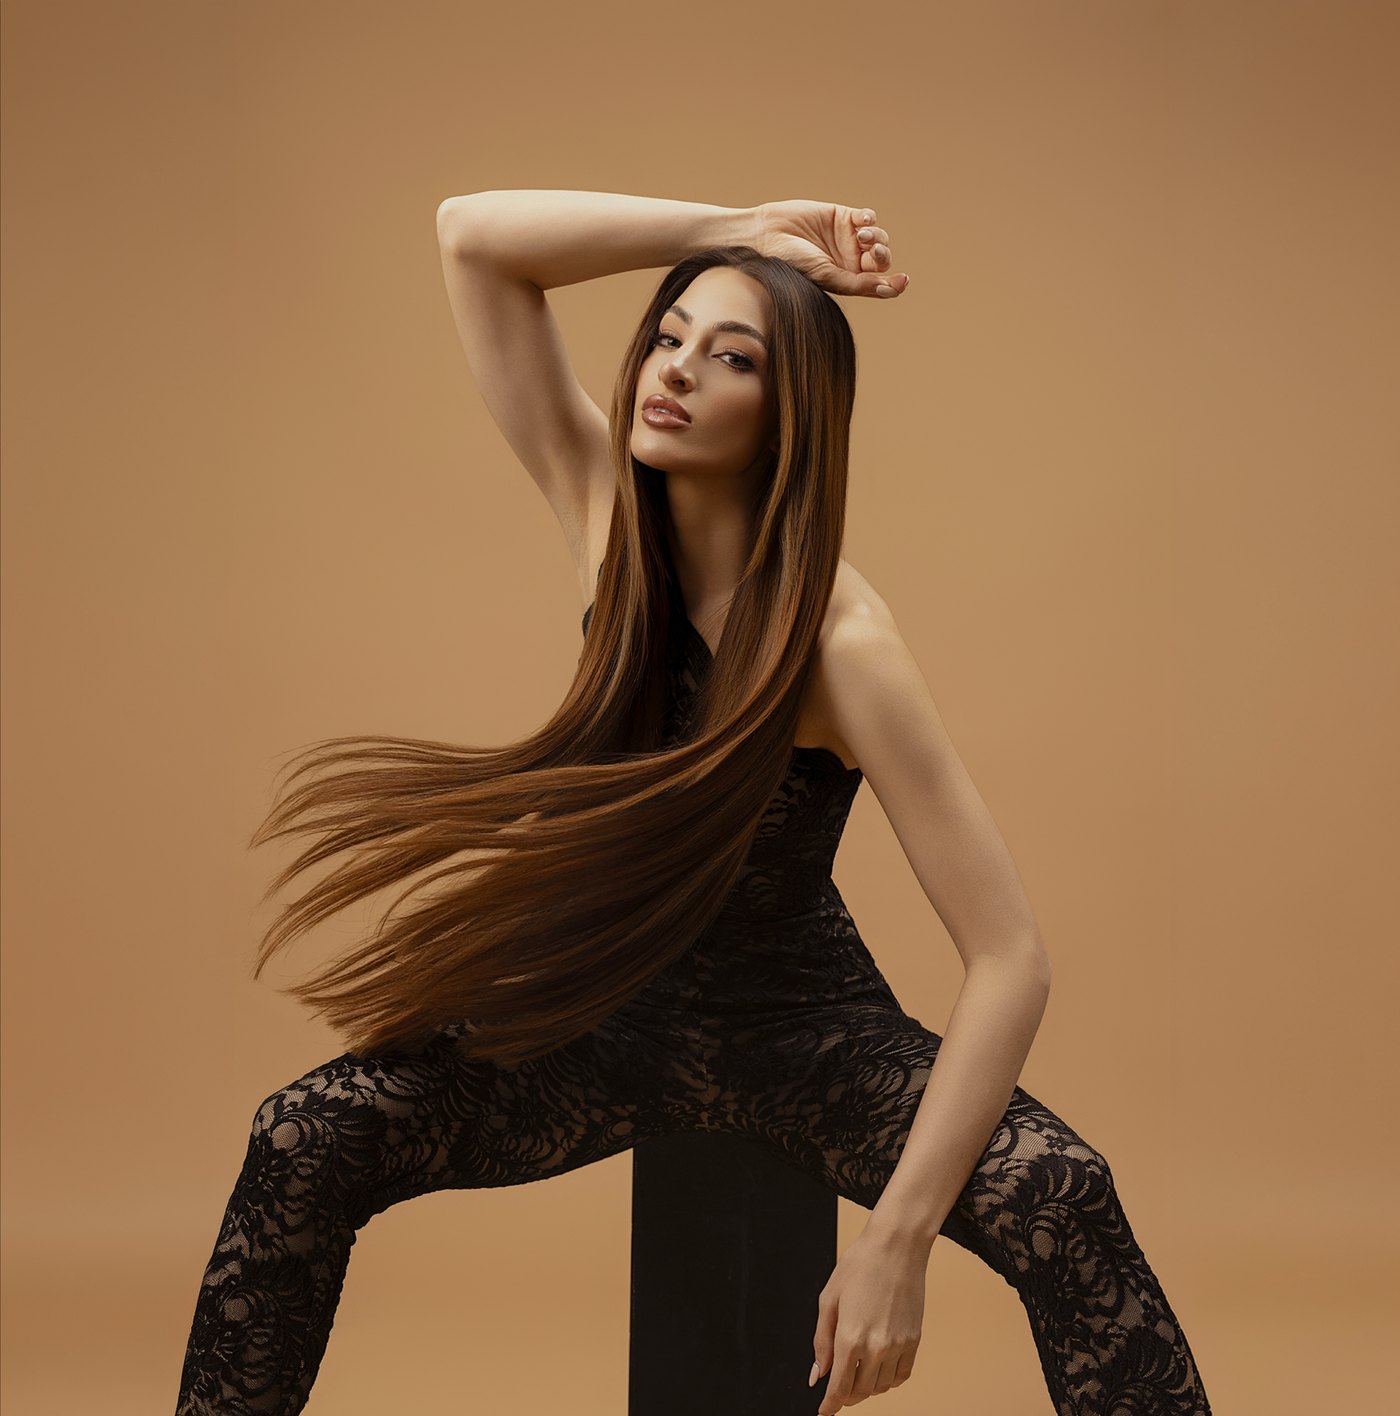

The safest ombre on extensions may require no lightener on the extensions at all: controlled bleaching tests found rapid changes in hair porosity before a dramatic visual change appeared, according to a hair porosity study. The professional starting point is to decide where the color should happen and whether that fiber can tolerate it, then choose the method and placement.
A convincing gradient isn't enough. The finished install also has to comb cleanly, move without exposing a dark shelf, and survive maintenance without another corrective bleach service.
The shade family follows the client's natural root; the method follows lift tolerance and movement. Choosing an attachment first and forcing the color to fit it creates unnecessary corrective work.
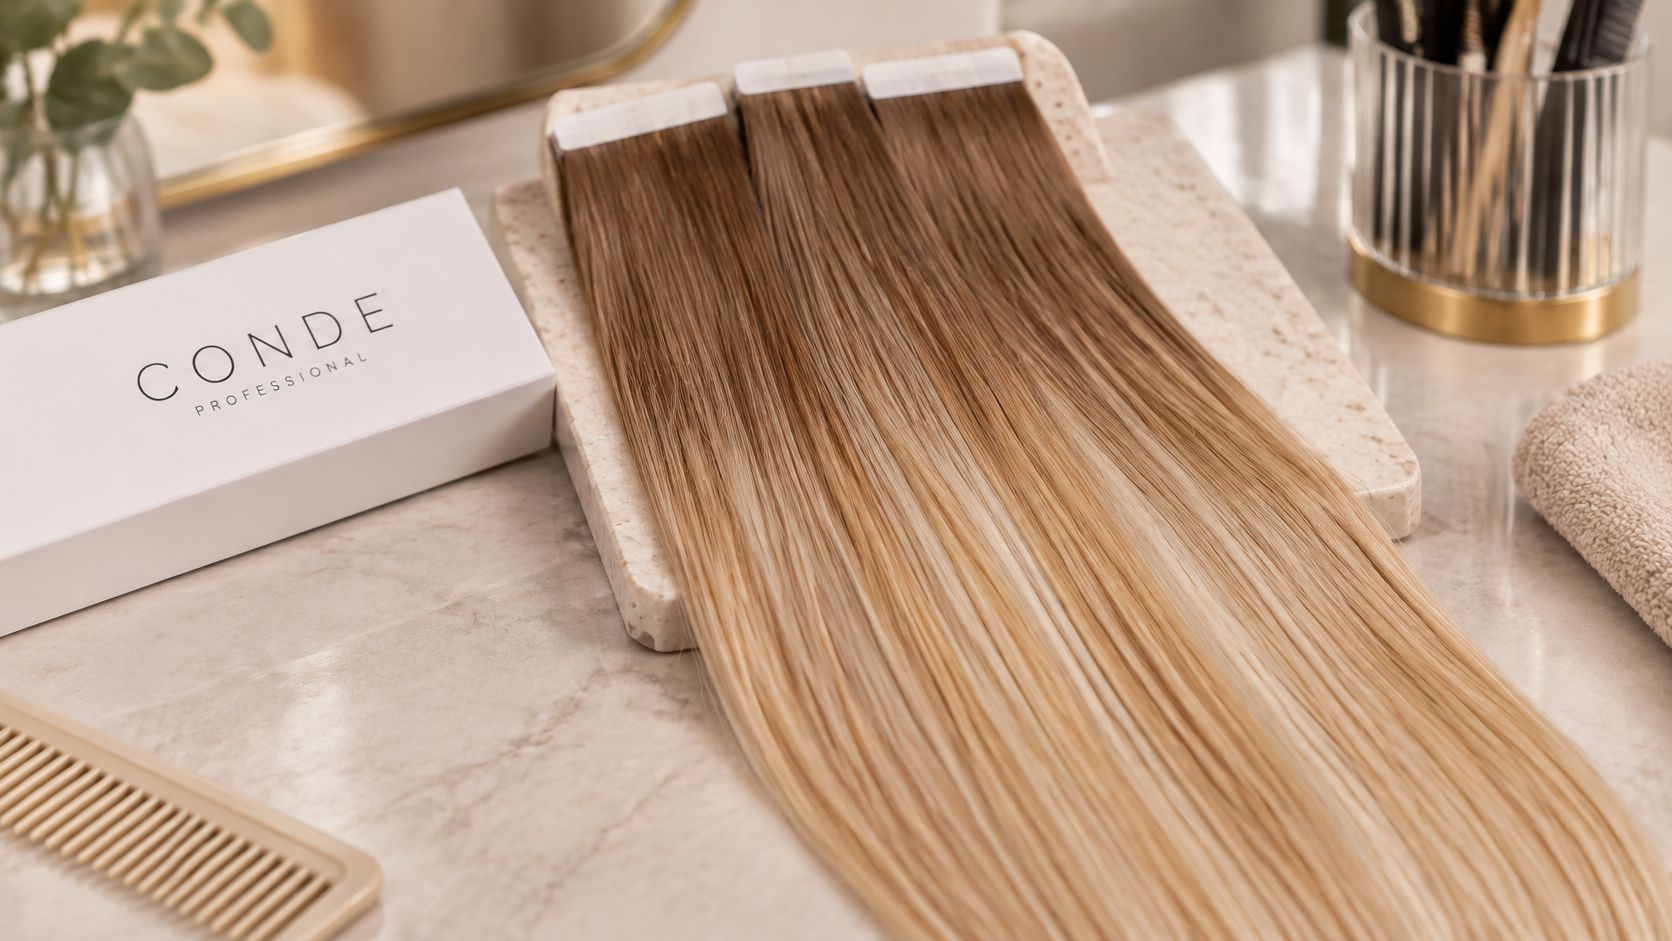
Solid hair extensions come in single numbered tones from Level 1 to Level 12, so a solid ombre requires deliberately pairing levels rather than expecting a gradient within one shade. Rooted shades carry a built-in shadow. The Rooted Volume Weft options include Espresso to Platinum #6/11.1, Iced Beige #7.1/10.13, and Platinum Glow #8.1/12.01.
| Method | Shade families that suit an ombre | Ombre fit | Main trade-off |
|---|---|---|---|
| Tape-In | Balayage, Highlights, Rooted | Strong for panel-based gradients | Adhesive zone must stay chemically untouched |
| Tape Weft | Balayage, Bronde, Rooted | Strong for wide, even gradients | Shelf shows at the weft line on fine hair |
| Clip-In | Solid, Level 1 to 12 across the Solid range, Balayage | Good for trials and events | Gradient sits low and holds less reliably at the nape |
| Volume Weft | Rooted, Balayage, Solid | Strong for dramatic volume and dimension | Dense panel is heavier, and the sew-in line shows if the root is off |
| Thin Weft | Solid, Balayage, Bronde | Good for fine or lighter density | Less body to hide the transition |
| K-Tip | Solid, Balayage, Highlights, Rooted | Good for longer-wear plans with cluster placement | Bonds must stay out of the lightener path |
| Bulk | Any shade, built strand by strand | Most control, least predictable | Labor-intensive; the stylist engineers the whole gradient |
Balayage supplies a multi-tonal gradient blend. Highlights suit brighter, face-framing dimension, but scattered brightness doesn't automatically create an ombre. Bronde can bridge a brunette base into lighter lengths without forcing a stark two-tone result.
Bulk consists of loose Remy human hair bundles. That gives the stylist control over the gradient, but also responsibility for the entire build, making it the least predictable choice for a first ombre.
A dense Volume Weft is the wrong choice if the client's cover hair can't conceal the seam and root transition. Thin Weft offers less bulk, but also less internal density to disguise a mismatched shade.
Clip-In suits a trial or event install, not a promise that the same gradient will sit identically after every reapplication. K-Tip permits selective placement around layers, although individual fusion bonds add attachment-level work.
The consultation should include a professional color-matching assessment, with shade availability confirmed by family and level through Conde Professional's color team before commitment.
Selection rule: Pick the shade family from the root and the method from the lift tolerance and movement the hair needs to carry.
A perfectly matched ombre isn't always the safest result. Lifting premium extensions after installation is the highest-risk working choice because the stylist must manage vulnerable fiber beside attachments and the client's natural hair.
Hair-science literature describes reduced tensile and breaking strength after bleaching, progressive loss of fatigue resistance with repeated processing, and less cuticle damage with a specialized remover than with harsher removal approaches, as documented in the hair-extension damage study. Removal therefore belongs in the color decision, not just the maintenance conversation.
The consultation needs the starting level of both the natural base and extension, porosity, prior lightening, attachment method, and maintenance tolerance. A cuticle-intact or double-drawn description doesn't establish that a bundle can tolerate additional lift.
On a rinsed test strand, roughness, swelling, uneven wet combing, excessive elasticity, or rapid toner grab are stop signs. The bundle needs reassessment, a different color strategy, or replacement, not a stronger formula.
A practical understanding of hair structure helps separate a cosmetic mismatch from a fiber problem.
| Situation | Lowest-risk intervention | Why it holds |
|---|---|---|
| Natural base is close to target and extensions are factory-shaded | Keep the extension shade and adjust the natural hair with a gloss | No lift lands near the attachment zone |
| Client has prior lightening on mid-lengths or ends | Pre-tone or use deposit-only color, with no further lift | Porosity is already raised |
| Fine density, short layers, or textured hair | Choose Rooted or Balayage over a two-tone ombre | Less visible shelf as the hair moves |
| Extensions must go lighter than factory shade | Source a lighter shade or lift an off-head, tested panel | The attachment zone stays chemically clean |
| Strand test shows roughness, swelling, or rapid toner grab | Stop; rework or replace the bundle | The fiber is already compromised |
| Client wants dramatic two-tone color with heavy styling | Accept a softer blend or shorter gradient | Less corrective work when maintenance tolerance is low |
A gloss on the natural hair isn't automatically appropriate either. Existing color, condition, and the intended tonal shift still determine whether that intervention makes sense.
The question isn't whether extensions can be bleached. It's which intervention carries the lowest total risk across the natural hair, extension fiber, installation, and removal.
An extension ombre needs a repeatable off-head workflow, not a full-set experiment. Developer strength should follow the lift target demonstrated by the test strand, not the shade chart alone.
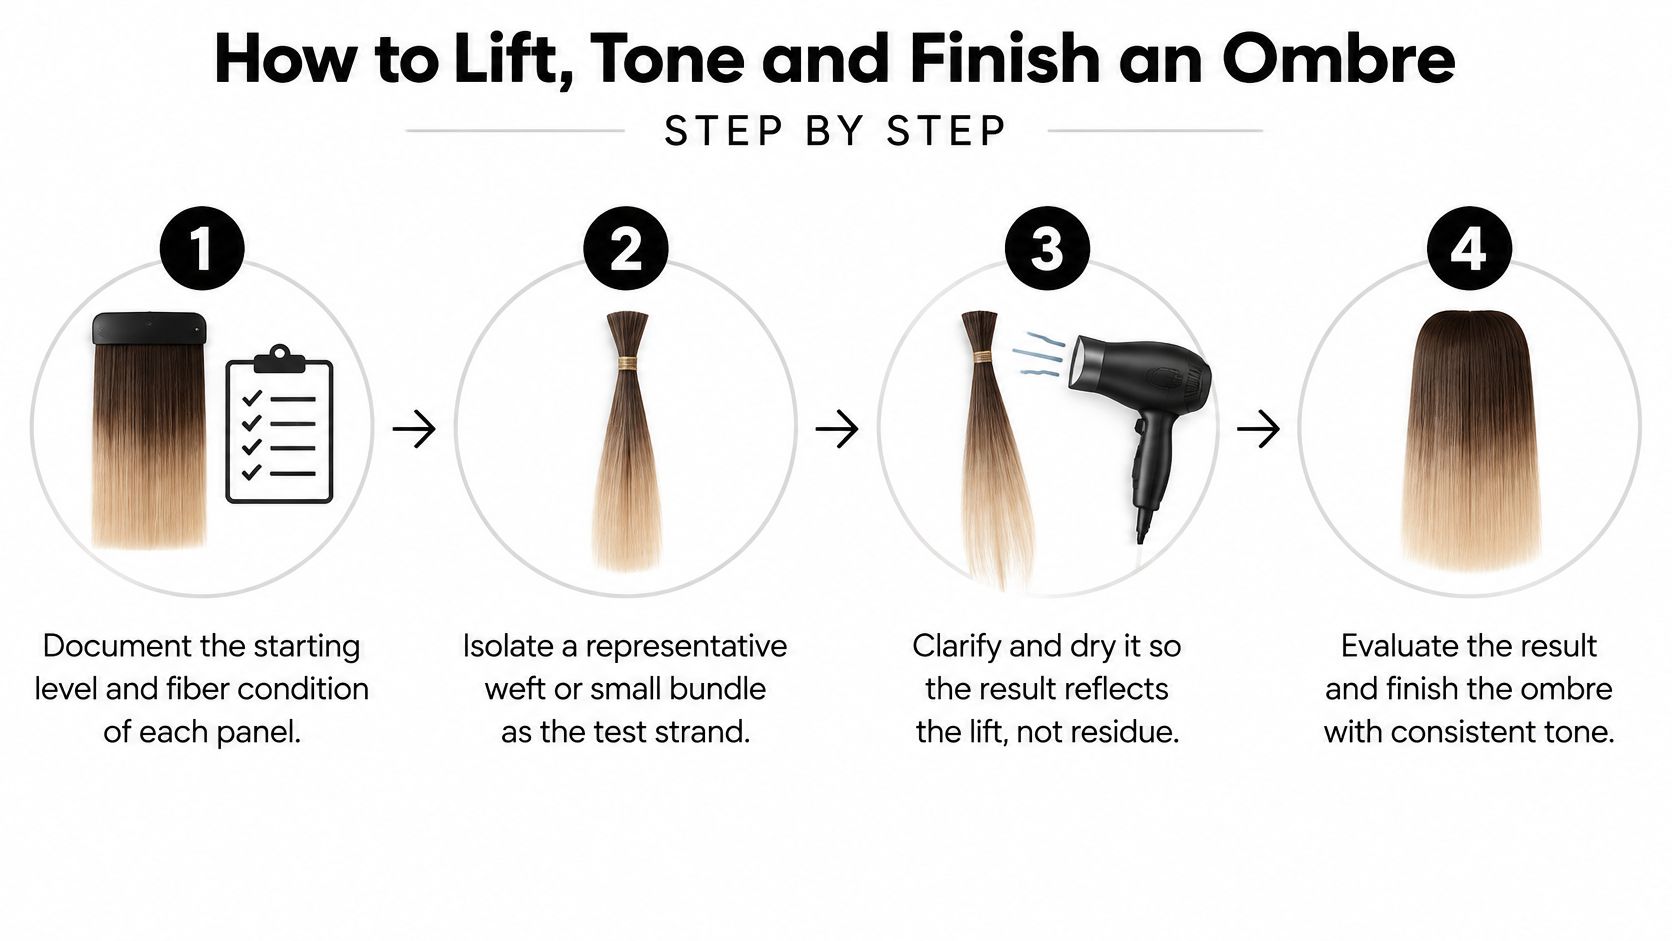
Failure point one is the hard application line. Feathering belongs in the wet application, with controlled upward strokes and no drag into the protected root area.
Failure point two is chasing a paler end through extra passes. Previously lightened sections shouldn't receive overlapping bleach just because the adjacent mid-length remains warmer.
For the full-set service, the test result must translate into the same section thickness, saturation, and timing control. A formula that works on a small bundle isn't permission to coat every panel at once if application time becomes inconsistent.
The service record should identify the panel, formula, mix ratio, exposure time, toner, and finish. Conde Professional's extension-coloring guidance can support the service protocol, but the retained test strand and recorded result establish what worked on that hair.
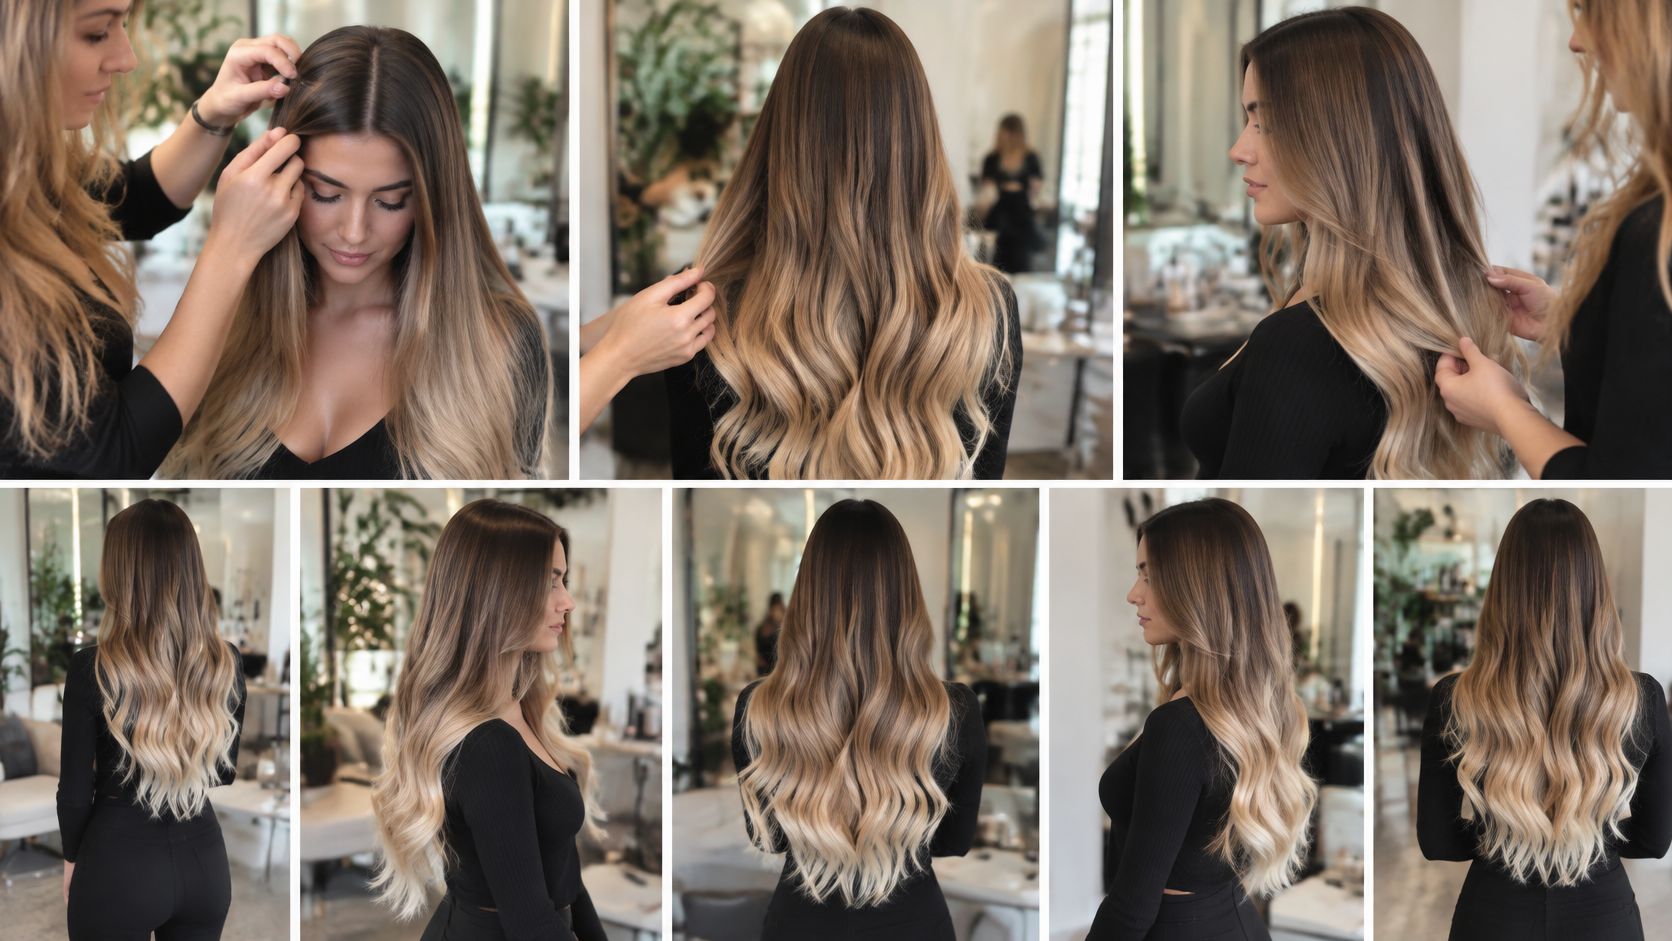
Judge the transition in motion, not only in the front-facing consultation. A gradient that photographs cleanly can expose a shelf as soon as the client turns or changes the part. Placement also decides where the color work happens: the row chosen for the darkest panel sets the depth the fiber must lift from, so confirm the hair can tolerate that exposure before the install goes in.
Check the blend with the hair down, parted, curled and straightened, from the back and sides as well as the front. A parting that looked balanced at the mirror can split the gradient into two disconnected halves once the client wears it differently.
Tape panels need their top row concealed beneath natural hair. Wide Tape Weft placement demands particular attention at the sides, where a broad color change can become visible during movement.
Weft lines should follow the planned section cleanly and sit flat, without crowding the part or eliminating cover hair. K-Tip clusters can distribute brightness around layers, while Thin Weft and Volume Weft rows need the same attention to attachment visibility and natural movement.
Clip-ins need a recorded, repeatable height so the client recreates the same gradient at home. Bulk rows need strand-by-strand grading from the root downward rather than a uniform pale curtain.
A multi-tonal family is often the more wearable choice for clients who switch between sleek and waved finishes. The extension placement guide is useful for planning coverage, and the chair-side map should go further: mark the part, the rows, the shadow depth, the brightest panels, and which sections will be lifted versus left as purchased. That last decision belongs on the map, before any lightener is mixed.
A placement map drawn before the install is more useful than a color correction after it.
The horizontal band is the first failure to diagnose. It usually starts with lightener applied in a hard line without vertical feathering, but the correction depends on whether the problem is still in application, already processed, or visible only after placement. Before any corrective chemistry is mixed, answer the two questions the install should have settled: where does the color need to move, and can the fiber tolerate the process that moves it there.
Once a band has developed, dry brushing can't remove it. The safe chair correction is tonal softening where appropriate; a severe contrast may require a replacement panel rather than further lift.
| Symptom | Likely cause | Fix or rebuild decision |
|---|---|---|
| Horizontal band at the lift line | Hard application line without vertical feathering | Feather during application; once processed, soften with demi gloss rather than re-lifting the band |
| Brassy or orange mid-lengths | Under-lift or lift stopped early | Tone after an even lift; accept a deeper target if deposit-only color can't support the intended lightness |
| Ends turn muddy or grey; toner grabs unevenly | High porosity at the ends | Reassess tone and use a tested deposit-only approach; no further lift |
| Dark root shelf appears during movement | Root shade too far from the natural base | Re-place the panel or rebuild with a Rooted or blended family |
| Slippage and uneven line at the nape | Attachments moving as natural hair grows | Assess and re-secure appropriately as a move-up |
| Rough wet combing, excess elasticity, or end breakage | Overprocessing or repeated lifts | Stop lifting; pull affected bundles and rebuild with sound panels |
| Cuticle damage after removal | Harsh removal method | Use a method-specific specialized remover; replace compromised fiber and document removal needs |
Toner doesn't lift orange mid-lengths into pale blonde. A practical correction may be a warmer or deeper gradient, especially when another bleach pass would exceed the fiber's tolerance.
Muddy ends need a test before more pigment lands. Deposit-only color still carries accuracy risk on porous fiber, which can grab tone unevenly and read darker than the swatch. A strand test on the most porous ends decides the formula before any full application begins.
A blended shade family is a legitimate rescue when placement contrast is the problem. Reach for a Balayage, Rooted, or Highlights line when the natural base sits several levels from the lightest panel, or when the client's density can't conceal a hard two-tone transition. These families build the gradation into the fiber itself, so the blend no longer depends on perfect row placement to read softly.
For the maintenance handout, the color care picks from Finding Favourites offer a starting point for shampoo discussions. The stylist still needs to screen recommendations against attachment requirements; shampoo won't correct slippage, a misplaced panel, or structurally compromised ends.
Rebuild threshold: Porosity failure calls for stopping the lift and assessing the bundle, not adding the chemical exposure the correction is supposed to avoid.
Growth changes the math on every install. As natural hair lengthens, each attachment sits farther from the scalp, the strain on the bond increases, and tension concentrates where the fiber was never meant to carry it. A move-up is a mechanical service, not merely a cosmetic refresh.
Timing should come from the client's chart rather than a generic calendar. Growth rate, density, attachment method, and how the client wears the hair all shift the interval, so each method earns its own checkpoint instead of sharing one universal schedule.
Conde Professional's extension longevity guide can support that maintenance conversation, but the chart should still state the chosen checkpoint and the reason for it.
A move-up is also the moment to re-read the color decisions made at the install. With the hair down and moving, check where the root shadow now sits, whether darker panels have drifted against the natural base, and whether the nape transition has migrated. If the gradient has dropped, placement is the first question and fiber condition is the second: a shelf from slipped rows needs repositioning before any toner decision, and compromised ends rule out further chemical work regardless of how the blend looks.
Keep lightener and uncontrolled styling heat away from the attachment zone. Significant slipping, painful tension, and persistent nape matting call for a chair assessment, not extra conditioner or a home fix.
Before departure, the client should know exactly what to report: slipping, pulling, a newly visible shelf, or new nape matting. Those observations bring the appointment forward when the install needs attention.
The same-day booking checklist establishes whether the proposed service is technically viable before installation time is reserved. Two answers decide that: where the color will happen, and whether the fiber can take it. A color reference without a fiber assessment is not a complete plan.
Supplier questions should address how cuticle integrity, color accuracy, weight, and strand strength are checked on each batch. Conde Professional checks cuticle integrity and color blending, and stylists can get shade guidance by text, phone, or email before ordering.
The color team should confirm which shades in each family cover the required level. That conversation should happen before a service depends on lightening an unsuitable factory shade.
Grade labels such as 6A/7A/8A/9A/10A aren't a governed standard. They are supplier marketing, so the useful criteria are cuticle integrity, alignment, shedding, combability, and wash durability.
A shade match becomes a purchasing decision once the proposed fiber and attachment pass the service assessment.
Visual matching in the chair is the last check, not the first.
Conde Professional sells professional hair extensions and offers education built by working stylists, including courses on installation techniques, pricing, and the business of premium extension services. For real-time product selection and shade guidance on the next ombre plan, contact Conde Professional by text, phone, or email.


