Your cart is empty
Tax included and shipping calculated at checkout

Menú de cajones
Tax included and shipping calculated at checkout
A professional account gives you stylist pricing, priority support, early access to new releases, and education developed by working stylists.


The most repeated advice about hand tied wefts is that they're lightweight, so they're the safe pick for fine hair. Strip that claim down and it stops being useful, because a weft doesn't tension itself. A hand tied weft is a placement instrument: a narrow, flexible base that lets a stylist decide where load lands, how flat the row sits at the parting, and how much natural hair each anchor grips. Get those three things right and the install behaves. Get them wrong and the label on the packet won't save the client's hairline.
The decision is never "hand tied or nothing." It's whether this client's density, scalp condition and calendar support the row plan the method demands, and what you'll change if they don't.
A hand tied weft is a strip of hair whose strands are knotted by hand into a narrow woven mesh, then sewn with thread onto a row of silicone-lined beads that grip the client's own hair. There is no stitched band. The row can lie flatter under a parting and follow the curve of the skull instead of standing off it. That flat lay only holds if each bead section matches the density in front of you and the thread sits snug without pulling the row into the scalp.
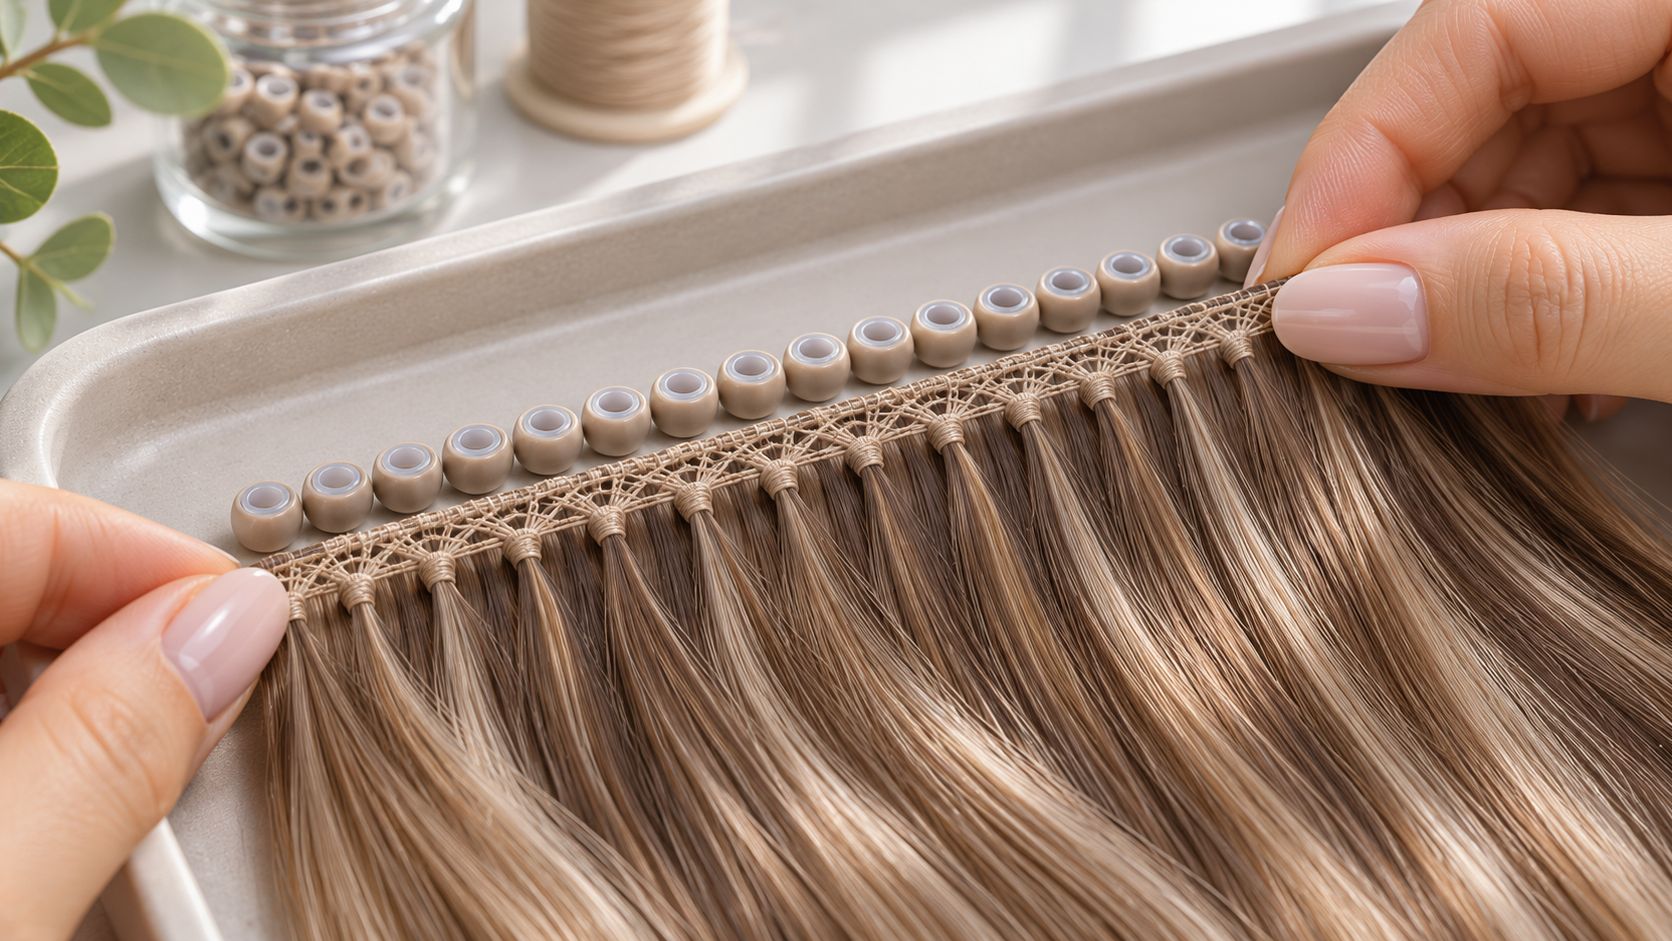
The version a client understands: your own hair is gripped by small silicone-lined beads along a row, and the weft is sewn to those beads with thread. Nothing is glued to the hair, nothing is heat bonded, and the row can be released and repositioned.
The construction sits at the end of a long technical line. In 1951, Christina Jenkins, an African American inventor in Cleveland, Ohio, patented a weaving technique that attached hair to netting or a weft and then sewed it to the wearer's scalp hair, the framework behind modern sewn-in application, as Dazed's history of hair extensions records. Hand tying keeps that sew-in logic and cuts the base back to the mesh that will hold a knot.
I reach for it when three conditions are already true.
Cut the row count hard, or choose another attachment, when the plan piles dense weight onto fine, chemically treated, or fragile hair. A narrow base concentrates load on the beads instead of spreading it across a band. Do not book anyone who has not been screened for traction risk. Placement control is what the method gives you. Weight and damage risk still depend on section size and row count.
A hand tied weft is a tension and placement decision, not a lighter product. The row holds because of bead size, grams in the section, and the move-up date you book, not because the mesh looks delicate.
| Method | Attachment | Base construction | Main trade-off |
|---|---|---|---|
| Hand tied weft | Beaded row, weft hand-sewn onto the beads | Hand-knotted mesh, narrow and flexible | Seam handling, labor intensity, move-up commitment |
| Machine-stitched weft | Sewn or bonded onto a woven band | Woven band, strands stitched in bulk | Wider, stiffer base that stands off the scalp |
| Tape Weft | Adhesive panel pressed under a section of natural hair | Hair bonded to a polyurethane tape panel | Bond weakens with oil and alkaline cleansers, tape replaced at each move-up |
| Tape-In | Adhesive sandwich, natural hair layered between panels | Two tape panels facing each other | Flattest lay of any method, and the most home-care dependent |
| K-Tip | Individual keratin bond per strand | Loose strand with a pre-formed keratin tip | Precise placement with no band, but hundreds of attachment points and a long install |
| Clip-In | Clips, no salon attachment, removed at night | Sewn band with pressure clips | Temporary wear only, no move-up, no continuous load |
Hand-tied strands are knotted into a mesh one group at a time. A machine weft is stitched in bulk onto a woven band. At the chair, the hand-tied base lies closer and flatter, and the seam is the fragile point of the install. There is less material to hide a loose row, so section size and stitch tension decide whether the row sits flat or starts to pull.
A narrow base carrying too much hair on a weak section loads the scalp harder than a wider band across sound hair. Base width and total weight are separate numbers. I check grams per row and how much natural hair sits inside each bead before I call the row finished, then put the move-up on the calendar the same day. A grown-out bead changes both tension and placement.
The wider menu, including Volume Weft, Thin Weft, Tape Weft, Tape-In, K-Tip, Bulk and Clip-In, is set out in this guide to hair extension methods, and each one spreads load differently. Read that profile before treating hand tied as the upgrade.
A band or tape method is the better reach when the client wants more bulk per row in less chair time, cannot keep a move-up cycle, or needs the weight spread across a wider surface. For a finer client who still wants a sewn bead row, an ultra-thin machine weft does similar work with more base to share the weight, such as Thin Weft Platinum Glow #8.1/12.01 Rooted, offered in 18 inch and 22 inch lengths at $390 for salon professionals.
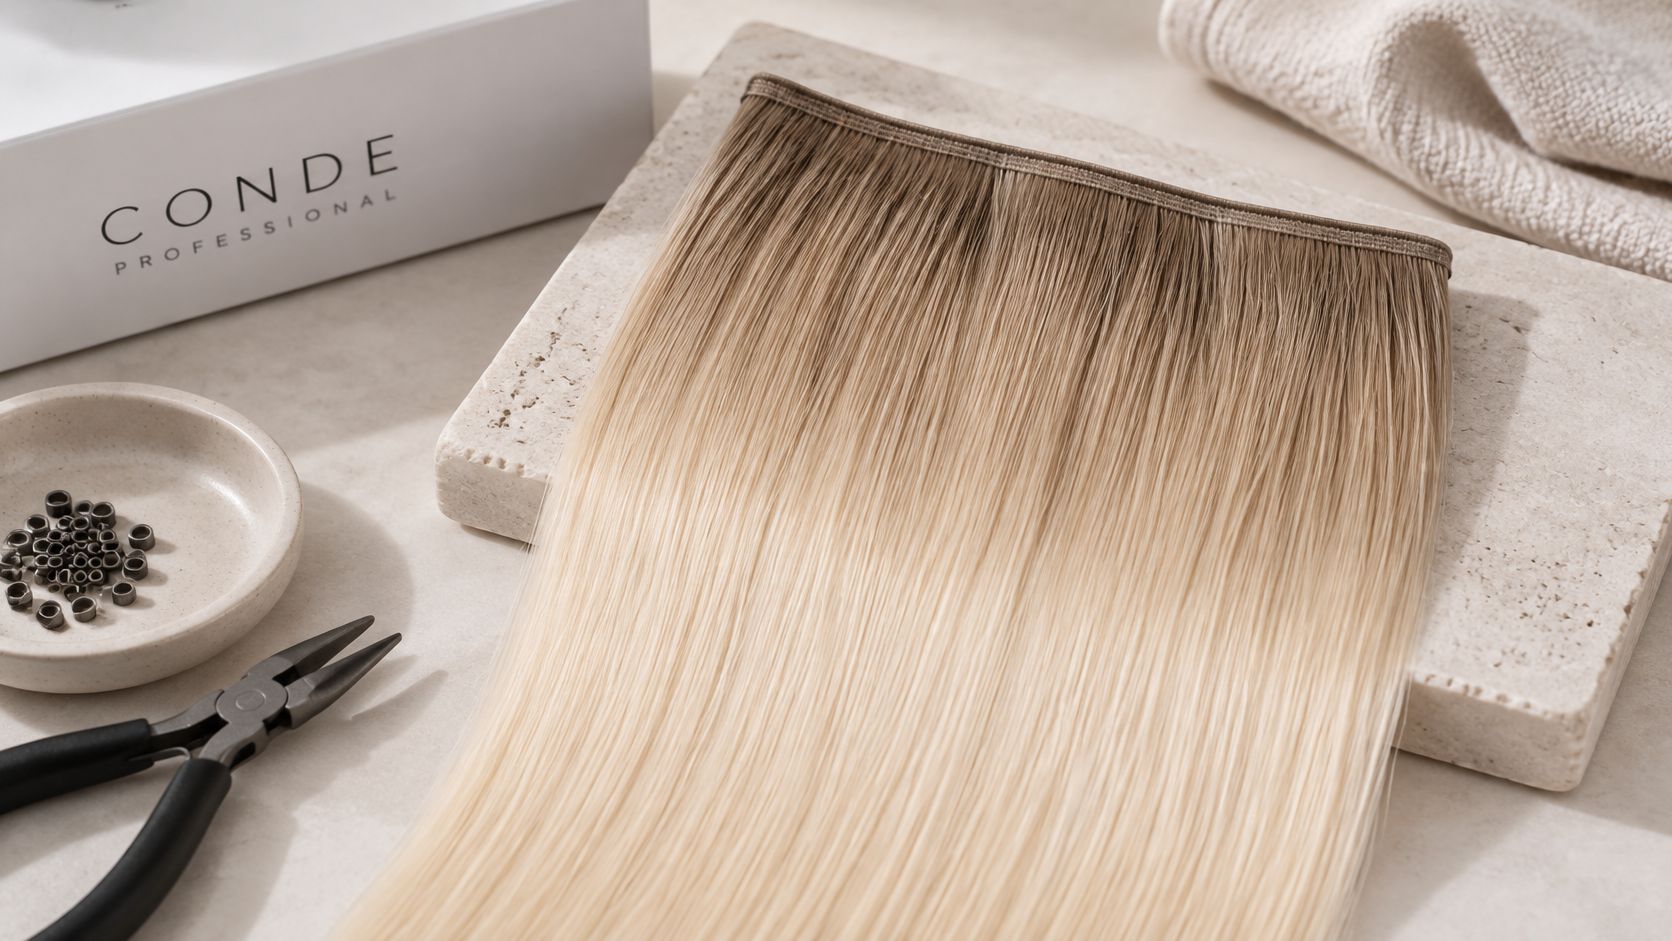
That panel is where base width and a rooted color meet. The darker root has to sit close to the scalp or it throws a shadow line. After the first stitches, look at the row: if the section bows or a bead lifts, drop grams or take a slightly wider slice of natural hair before you finish. Book the move-up before the client leaves so the row never grows long enough to lever the beads.
Screen the scalp and the density before quoting, and test the hair itself against measurable criteria instead of a grade letter. Both checks are quick, and both change the row plan.
Run this intake the same day:
Hair that fails the intake gets a different plan, not a rushed install. Fewer rows, lighter sections, a shorter wear cycle or another method are all better answers than pushing ahead because the slot is booked.
Grades such as 6A through 10A are supplier marketing. No governing body sets them, so the number tells you nothing you can verify in the hand. Ask instead about the things you can assess: cuticle integrity, strands aligned in one direction, how much the weft sheds when combed, combability wet and dry, and how the hair behaves after repeated washing.
Three questions for any wholesale source. How is each batch checked against those criteria, what does the hand-tied base look like and how wide is it, and what move-up and removal guidance does the supplier publish?
Conde Professional checks every batch for weight, color accuracy and strand strength, and hair that falls short of those standards stays at the facility. The company also checks cuticle integrity and color blending, which is what keeps a shade reading natural through a wear cycle.
A structured hair extensions consultation is the right place to run the intake, before a deposit is taken and before the kit is opened.
The install has two stages, and the handoff between them is where most four-week failures start. The bead row anchors each section. The hand-sewn weft then spreads load along that row. If the sew pins weight to one point on an otherwise sound row, the client feels it before the color or the blend ever looks wrong.
The rail and the carriage. The bead row works like a rail fixed to the scalp, and the sewn weft is the carriage that travels along it. Load carried along the rail stays comfortable. Load pinned to a single point becomes a headache and a red scalp by week two.
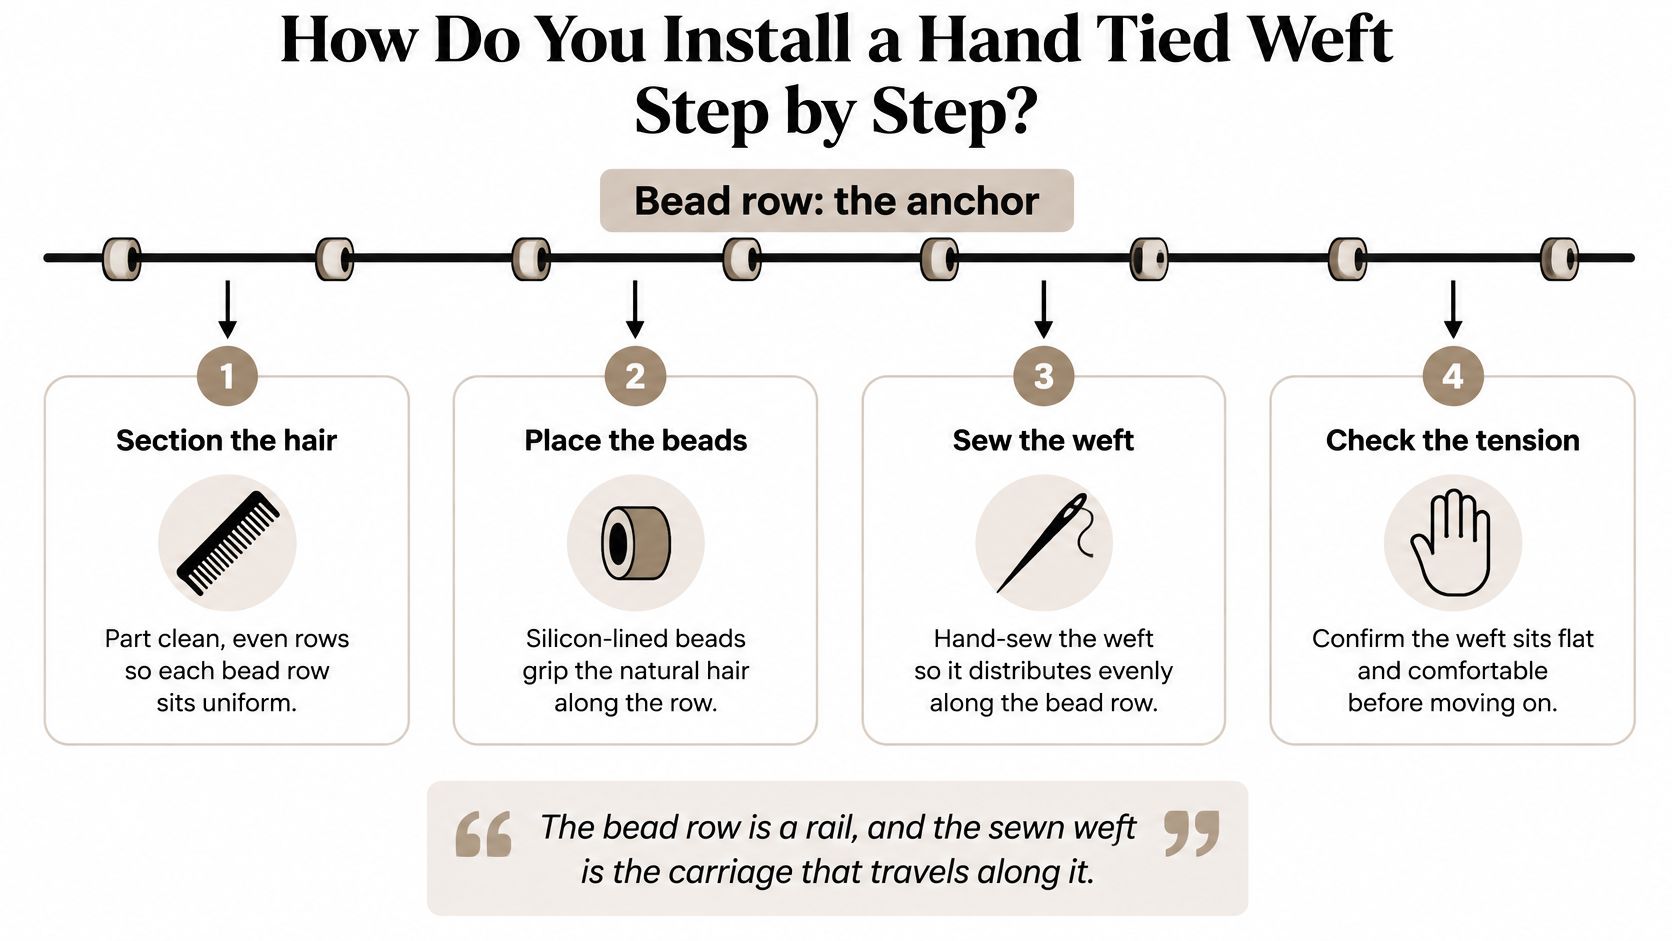
Four checks decide the result, and each one fails in a different way. Row placement sets where force lands. Section size sets how much natural hair each bead grips, and a bead holding too little hair slides down the shaft. Bead security decides whether the row keeps its position. Even distribution decides whether one row carries more than its share. A clean placement with a sliding bead still fails. So does a secure row that dumps its weight on one stitch.
Thread is the variable most often skipped when a row slips after two weeks. A thin nylon thread that does not retain water or swell when wet keeps drag low during the sew and holds up through washing. Nylon Hair Extension Thread is made for sewing Volume Weft and hand tied wefts, and it is offered in 8 variants, in stock.
Before the row closes, look for three things: a weft sitting off flat, uneven tension along the length, and a loose bead. Any one of them means opening the row again. The narrow base gives a closer lay. It does not remove the need to spread weight across adequately sized sections of natural hair.
The risk in a wefted install is chronic traction, not the presence of the weft. Dermatology literature describes traction alopecia as progressive hair loss caused by sustained pulling on the hair shaft and follicle, per this review of weft hair extensions. Risk rises with greater tension, longer exposure, tight attachment or styling, added hair weight, and repeated installation and removal.
One reported weft-extension pattern produced hair loss in a horseshoe distribution, which shows force can localize around the perimeter of an installation instead of spreading evenly. A lighter weft doesn't make an install risk-free. Traction tracks the amount and duration of pulling, so row count, tension and time between move-ups matter more than the format on the box.
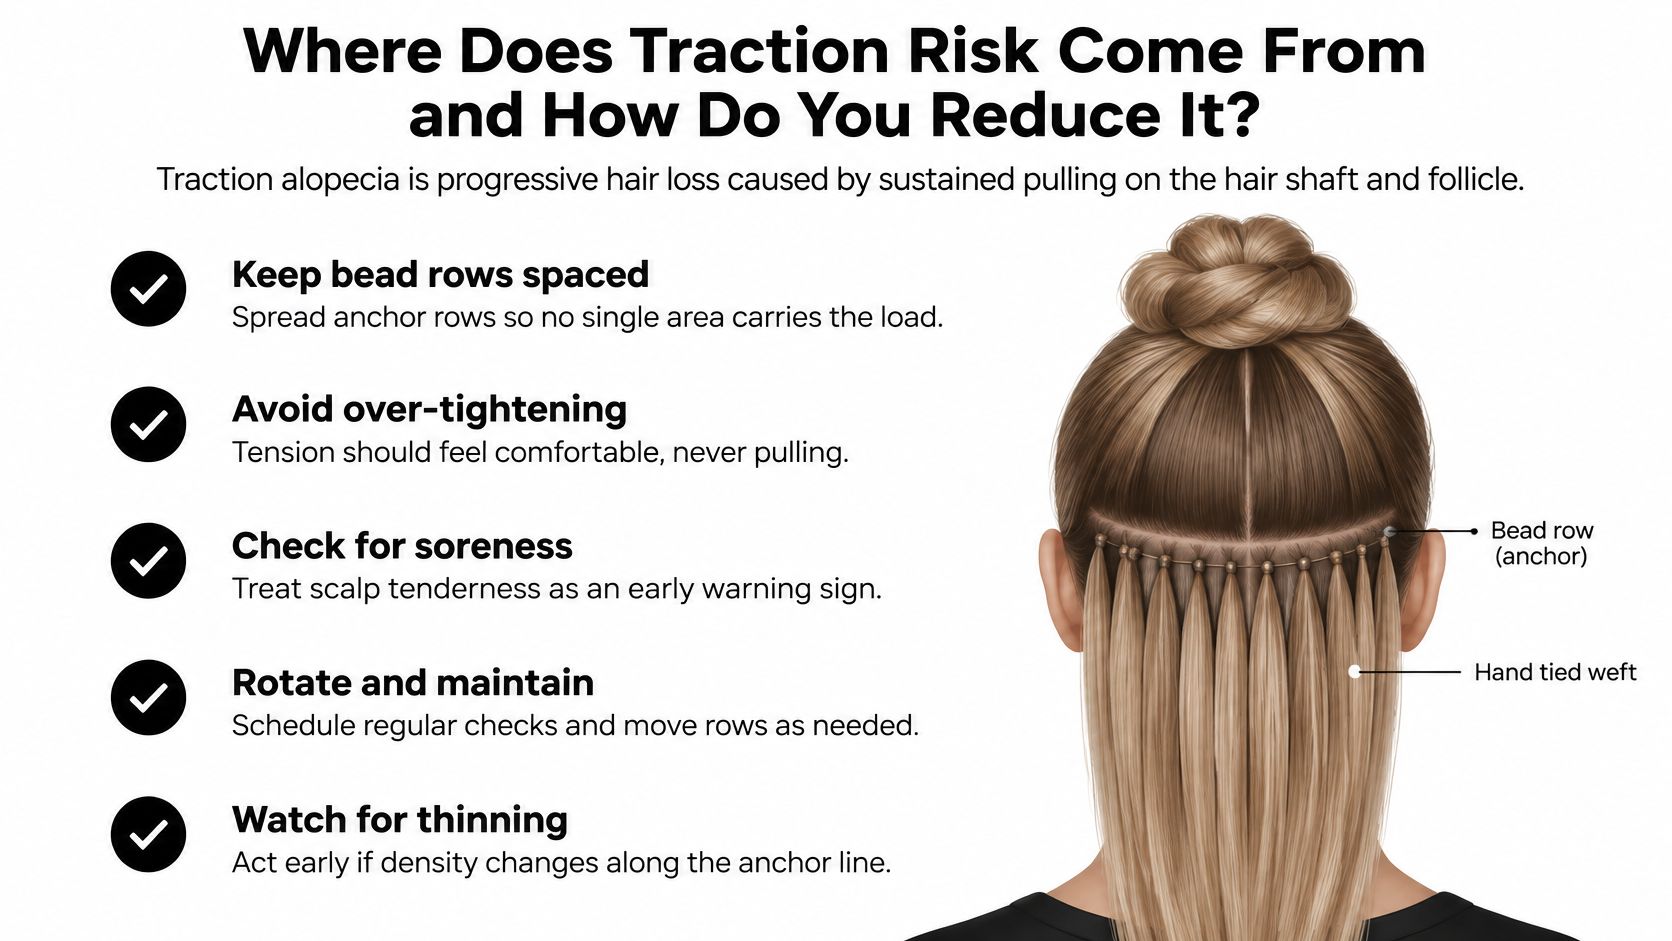
A dermatology review of traction alopecia in extension wearers places weaves and extensions among the highest-risk styles and reports the condition affecting roughly one-third of women of African descent who use traumatic styling over prolonged periods. In the study of 223 women reported there, prevalence reached 34.5% while 95.1% regularly used extensions, with mild and moderate disease the most common findings. That last point matters at the chair: early damage is often present before any bald patch is visible.
Persistent traction can progress from initially nonscarring loss to permanent scarring alopecia. Redness, pain, broken hairs or thinning that doesn't settle after adjustment need referral for medical evaluation, and that referral is part of the service, not an admission of failure. Scalp condition before and between installs sets the baseline, and a scalp care routine guide is a sensible handout for the weeks between appointments.
Understanding the mechanics behind weft hair extension damage makes the case to the client far better than reassurance does.
Move-ups are scheduled maintenance, and the wear period should be on the books from day one. Natural growth carries the attachment away from the scalp, so the calendar is set at booking rather than after a client calls because a row feels off.
Clinical guidance reported by Johns Hopkins recommends reducing tension and removing weaves or extensions after roughly six to eight weeks. Growth rate, density, row placement, and how the hair is handled at home all shift that date. I book the earlier end when growth is fast and the row plan is dense. A lighter plan on slower growth can sit closer to eight weeks, still inside a date you chose before the first stitch.
| Stage | Timing | What to check |
|---|---|---|
| Install check | Day of install | Scalp tenderness, row alignment, even tension along each row |
| Mid-wear inspection | Between move-ups | Loose beads, shed hair build-up, client comfort |
| Move-up | Every 6 to 8 weeks, adjusted for growth and density | Loose or displaced beads, weft alignment, reposition closer to the scalp, blend and tension |
| Removal | End of the planned wear period | Detangle shed hair before release, controlled brushing, no forced release |
| Post-removal check | After removal | Normal retained shed versus localized loss, breakage, redness or pain |
See the client between those dates. Loose beads, shed packed against the row, or a weft that has walked off the scalp are reasons to pull the move-up forward. Leaving a drifted row until week eight puts more load on the same anchors.
Work the move-up in order. Check loose or displaced beads and weft alignment, release the attachment, bring the row back toward the scalp, then confirm blend and tension before the thread goes in again. Removal follows the same order. Detangle shed hair first, brush in short controlled passes, and release beads or stitches without yanking. Forced release is where a lot of breakage stays hidden until the hair is already out.
Day-one comfort only confirms the tension was acceptable at install. Scalp irritation or shedding can show up well before the booked date, so a quiet first week still leaves that date in place. A realistic guide to how long extensions last separates planned wear from an install that outlasted its row plan.
Heat changes the same calendar. Hand tied wefts can be heat styled, yet repeated high heat dries the hair, increases tangling, and shortens how many weeks the length still matches the install you set. Use heat protectant, cut extra thermal passes, and keep hot tools off the attachment. The row takes the damage that mid-length styling does not.
After removal, sort normal retained shed from localized loss. A brush full of hair after eight weeks fits the wear period. A thin patch along the anchor line means the next plan needs fewer rows, less weight, or a longer gap before you sew again.
I book the first move-up before the client leaves the chair. A hand tied row is a tension and placement decision, and an undated return lets that row drift until the beads carry more weight than you set on install day.
Write three checks on the card before you release the client: where the row sits against the scalp, how the beads are spaced along the panel, and the tension you accepted at the tightest point. Those marks are what you read at the move-up. A feel-test at the bowl will not tell you whether the row has crept. Confirm the return date out loud, then put it on the book using the interval the consultation already fixed. If the client cannot hold that date, do not cut the weft in for a longer wear than the plan allows.
Conde Professional supplies salon professionals with human hair extension systems for salon work, from Volume Weft and Thin Weft through Tape Weft, Tape-Ins, K-Tips, Bulk and Clip-Ins, plus beads and installation tools that keep a bead-row install predictable. Every batch is checked for weight, color accuracy, and strand strength, which matters when a row plan depends on consistent density across panels. If hand tied wefts are part of how you work, visit Conde Professional to match base construction to the clients on your books.


