Your cart is empty
Tax included and shipping calculated at checkout

Menú de cajones
Tax included and shipping calculated at checkout
A professional account gives you stylist pricing, priority support, early access to new releases, and education developed by working stylists.


“Just pull gently” isn't a removal method. To remove weft hair extensions, identify the attachment, reverse its securing mechanism with the correct tool or approved remover, and treat resistance as a reason to reassess rather than increase force.
A controlled removal preserves visibility at the attachment and separates release from detangling. The stylist's job is to establish what's holding the row, what's preventing release, and whether the service should continue.
Identify the attachment before any tool touches the hair. A weft describes the hair format, not necessarily the mechanism securing it. The install record should establish the construction; direct inspection should confirm it.
Look for visible securing thread, compressed beads, an adhesive seam, or individual keratin bonds near the root. A product name alone isn't enough to select scissors, pliers, or remover. The distinction between format and attachment is fundamental to understanding weft hair.
Removal method by attachment type
| Attachment | How it is secured | Release tool or agent | Release action |
|---|---|---|---|
| Sewn weft on a braid row | Thread stitched through the braid | Fine scissors and rat-tail comb | Cut only the visible thread, row by row |
| Hand-tied weft | Securing thread running along a hand-tied track | Precision scissors | Unravel securing thread row by row; do not cut the weft |
| Beaded row | Metal bead compressed onto the hair | Flat-nose removal pliers | Open the bead, then slide it off the shaft |
| Tape Weft | Adhesive tape along a seam | Manufacturer-approved remover | Apply along the seam, allow dwell time, peel slowly |
| K-Tip or keratin bond | Keratin bond at the root | Product-specific remover | Follow the product dwell time and instructions |
| Thin Weft | Thread on a sewn or bead-supported foundation, confirmed against the install record | Fine scissors; removal pliers when beads are present | Confirm the attachment on the install record before any release |
| Tape-In | Adhesive attachment confirmed against the install record | Manufacturer-approved adhesive remover | Confirm the attachment on the install record before any release |
Volume Weft can be installed with a sewn or bead-row construction, so the actual foundation determines the release sequence. Thin Weft, Tape Weft, and K-Tip also require attachment confirmation rather than an assumed universal technique. Bulk and Clip-In aren't woven into an installed row and sit outside this procedure.
Station rule: Scissors never enter an attachment that cannot be clearly isolated.
Before the first cut, the stylist should be able to name both the attachment and the intended release action. If either remains uncertain, stop and check the install record.
Pain or scalp irritation pauses release before the next pull. The American Academy of Dermatology advises prompt removal of extensions causing pain or irritation and identifies repeated pulling from extensions and weaves as a concern requiring attention.
The stylist's role is observation, documentation, and appropriate referral, not diagnosis. Sharp pain, bleeding, visible injury, inflammation, or a developing bare patch shouldn't be worked through to finish a row.
Removal warning signs, likely meaning and action
| Sign | Likely meaning | Action |
|---|---|---|
| Sharp pain during release | Excess tension at the attachment | Stop, reduce tension, refer if it persists |
| Redness, bumps or bleeding | Scalp irritation or injury | Stop, document, refer to a specialist |
| Broken hairs at the attachment | Force or tangling at the row | Pause, re-isolate the section, release more slowly |
| Bond will not release after correct product use | Technique or product mismatch | Stop; don't pull; reassess the method |
| Visible thinning or bare patch | Possible traction-related concern | Document and refer to a dermatologist |
Mild tangling or slow movement without injury calls for renewed isolation and a tool-position check. A resistant bond after correct product use calls for reassessment, not another pull.
Professional visibility matters, especially at the back of the head, where an obscured cutting line makes uncontrolled removal unacceptable. Record the observed sign, time, attachment, and action in the client file; persistent inflammation or thinning warrants dermatological evaluation.
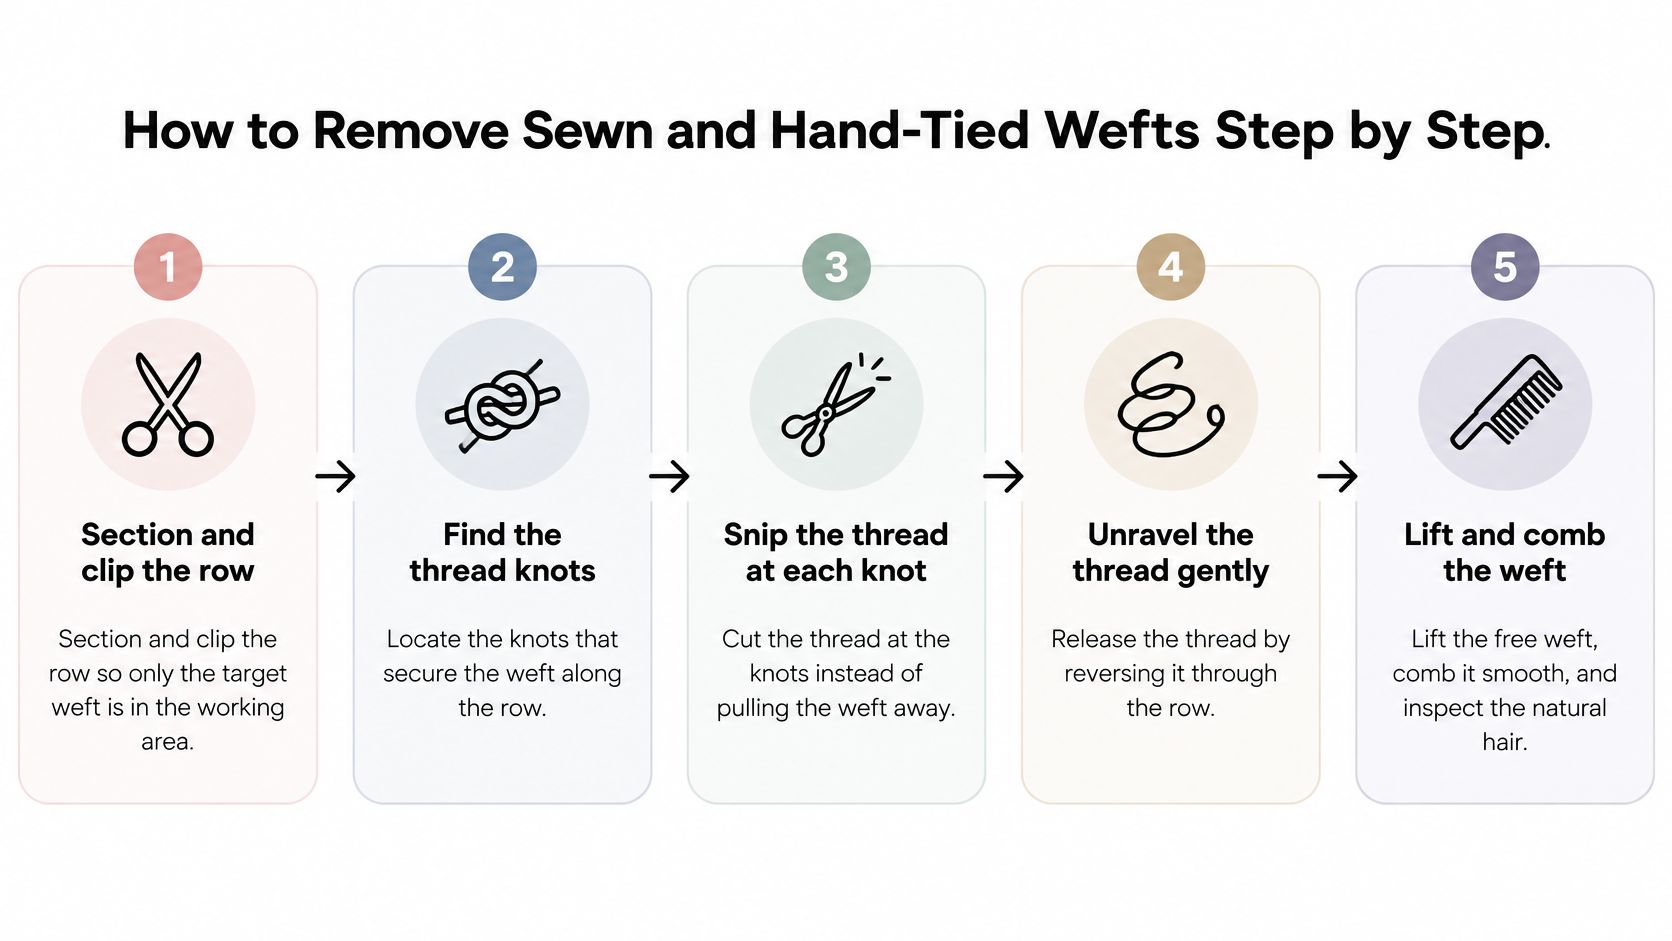
Release a sewn or hand-tied installation by reversing the securing thread. The SQA professional removal standard emphasizes appropriate tools, minimized discomfort, progressive detangling, and the extension specialist's prescribed removal sequence. That sequence matters behind the chair because a thread cut in the wrong place turns a routine removal into track repair.
Keep cutting, attachment release, and shed-hair separation as separate operations. Identify the foundation before you pick up scissors; the sew-in weft guide is the construction reference to use when the row type is unclear.
A free weft should lift away without the stylist using the client's roots as an anchor.
If a thread will not expose cleanly, the section is not ready for scissors. Pain, injury, severe matting, or hair that requires force to release changes a routine removal into reassessment or specialist referral. Treat resistance as information: slow down, isolate further, and check the attachment before the next cut.
Beaded removal reverses installation compression. Solvent doesn't open a metal bead. The professional bead-release guidance describes exposing each bead, positioning removal pliers around the metal, and testing for easy movement after opening.
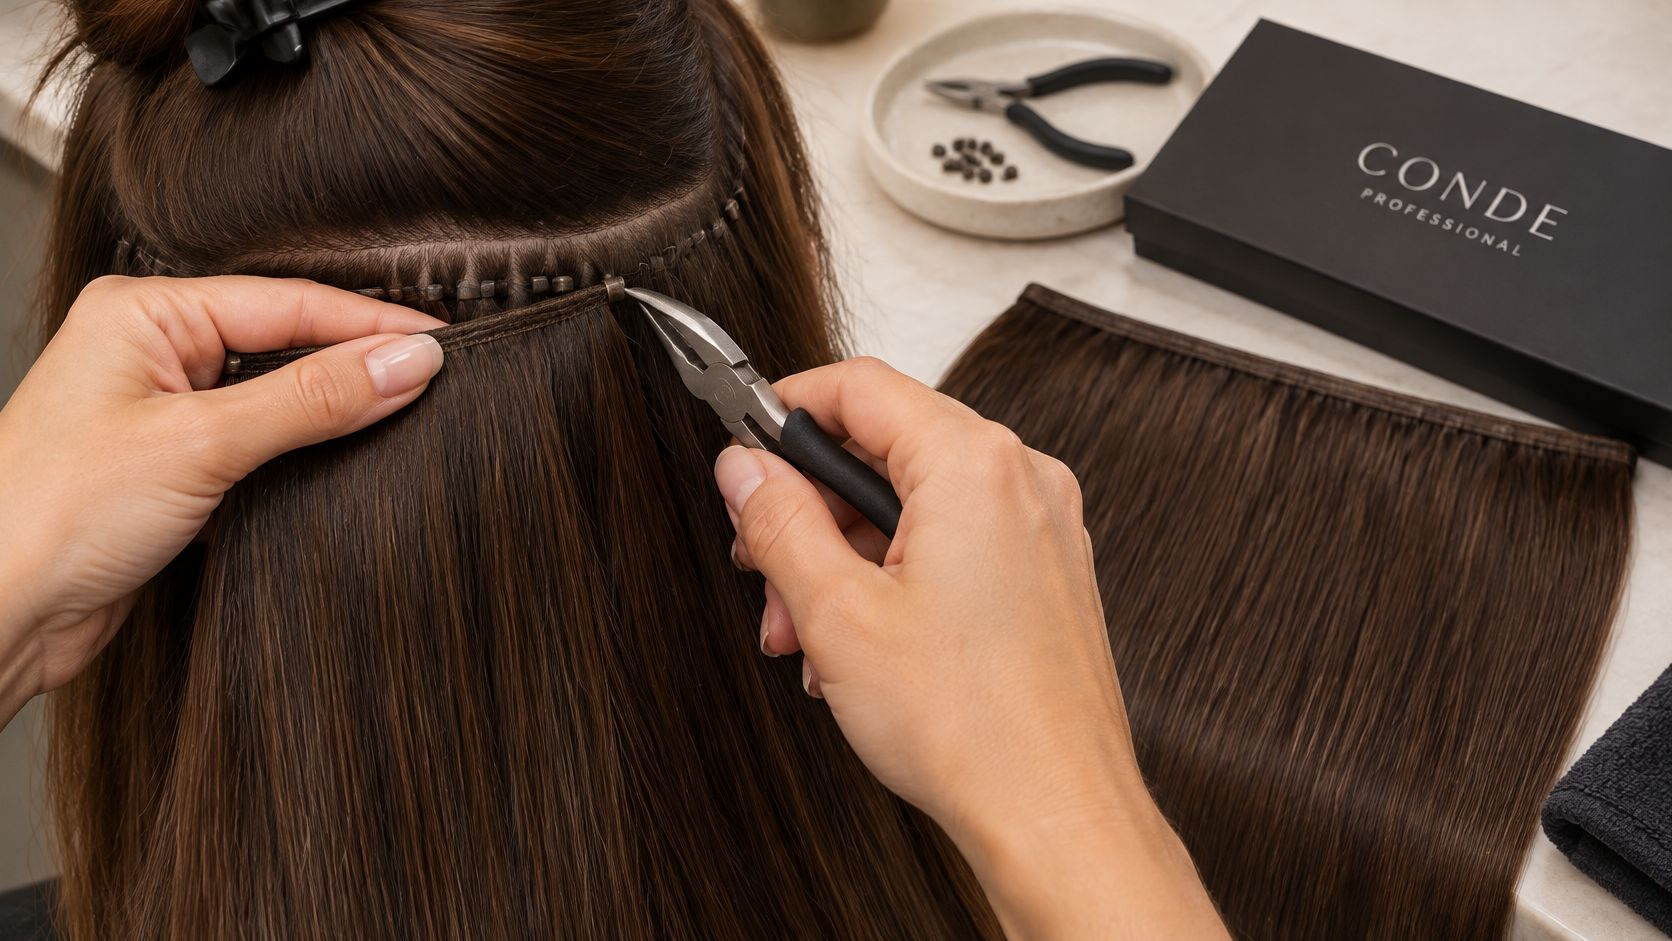
Work in horizontal sections from the nape upward, exposing each bead with a rat-tail comb. Keep loose hair outside the jaws and support the section near the root.
Place flat-nose removal pliers around the bead itself, not the surrounding hair. Apply firm, even pressure in the opening position appropriate to that bead's construction; indiscriminate squeezing can recompress the metal instead of releasing it.
Perform the slide test only after the bead has reopened. The released component should move with minimal resistance. If it catches, inspect for incomplete opening, trapped strands, or adjacent tangling before repositioning the pliers.
The guide to beads for hair extensions provides additional construction context. If normal tool use doesn't produce a clean release, reassess the bead and scalp rather than escalating pressure.
Apply manufacturer-approved remover precisely along the adhesive seam, allow the specified dwell time, and separate the attachment slowly while supporting the natural roots. Don't peel a dry or resistant seam because its edge has lifted. The tape-in removal guide covers method-specific context, but the installed adhesive and the product instructions control the appointment.
K-Tip and other fusion bonds call for their own product-specific release agent and instructions, with a different release mechanism from tape seams. A remover that worked on one attachment can be wrong for another. Thread-secured wefts need mechanical release; solvent application wastes time and adds exposure. A Thin Weft label does not establish a need for remover; inspect its installed foundation first.
A salon-based study of tension-related styling reports that repeated tension during styling can affect the scalp and follicle, which is why release work belongs in risk control rather than force.
Lubrication can make a seam feel ready before it is. Verify release before pulling, because a softened bond can still hold attached hair and a slick seam can still trap shed strands. Product choice supports release; trapped hair still needs controlled separation.
The Merck Manual describes approximately 50–100 scalp hairs falling naturally each day and notes that more than 100 daily is generally abnormal, although counts up to 250 may occur after shampooing. These are consultation benchmarks, not a salon diagnostic test or a target count for a removal appointment.
Hair that has already shed can remain caught beneath an installation until release. An accumulation on the station therefore doesn't establish that all those strands were pulled out during the service.
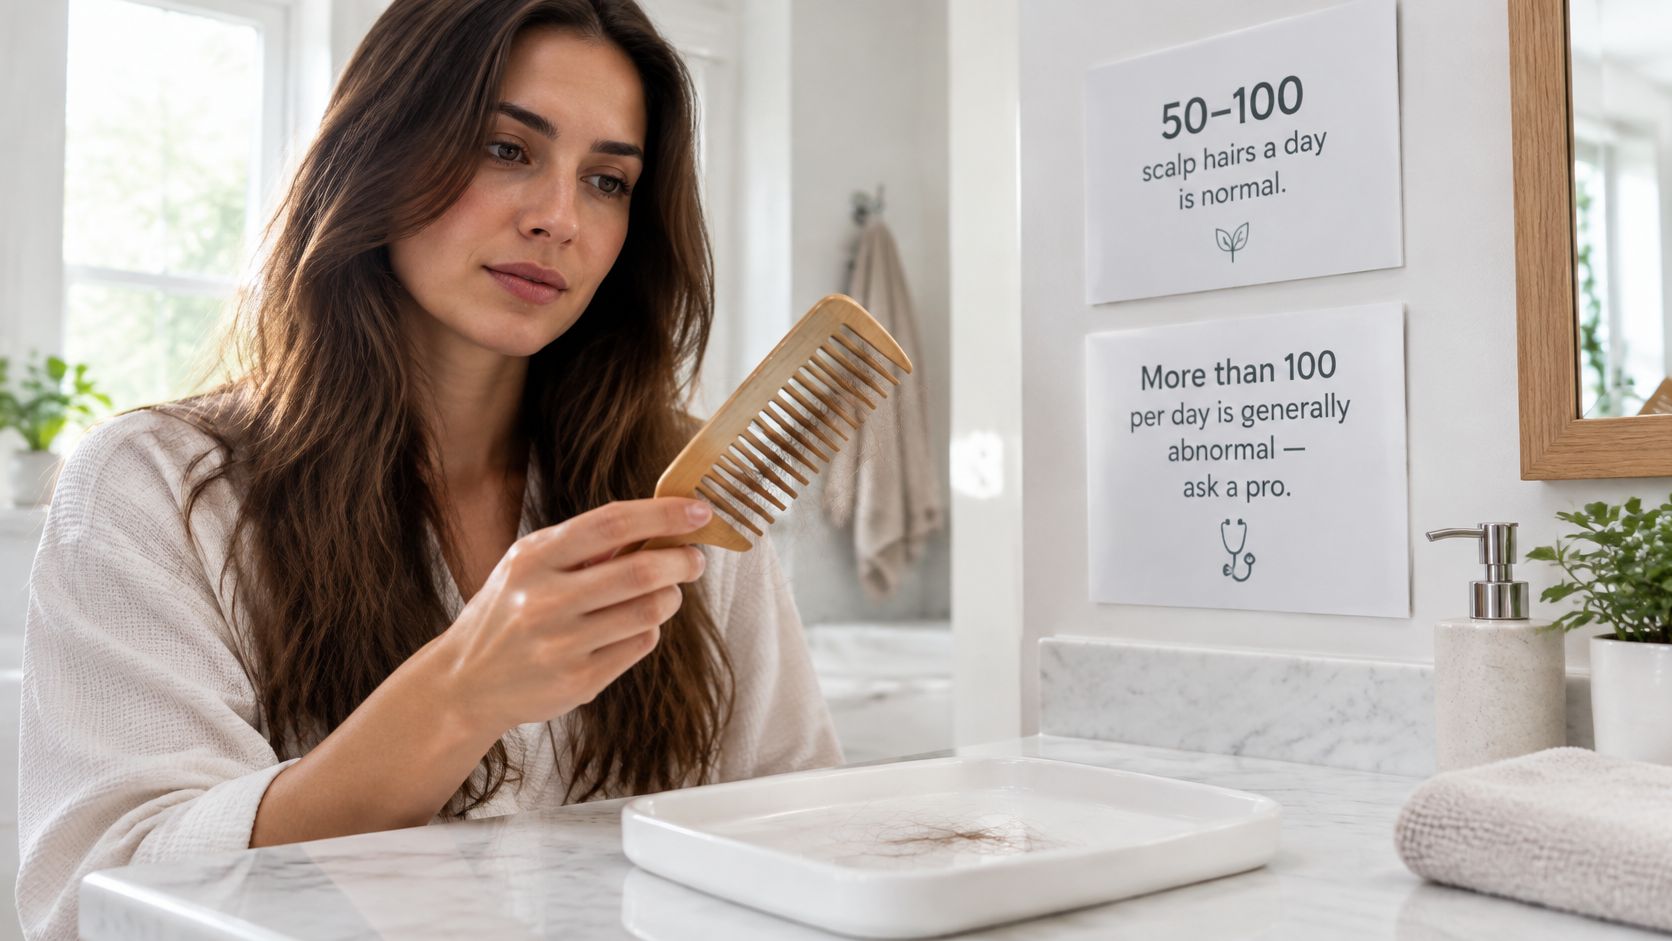
Separate free shed strands gently after attachment release. Soften matted areas and detangle progressively rather than trying to comb an intact accumulation from the root.
A discussion of weft-extension damage concerns should distinguish the condition of the natural hair from the appearance of the detached extension. Cuticle-intact, Remy, or double-drawn extension hair doesn't establish that the client is ready for another install.
A request to reuse the same hair doesn't determine readiness. The condition of the released natural hair and scalp determines whether a move-up should proceed.
Set the station to the attachment that is physically present. A removal intake establishes the mechanical task and the conditions under which you stop.
Request the approved remover, compatible tools, and release sequence for the exact product. Thin Weft construction and Tape-In adhesive requirements get confirmed rather than inferred from a familiar-looking panel.
Conde Professional offers education for stylists, which supports method selection alongside product-specific instructions. Resolve product uncertainty before the client is seated, while there is still time to switch approach or reschedule.
Conde Professional supplies licensed professionals with professional hair extensions and stylist education. Open the account before the next removal booking, so protocol, product guidance, and purchasing sit in one place.

The method range includes Volume Weft, Thin Weft, Tape Weft, Tape-In, K-Tip, Bulk, and Clip-In. Give one named team member responsibility for confirming product-specific removal guidance and keeping it accessible at the station.
Volume Weft Natural Brown #4 Solid is a Solid shade in the Volume Weft line, available in Straight and Wavy textures. Its removal follows the installed attachment, whatever the shade name suggests about how the row behaves.
Conde checks every batch for weight, color accuracy, and strand strength, and hair that falls short stays at the facility. That inspection confirms the hair shipped sound. It tells you nothing about how the row was installed, so the salon still owns the client assessment and each release.
Conde Professional offers professional hair extensions and education for stylists preparing attachment-specific removal services. Visit Conde Professional to open a professional account, then confirm the removal tools and approved product guidance before the next appointment.


