Your cart is empty
Tax included and shipping calculated at checkout

Drawer menu
Tax included and shipping calculated at checkout
A professional account gives you stylist pricing, priority support, early access to new releases, and education developed by working stylists.


A client is in the chair with fine, silky hair, a dense inspiration photo, and a request for an invisible install. The bead choice will determine more than how discreet the result looks. It will control friction, tension distribution, slippage, removal, and the condition of the natural hair at the next appointment.
Beads for hair extensions work well when the attachment is engineered for the client's strand thickness, density, extension tip, and maintenance habits. They aren't automatically gentle, and they aren't automatically damaging. A mechanical system only performs as well as its fit, placement, compression, and move-up schedule.
Beads are the mechanical anchor that locks a pre-tipped or looped extension strand to the client's natural hair through crimped friction. The system requires no heat or adhesive, but heat-free doesn't mean tension-free. The bead still has to grip two materials under movement, brushing, washing, and natural hair growth.
A useful way to assess beads is to treat the install as a load system rather than a product category. The bead must create enough radial compression to hold the extension tip and host hair without crushing the cuticle, sliding under tension, or migrating down the strand. Compression that's too light creates slip. Compression that's too aggressive creates a damaged bead, a pinched section, or mechanical breakage.
Each failure has a recognizable symptom. Slippage points to inadequate grip or an unsuitable bore. Matting at the root often reflects poor separation, product buildup, or migration. Breakage below the bead indicates concentrated mechanical stress. Headaches or persistent scalp discomfort signal that the distribution or clearance needs correction.
Practical rule: A bead isn't successful because it disappears in the hair. It's successful when it holds securely, moves with the natural hair, and can be removed without sacrificing the host strand.
The decision therefore comes down to friction, weight, and distribution. A smaller, discreet bead may reduce visibility but leave less room for the correct amount of hair. A rigid bead may provide strong grip on resistant hair but create too much localized pressure on fine strands. Selection should follow the head in front of the stylist, not the marketing name on the package.
Bead-based attachment has roots in hair-adornment practices that are at least 3,000 years old. Hair extensions are documented in Ancient Egypt around 3400 BC, while later African braiding traditions used beads, shells, and thread as both decorative and functional elements, as described in this history of wigs and hair extensions.
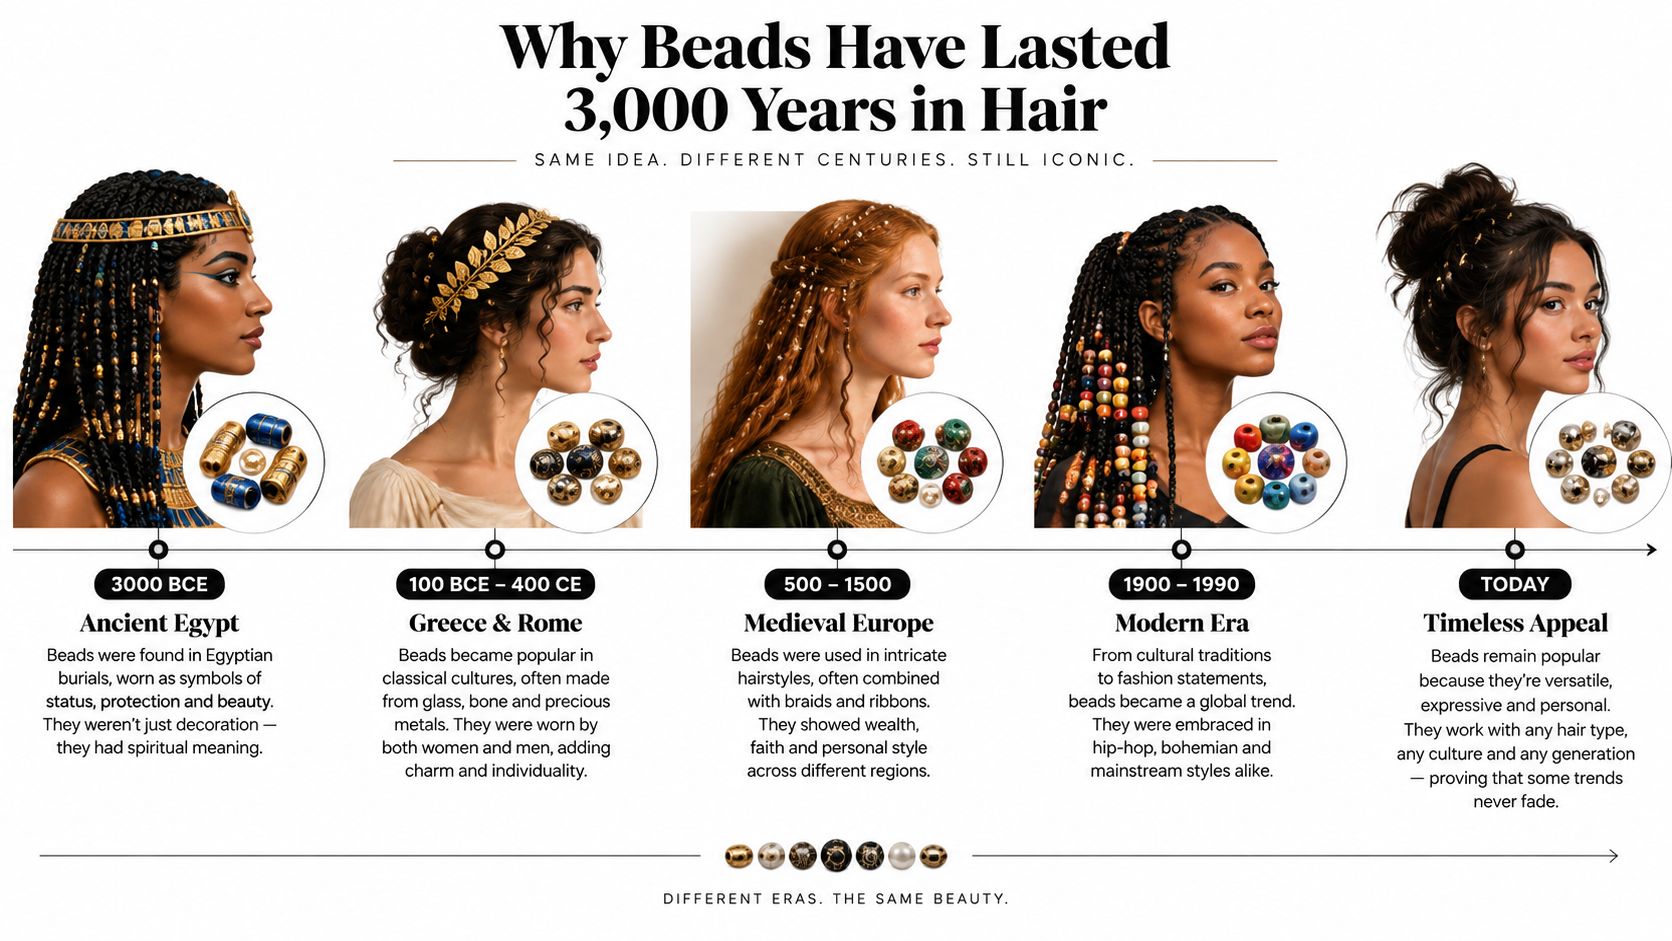
The materials and salon terminology changed, but the working principle stayed consistent. A small rigid ring or decorative element creates localized pressure that holds an external strand or adornment against natural hair without chemical bonding. Modern salon terminology places this lineage in micro-ring and micro-bead extensions, where a small section of natural hair and an extension strand are clamped together.
Brass, aluminum, silicone-lined aluminum, and hybrid polymers all address the same operational question: how can an attachment hold under movement without transferring unnecessary force to the hair? Material changes influence rigidity, internal friction, edge contact, visibility, and whether the hardware can be reset.
That explains why beaded systems remained relevant after keratin bonds, tape-ins, and wefts expanded the professional menu. A stylist can install them without heat or adhesive, monitor the attachment directly, and reset the hardware during a move-up. The method also gives the stylist immediate control over the amount of natural hair placed inside each bead and the compression applied with the pliers.
Consumer search behavior supports the method's continuing commercial relevance. A trend analysis reported that searches for “Human Hair Micro/Nano Beads Extensions” reached 310.9 in February 2025, while sales in that analysis declined from 944 units in February to 851 units by April 2025. The same analysis recorded a normalized search value of 100 for “hair beads for braids” in January 2025, compared with 70 in August 2024, indicating recurring interest around styling cycles. These figures come from an industry trend source, not government statistics, and should be read as market signals rather than universal demand data. The details are available in this hair beads trend analysis.
For a salon, the modern takeaway is practical. Beads survived because the underlying physics is repeatable. A reusable, low-heat attachment still earns a place on the service menu when the stylist can control the friction and keep tension distributed through the grow-out.
The three constructions shouldn't be treated as interchangeable. Wall rigidity, internal friction, heat exposure, reusability, and visible profile all change the behavior of the install. The correct choice depends on the natural hair and the extension tip, not on which bead appears smallest in a product photo.
| Property | Aluminum | Silicone-Lined | Keratin |
|---|---|---|---|
| Internal behavior | Rigid metal with direct contact | Metal shell with a silicone sleeve | Bond-oriented construction for matched tips |
| Grip profile | Strong direct clamp | Higher friction with internal cushioning | Designed to work with compatible keratin systems |
| Best working context | Resistant or dense hair | Fine to medium hair and discreet microlinks | Matched tip systems |
| Main trade-off | Can be too harsh or slippery on unsuitable hair | The liner can lose grip with product contamination | Not a universal substitute for metal beads |
| Heat relationship | Used in heat-free systems | Used in heat-free systems | Intended for systems where the tip and bead are designed together |
| Reuse decision | Inspect the wall and condition before resetting | Inspect both wall and liner before resetting | Treat as a matched tip component, not general-purpose hardware |
Aluminum provides a rigid wall and direct compression. That direct metal-to-hair contact can work well on coarse, dense, or resistant hair, where a softer internal surface may not provide enough grip. The same characteristic can become a liability on fine or silky hair if the bore, section size, or compression is wrong.
A plain bead doesn't provide an internal cushion. The stylist must be especially precise with the amount of natural hair and the edge position. Over-compression can deform the bead and create a sharp or unstable profile, while under-compression invites rotation and slip.
A silicone-lined bead adds an internal sleeve that increases friction and separates the natural hair from the metal edge. It's often the more forgiving choice for finer or more delicate hair because the lining can reduce direct metal contact. The trade-off is that oils, heavy conditioners, and residue near the attachment can reduce the liner's grip.
Published bead examples show why measurable dimensions matter more than vague supplier grades. One standard link bead is listed with a 3 mm inner diameter, 4 mm outer diameter, and 3 mm height, while a silicone-lined example is listed with a 2.5 mm inner diameter, 4.5 mm outer diameter, and 3.5 mm height, according to this professional bead dimension guide. Stylists can compare those dimensions directly instead of relying on labels such as 6A or 7A, which are supplier marketing terms rather than governing standards.
Conde Professional offers aluminum and silicone-lined beads as accessory options for professional extension work. The relevant question remains whether the internal diameter and liner suit the section being installed.
Keratin beads belong in matched tip systems. They're not a universal replacement for aluminum or silicone-lined hardware, and they shouldn't be selected just because the outer material sounds familiar to the client. A keratin-coated or keratin-oriented component makes sense when the extension tip and the attachment process are designed to work together.
The trade-off is narrow suitability. Silicone-lined beads are usually the practical default for general microlink work, plain aluminum can serve resistant hair where direct grip is needed, and keratin components should stay with the tip system they were made to support.
Bead sizing starts with three measurable dimensions. Inner diameter determines whether the natural section and extension tip fit without crushing. Bead height affects the amount of surface area available for clamping. Wall gauge determines how the metal responds to compression and how much force the bead can tolerate before deforming or cracking.
The fit test should happen before the clamp, not after slippage appears. The natural section must fill enough of the bead to create purchase, while still leaving room for the extension tip to enter without forcing the hair into a compressed plug.
A small inner diameter can create a discreet result, but it may not accept a dense section or a substantial pre-tipped end. A larger diameter gives more working room, yet it can look bulky and may require more natural hair to prevent rotation. Bead height affects the length of the contact area, so a low-profile bead may be discreet but less forgiving when the section is too small.
Wall gauge matters during clamping. Thin metal can deform with excessive pressure, while a heavier wall may require more deliberate compression. The stylist should use a controlled clamp that closes the bead securely without flattening it completely.
Density also changes the section plan. The nape and temples often require smaller, more discreet sections, while the mid-shaft may support a different distribution. The top section commonly benefits from smaller hardware than the mid-shaft because visibility and movement are more demanding there. That doesn't mean the smallest bead belongs on every fine section. The bead still needs enough hair to grip without concentrating excessive load on a narrow group of strands.
| Hair profile | Bead diameter | Bead height | Recommended gauge | Average strands per full head |
|---|---|---|---|---|
| Fine or delicate | Confirm by test-fit | Confirm by supplier dimensions | Moderate, with internal protection | Determine from density and desired result |
| Fine to medium | 3 mm inner diameter is a published example | Published examples include 3 mm | Match wall strength to section size | Determine row by row |
| Medium to dense | Select a bore that accepts the tip without crushing | Use adequate contact surface | Rigid enough for secure compression | Determine by density |
| Thick or double-drawn work | 4.5 mm and above was specified in the planned mapping, but no verified source supports this figure | Confirm before ordering | Match to tip and natural section | Determine during consultation |
The requested numeric mapping above should not be treated as a verified technical standard. No reliable source in the supplied data supports a universal 50 to 80 strands per full head, a fixed gauge recommendation for every profile, or a universal bead height by hair type. A responsible stylist should record the supplier's actual dimensions and test the hardware on the client's section.
Two-minute check: Thread the planned natural section through the bead, add the extension tip, and move the assembly gently parallel to the scalp. If the tip jams, the bead spins, the hair bunches at the opening, or the section barely fills the bore, change the size before clamping.
Not every bead suits every method. The metal or lining often determines the install behavior before the stylist has finished sectioning, because the bead must accommodate the tip shape, the amount of natural hair, and the intended move-up process.
I-tip hair generally pairs with aluminum or silicone-lined micro-beads. The cone-shaped tip requires a bore that holds the seam securely without leaving a gap. If the bore is too generous, the tip can slide. If the opening is too restrictive, the stylist may crush or distort the tip before the bead has achieved a stable clamp.
Classic micro-bead work places loose natural hair and a loose extension inside a silicone-lined cylinder. It offers a controlled, resettable attachment, but the liner depends on a clean friction surface. Oily scalps, heavy root products, and conditioner deposited near the beads can reduce the grip. The stylist should explain that heat-free attachment still requires disciplined product placement.
The technical process and terminology are outlined in this guide to micro-link hair extensions. It should be used as a method reference, not as a reason to force microlinks onto a client whose hair cannot tolerate localized load.
Loop-in extensions pull a natural section through a pre-formed loop, then clamp the bead over both the loop and extension. The loop simplifies threading, but it can become the failure point on fine hair if the section is too small or the loop creates uneven pressure.
Keratin-oriented beads belong with matched tip systems, including compatible K-tip work. A keratin component can replace a conventional metal crimp only when the tip, bead, and bonding process are designed as one system. It isn't a generic shortcut for a poorly fitting I-tip.
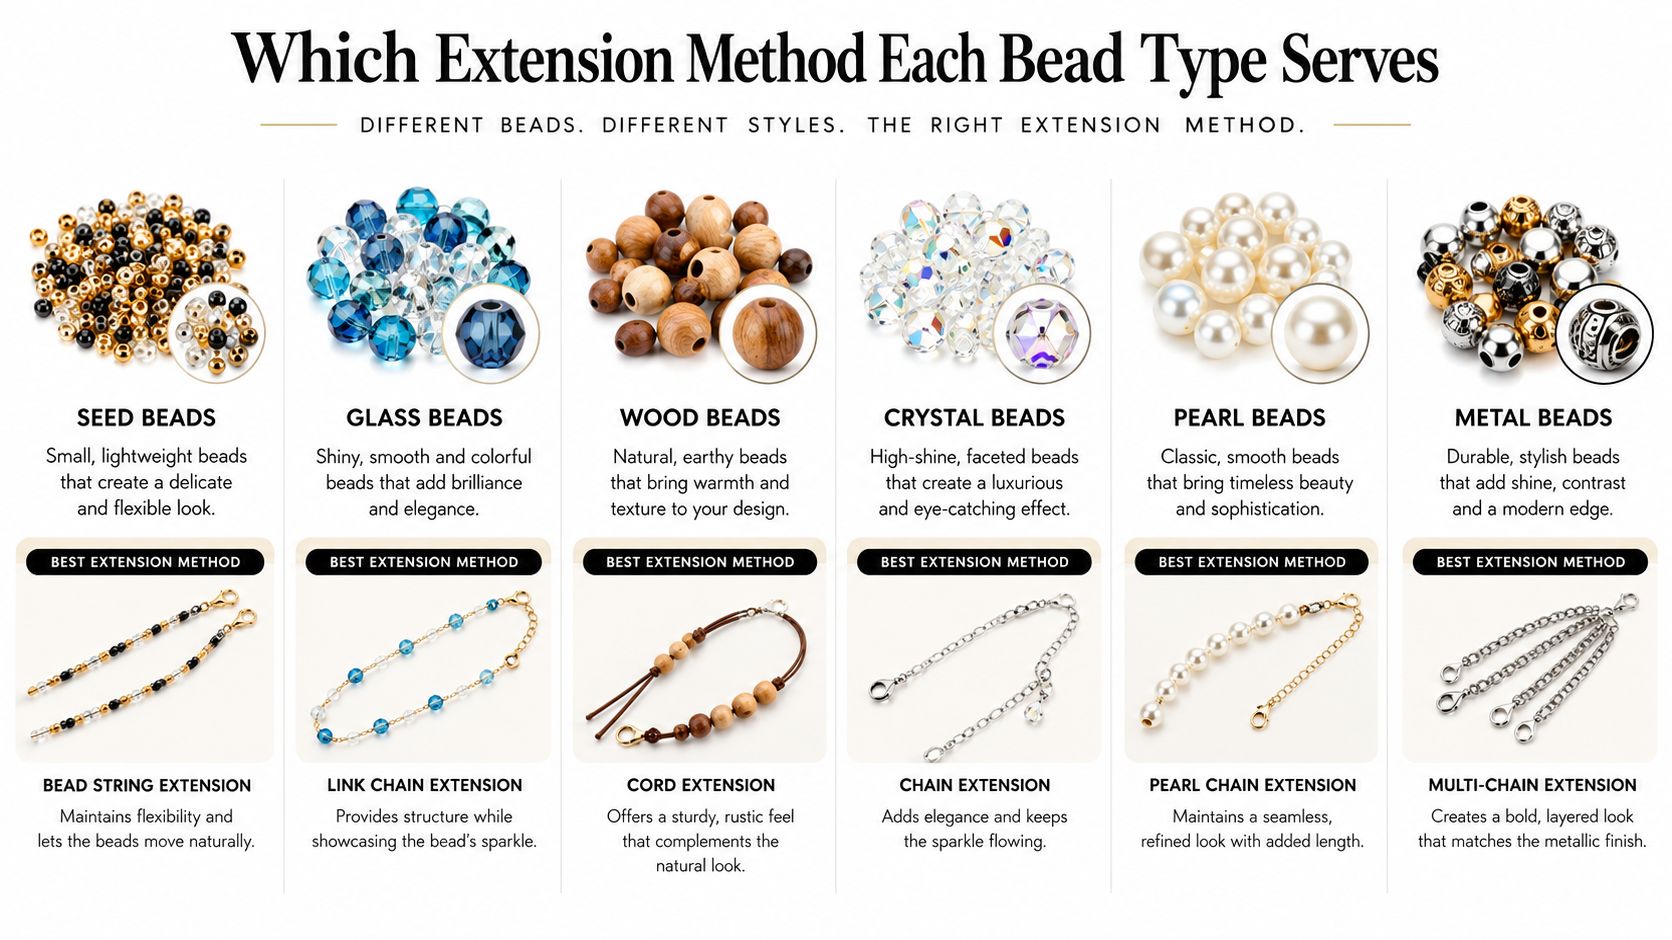
A beaded attachment is not automatically preferable to a flat adhesive or a bonded method. A client with very fine hair may need weight distributed across a broader surface, making Tape-In or Tape Weft a more logical choice than repeated point attachments. A client who needs a hand-tied foundation may be better served by Volume Weft or Thin Weft with a carefully planned beaded anchor rather than individual microlinks throughout the head.
Heat-bonded methods can supersede beads when the client's desired result depends on a matched fusion tip and the hair profile can tolerate that process. The decision branch is straightforward: silicone-lined micro-beads suit routine resettable work, resistant hair may accept plain aluminum, and keratin beads belong only with compatible tip systems.
A secure install begins with sectioning, not plier pressure. Horizontal partings should be clean and consistent, with isolated strands controlled by a rattail comb. The pressure line should travel consistently down the head so the beads form a controlled horseshoe pattern rather than an uneven row that catches during brushing.
The bead should sit about 1 cm away from the scalp, with professional row spacing commonly planned at roughly 2 cm, as noted in the earlier placement guidance. That clearance gives the hair room to move and helps prevent the bead from pressing directly into the scalp as the install grows out.
Thread the natural section through the bead, insert the extension tip, and check the position before closing. The bead should be nearly flat after compression, but it shouldn't be crushed. The professional micro-loop plier should meet the bead squarely, because an angled jaw can create one hard edge and one loose edge.
A second opposing crimp can help prevent rotation on the bead's axis, but the stylist should avoid repeated crushing. Every extra clamp changes the wall and may create a fatigue point. The goal is stable compression, not maximum force.
Before the client leaves the chair, perform three checks:
Removal should reverse the clamp, not fight it.
Use a bead-opening tool to reverse the compression rather than prying the bead sideways. Open the bead gradually so shed hair doesn't migrate into the extension and become trapped. The half-full rule also matters during removal. If the bead cannot reopen cleanly to approximately half its original volume, retire it instead of forcing it back into service.
A clean removal protects the natural hair and preserves usable extension hair. Pulling, twisting, or levering a closed bead can create unnecessary friction at the attachment point, especially when shed hair has wrapped around the base.
Beaded-row and microlink installs are commonly scheduled for a 6 to 8 week move-up, with the stylist repositioning each row closer to the scalp while checking bead integrity, tension, and fit, as shown in this professional move-up scheduling reference. The appointment is not a tightening service. It is an inspection of how the attachment has behaved under growth, washing, brushing, and styling.
The stylist should measure the grow-out visually and by touch. As the natural hair migrates, the bead gains purchase and can swing farther from the scalp. The supplied technical guidance identifies a practical recalculation point when movement exceeds 1 to 1.5 cm, but that range should be treated as a service benchmark, not a universal tolerance for every client.
A bead can be reused only if its wall remains stable, the opening returns to shape, and any silicone liner remains intact. A distorted bead, cracked wall, sharp edge, or damaged liner should be discarded. Reuse isn't a count-based promise. It depends on what the hardware looks and feels like after removal.
The same principle applies to extension hair. A strand that has been repeatedly manipulated at a damaged tip may no longer be suitable for another install, even if the lengths still look usable. The move-up consultation should separate hardware inspection from hair inspection.
The following signs deserve action before the next scheduled appointment:
Guidance on expected wear and maintenance is also discussed in this extension longevity guide. The stylist should shorten the interval when the client has rapid growth, high friction from daily styling, difficult home maintenance, or a hair texture that exposes slippage quickly.
Micro-beads don't belong on every head. A history of traction alopecia, active scalp inflammation, post-chemotherapy regrowth under 5 cm, or hair finer than 50 microns creates a risk profile where localized bead pressure may exceed the hair's tolerance. Those measurements and conditions are part of the supplied clinical-style risk guidance, which also warns that extensions can contribute to traction alopecia and mechanical breakage when tension, fit, or maintenance are poor. The full risk discussion appears in this traction alopecia and extensions explainer.
Chemically treated hair needs separate scrutiny. Bleached or relaxed strands may have reduced cuticle integrity and can slip or fracture under a clamp even when the bead has been installed correctly. A discreet attachment can hide the warning signs, so invisibility shouldn't be used as evidence that the method is safe for fragile hair.
A hand-tied weft with beaded anchors limited to the perimeter can reduce the number of localized attachment points while preserving a controlled foundation. Tape-in extensions can distribute weight across a flat adhesive bond, which may be preferable when point loading is the primary concern. A compatible keratin fusion method may be considered when the stylist can calibrate the heat process appropriately for the client's hair condition.
None of these alternatives removes the need for consultation. A flat bond can still be poorly placed, a weft can still be too heavy, and a fusion attachment can still be unsuitable for compromised hair. The method must match the hair's current condition, not the client's preferred photograph.
Referral is part of professional extension work. If the scalp shows inflammation, progressive thinning, broken areas, or unexplained shedding, the stylist should pause the install and refer the client to an appropriate licensed medical professional. A concise service record and clear client communication protect both the guest and the salon. Stylists building that communication into their professional identity can also review these professional bio examples for stylists.
For clients better suited to a flat bond, the technical differences are outlined in this guide to Tape-In extensions. The most credible recommendation may be declining beads entirely and offering a lower-load option, or postponing extensions until the hair and scalp can be assessed safely.
Conde Professional offers Volume Weft, Thin Weft, Tape Weft, K-Tip, Tape-In, Clip-In, and Bulk hair alongside aluminum, silicone-lined, and keratin bead accessories for licensed professionals. Review the available methods and shade options at Conde Professional, then open a professional account and match the attachment system to the client's friction, density, and maintenance requirements.


