Your cart is empty
Tax included and shipping calculated at checkout

Drawer menu
Tax included and shipping calculated at checkout
A professional account gives you stylist pricing, priority support, early access to new releases, and education developed by working stylists.


Tape-ins aren't automatically safe for thin hair, and “lightweight” doesn't remove the need for load control. They can be an effective volume method when the stylist maps density, keeps the install sparse, and matches the client's styling habits to the maintenance required.
Tape-ins distribute weight over a wider attachment area than a single fusion bond, which helps them lie flat and blend close to the scalp. They still create sustained tension, however, and that tension can contribute to traction alopecia if the natural hair can't support the installation. The correct question is not just whether the client has fine hair. It's whether the client's density, chemical history, styling routine, and maintenance tolerance support this method.
More than 50% of females experience noticeable hair loss, and Cleveland Clinic estimates that about 30 million people in the United States have female-pattern hair loss, the most significant cause of hair loss in women. Cleveland Clinic's overview of hair loss in women helps explain why thin-hair extension work represents a substantial professional service category. It doesn't mean every client with thinning hair should receive tape-ins.
Traction alopecia is driven primarily by sustained tension and associated hair-care practices, rather than hair type itself, as outlined in this clinical review of traction alopecia. A client with fine but resilient hair may tolerate a carefully mapped install, while a client with dense-looking hair and aggressive daily ponytails may be a poor candidate.
Start with a scalp and density assessment, not a shade ring. Look for fragile perimeter hair, short broken pieces around the parting, tenderness, redness, and areas where the client already experiences shedding or breakage. A stylist shouldn't diagnose a medical condition, but visible instability is a reason to postpone the install and refer the client to an appropriate healthcare professional.
Ask direct questions:
Consultation rule: Thin hair isn't a method. It's a density condition that requires a load and lifestyle decision.
A client who already reports scalp discomfort, persistent pulling, or breakage around previous attachments shouldn't be sold a stronger version of the same tension pattern. Consider Clip-In or a lower-tension styling plan instead. The professional guide to extensions for fine and thin hair can support the consultation, but the final decision should come from the client's actual density and habits.
Adhesive doesn't compensate for rushed preparation. Oil, conditioner, styling residue, and incomplete drying create slip at the root, so the bond can peel or slide even when the sectioning looks clean. Professional preparation guidance consistently calls for removing those contaminants and applying tape only to fully dry hair, as described in this tape-in preparation guide.
Begin with a consultation-approved cleanse that removes residue from the attachment zone. Keep conditioner and masks away from the root area, then dry the hair completely before creating the installation map. Don't add oil, serum, leave-in conditioner, or smoothing cream to the bonding area.
Fine density needs small, controlled horizontal sections. The section should contain enough natural hair to form a stable adhesive sandwich, but not so much that the tabs fail to contact evenly. A thick section creates internal gaps, while an overly thin section may lack the support needed for the selected panel.
Use a clean parting pattern that follows the client's fall and preserves a natural veil above each row. Keep tabs away from exposed hairlines, active partings, and areas where the client frequently changes their part. The tape-in extension placement board can help standardize row planning across the salon.
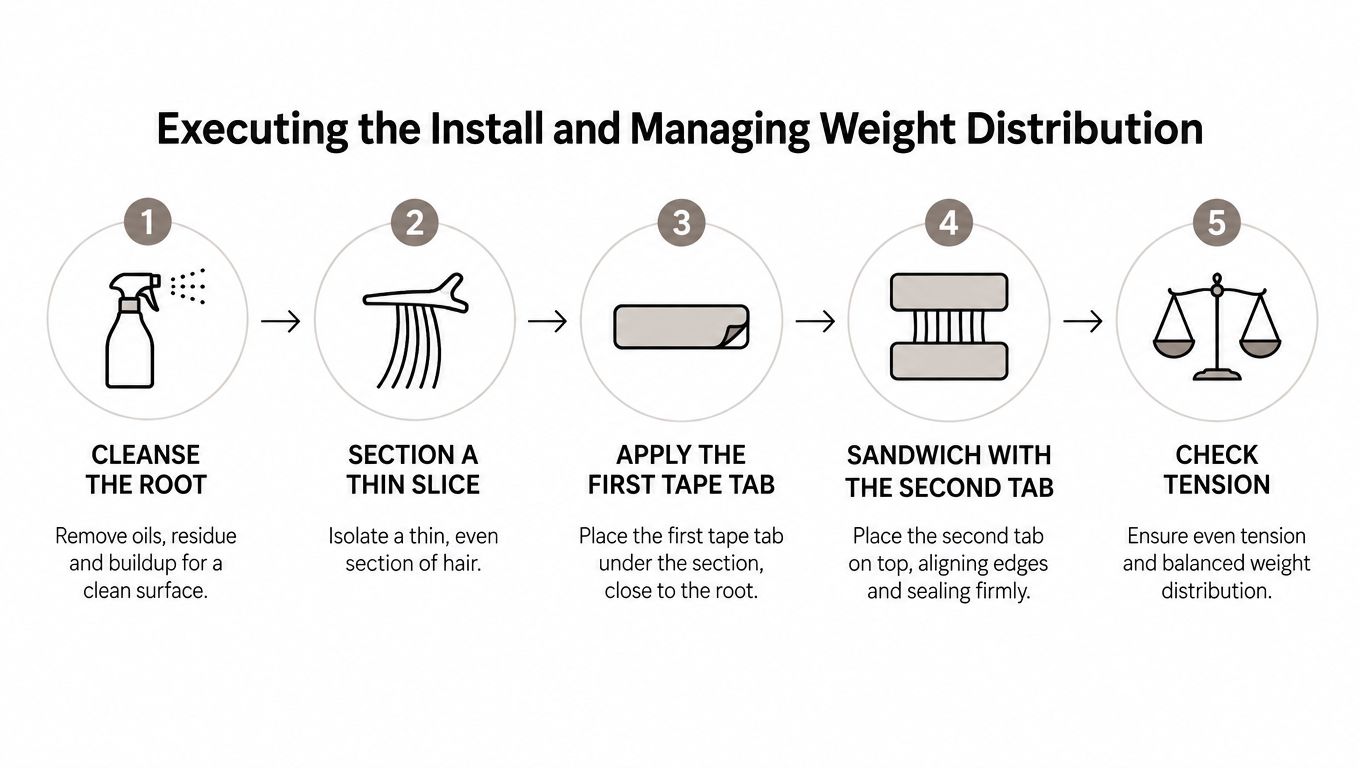
A practical same-day checklist looks like this:
Flaking requires a separate conversation. A stylist should address the client's scalp-care routine without applying scalp treatments directly beneath adhesive. For clients who need a gentle routine discussion, this peat-based routine for flakes offers useful context that can be reviewed before the install is scheduled.
The tape-in sandwich must sit flat, capture an even slice of natural hair, and preserve movement at the root. Place the first adhesive panel on a clean horizontal section, align it without trapping stray hairs, then press firmly and evenly. Position the matching panel so the natural hair sits between both adhesive tabs, and seal the sandwich with consistent pressure across the full attachment area.
The bond should be close enough to support a flat profile, but never pressed directly onto the scalp. Expert guidance recommends keeping the placement about 1/8 to 1/4 inch off the scalp and limiting total extension weight to roughly 2 to 3 ounces for thin-hair clients to reduce slippage and traction stress, according to this thin-hair extension safety guide.
Check the section before closing the second tab. If the natural hair is too thick, the panels won't meet evenly. If the slice is too thin for the selected panel, the attachment may feel tight and place disproportionate stress on the captured strands.
Keep the following controls visible during the install:
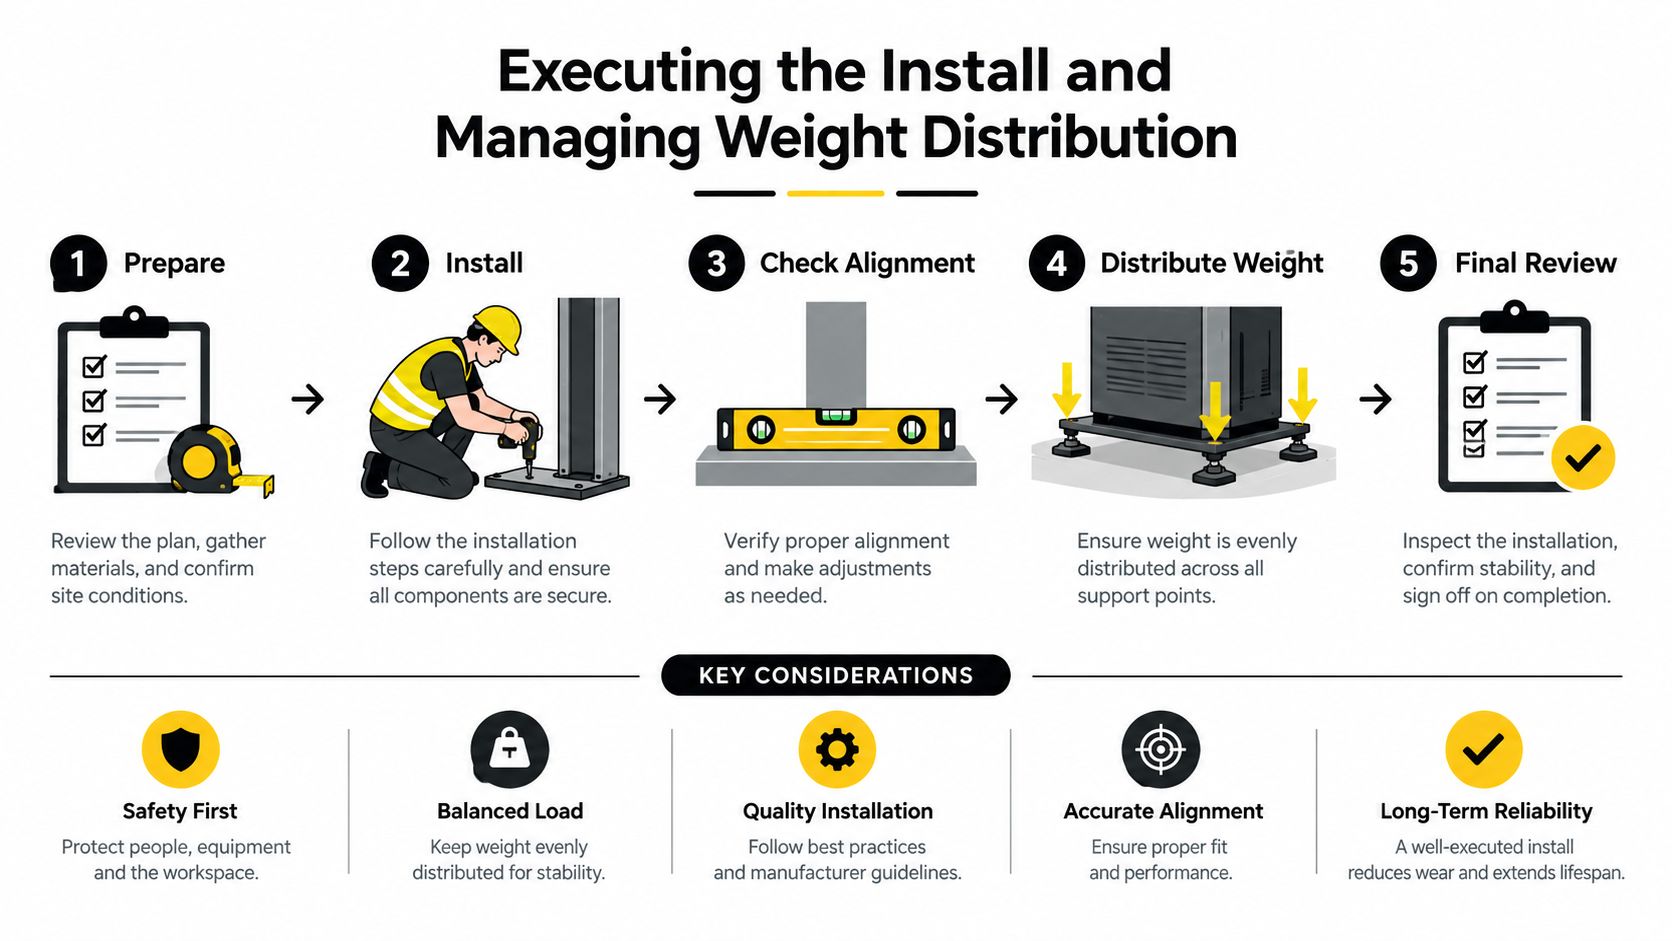
The tape-in volume guide is useful when planning placement around the client's desired fullness, but the stylist still has to decide where volume can be supported. Avoid filling every available row just because the client wants more density. Add volume where the natural hair can conceal the attachment and where the load remains distributed.
A Tape-In can be the wrong choice when the client needs major length, has unstable perimeter density, or won't accept professional maintenance. A Clip-In may suit occasional styling, while a Thin Weft or Volume Weft may work for a different density pattern only when the attachment plan can support the profile. K-Tip, fusion bonds, and beaded row methods shouldn't be selected merely because the client wants a more permanent result.
Fine hair exposes bulky construction quickly. The stylist should select the lowest-profile option that delivers the requested result, then use placement and layering to create the visual impression of fullness rather than loading the entire head.
For Conde Professional collections, the relevant choices include Tape-In, Tape Weft, Thin Weft, and Volume Weft. A Tape-In generally suits a flat, close-to-scalp attachment plan. A Thin Weft can be considered where a weft profile is appropriate and the client has enough support for that construction. Volume Weft may be excessive for sparse density, especially if the stylist is trying to solve a small volume concern with broad coverage.
For fine hair, the attachment shouldn't become the focal point. Use fewer, strategically positioned panels when the client wants crown-adjacent fullness, and reserve additional density for areas with adequate camouflage. The blend should be cut into the natural shape rather than left as a heavy shelf beneath fine ends.
Shade selection also affects perceived density. Solid shades can create a clean match when the natural hair is uniform, while balayage, bronde, highlights, rooted, and superblend families can soften contrast where the client's color carries several tones. A warm solid such as Light Golden Brown #5.3 may suit a consistent golden light-brown base, while a dimensional blend can reduce the need to create visual depth through extra hair.
The broader category is moving toward discreet construction and more precise shade matching. A market projection places the global hair extensions market at about USD 4.41 billion in 2026, with demand driven largely by lower-visibility, lower-bulk solutions and better matching for fine-hair clients, according to The Business Research Company's hair extensions market report.
Supplier labels such as 6A, 7A, 8A, 9A, and 10A aren't governed quality standards. Cuticle integrity, alignment, shedding, combability, and durability are measurable criteria that matter more than a marketing grade.
A safe move-up is set by grow-out, attachment condition, and the client's wear pattern, not convenience alone. Professional maintenance commonly follows a 4-to-8-week move-up cycle, with 6 to 8 weeks often used as the standard interval, depending on natural grow-out and installation stress. Review this guide to how long tape-in extensions last alongside the professional tape-in maintenance guide when setting expectations.
As the hair grows, each bond sits farther from the scalp. The increased tension at the bond can raise strain, encourage twisting, and allow shed hair to gather around the attachment. A client who stretches appointments too far may arrive needing careful detangling and breakage management rather than a routine move-up.
Remove each panel with the appropriate professional method, then separate and detangle the natural hair carefully. Inspect the attachment zone before deciding where, or whether, to reinstall. Tenderness, significant breakage, matting, or repeated stress at one bond are reasons to change the plan instead of placing another panel in the same location.
Clean the attachment area, let it dry completely, and rebuild the row with fresh alignment. Repeated edge peeling or twisting may indicate that the client needs fewer panels, a revised placement map, or a temporary break from extensions. The move-up is also the point to reassess whether the current load still suits the client's density and daily styling habits.
Give written instructions and connect each rule to the condition it prevents:
The extensions may still look attractive while the attachment becomes unsafe. Judge the appointment by the condition of the natural hair and bond, not cosmetic appearance alone.
Slippage usually has a cause, and the cause determines the correction. Residual oil, conditioner, or styling residue weakens adhesion. Sections that are too thick prevent an even bond. Heavy root products and inconsistent aftercare can accelerate sliding, as detailed in this guide to thin-hair extension maintenance.
Edge peeling with a clean, comfortable base often points to preparation or product contamination. A panel that feels tight, pulls during movement, or creates tenderness suggests a placement or load problem. Those conditions shouldn't be corrected by pressing the bond harder or adding more adhesive.
Watch for:
Traction alopecia can begin as non-scarring loss and may progress to scarring or permanent loss if sustained stress continues. The practical response is early removal and reassessment, not waiting for shedding to become obvious. A stylist reviewing risk controls can use Conde Professional's guidance on tape extension damage as part of a salon protocol audit.
Audit the next consultation form today. Add fields for chemical history, tight-style frequency, scalp sensitivity, baseline density by zone, previous extension reactions, and the client's agreed move-up date. Then review one completed thin-hair install for section thickness, scalp gap, total planned load, bond condition, and aftercare documentation before booking another full-head service.
Conde Professional supplies licensed professionals with Tape-In, Tape Weft, Thin Weft, Volume Weft, K-Tip, Clip-In, and Bulk options, alongside shade families, color rings, tapes, beads, and installation accessories. Review the professional collection and service resources at Conde Professional, then open a professional account before ordering for salon use.


