Your cart is empty
Tax included and shipping calculated at checkout

Drawer menu
Tax included and shipping calculated at checkout
A professional account gives you stylist pricing, priority support, early access to new releases, and education developed by working stylists.


A client arrives with clean hair, a last-minute event on the calendar, and a request for length and volume that must look invisible in photographs. The professional answer is to build the style from the inside out: map the sections, control the density, match the texture, then apply disciplined heat and finish work. Clip-ins are temporary extensions attached with small clips, designed for fast installation and removal rather than long-term wear, which makes them particularly useful for event styling and low-commitment transformations.
Professional clip-in styling isn't a matter of curling the client's natural hair and adding length. The result depends on where each weft sits, how much natural hair covers it, how density is distributed, and how the finished texture moves. A clip-in can be high quality and still look obvious if the sectioning is too high, the weft is overloaded with hair, or the top layer is too thin to conceal the attachment.
Clip-ins also require a different decision process from a Volume Weft, Thin Weft, Tape Weft, K-Tip, or Tape-In. Those methods are selected around retention, attachment structure, and ongoing wear. Clip-ins are selected around temporary architecture. They must support the intended shape for the appointment, then remove cleanly without compromising the hair for the next use.
Practical rule: If the clips are visible before finishing, styling won't reliably hide a placement problem.
A salon-level workflow begins with a clean, fully detangled foundation. The stylist then maps horizontal rows from the nape upward, chooses weft width by zone, checks that the natural hair can support the clips, and leaves sufficient coverage above the highest row. Cutting comes after the attachment pattern is stable, because the extension length and density need to be assessed against the client's actual perimeter.
Cuticle-intact, Remy hair rewards careful handling. Rough detangling, aggressive thinning, and repeated high heat can reduce smoothness and combability, making future installs harder to blend. The objective isn't to make every strand identical to the natural hair. It's to create a controlled relationship between the two textures so the extension supports the client's shape instead of sitting beside it.
For salon education and marketing teams building a repeatable teaching library, hair stylist content ideas with Outrank can help organize technical topics around the questions stylists face. The useful editorial principle is the same one used behind the chair: lead with the decision, show the method, and explain the trade-off.
Clip-ins are commercially relevant because they occupy a substantial part of the extension category. One market report valued the overall hair extension market at USD 2.87 billion in 2025 and projected USD 5.54 billion by 2034, while a separate clip-in-specific estimate placed the clip-in human hair extension market at USD 1.14 billion in 2025 and projected USD 2.10 billion by 2034, with a 7.20% CAGR (Fortune Business Insights market data). That scale reinforces a practical point for salon owners: stylists need a serviceable system for temporary volume, bridal work, photo styling, and clients who aren't ready for a permanent install.
Preparation determines whether the attachment disappears. Start with clean, fully dry, fully detangled natural hair and Clip-In hair. Product buildup can reduce clip grip, while residual moisture changes the natural fall and makes the section map unreliable. Detangle from the ends upward, support the hair near the root, and make sure each weft is free of knots before opening the clips.
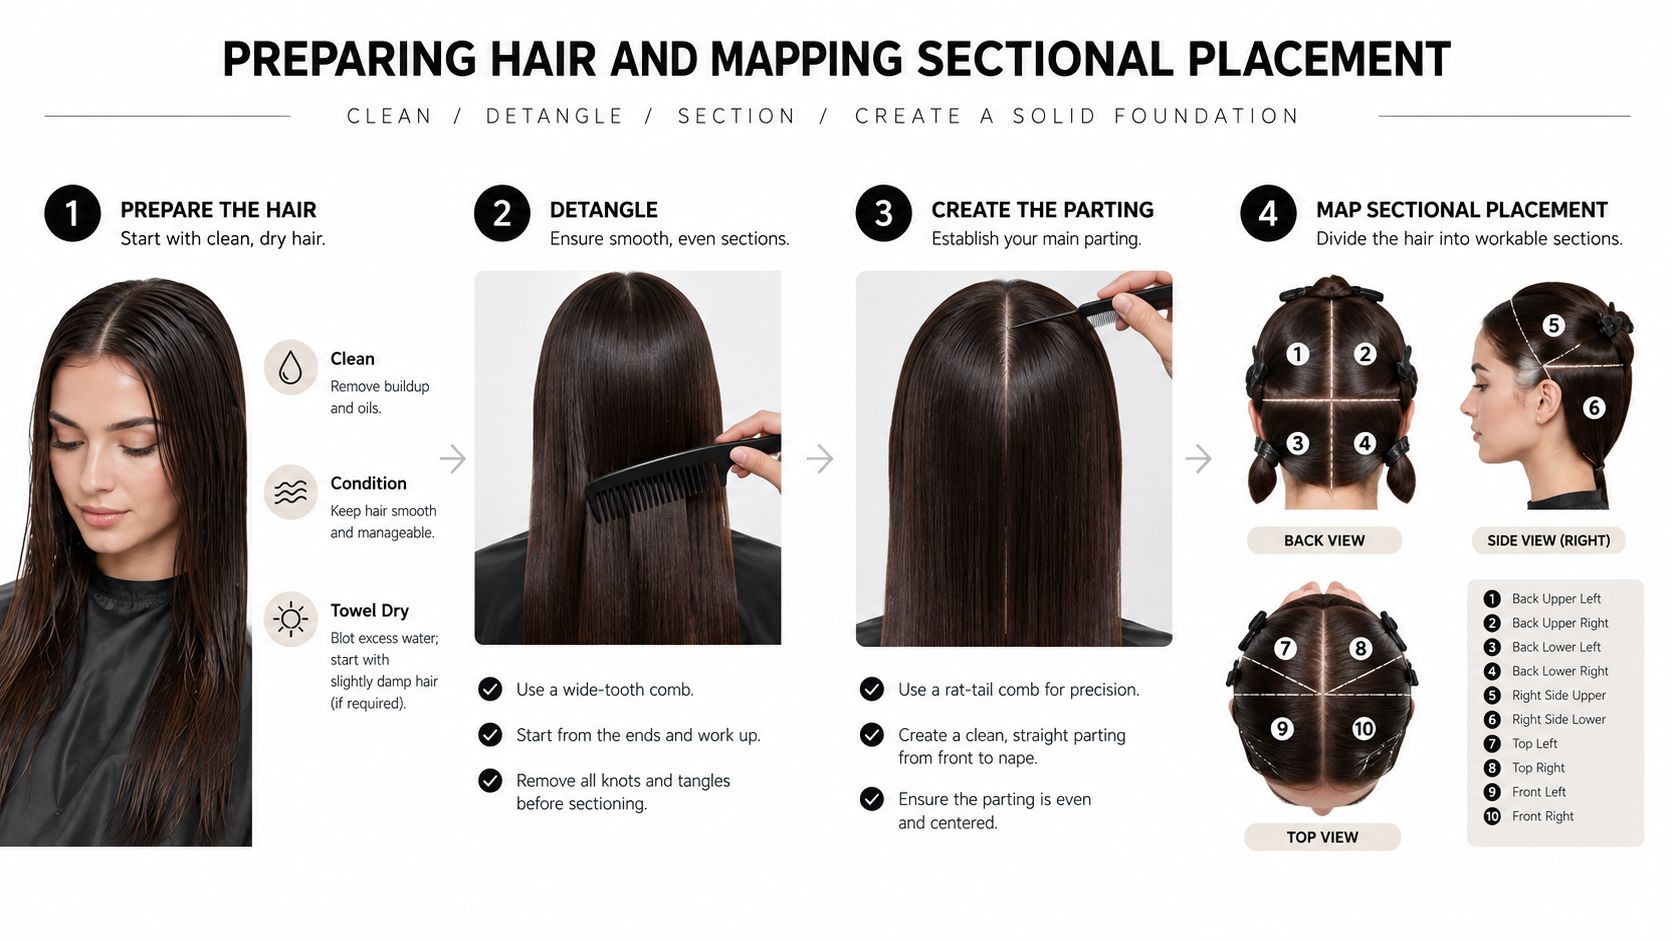
Use a clean horizontal parting from the nape upward. The first row typically sits about 1 inch above the nape, with additional rows spaced roughly 1 to 1.5 inches apart. Start with the largest weft at the nape, then work upward toward narrower pieces. The lower section provides the broadest coverage and gives the upper rows a balanced base.
Keep the parting clean but don't make it so thin that the clips sit directly against fragile or sparse hair. Backcomb only where necessary for grip, and keep that support controlled. Excessive teasing complicates removal and can create unnecessary friction around the attachment.
Side pieces should sit slightly above the ears and at a slight angle that follows the head shape. A perfectly horizontal side placement often pushes the hair outward, while an angled placement follows the curve of the skull and helps the extension fall with the natural side panel.
Leave approximately 2 to 3 inches of natural hair above the highest weft so the clips remain covered when the client moves or changes parting. This coverage hair needs enough density to hide the seam, but the section shouldn't be so heavy that it pulls the style downward. Check concealment with the client's head upright and tilted, since a weft that disappears in a static rear view may show when the hair shifts.
The Conde Professional extension placement guide is useful for reinforcing this architecture with a salon team. The same placement logic applies across a full set, a partial volume service, and an event-specific install, but the number and width of wefts should follow the desired shape rather than a fixed formula.
Country-of-origin disclosure is a separate merchandising issue from quality. FTC guidance for wigs and other hairpieces requires human-hair products of foreign origin to disclose the foreign country or foreign area of origin (FTC labeling requirements in the Code of Federal Regulations). Salon owners should keep that compliance question distinct from cuticle evaluation.
Cutting should make the extension follow the client's movement, not erase the extension's structure. A dense, double-drawn perimeter may need softening, but indiscriminate texturizing can create frizz, gaps, and an uneven silhouette. The stylist must decide whether the natural hair needs to be brought toward the extension shape, the extension needs to be adapted to the natural shape, or both need a measured adjustment.
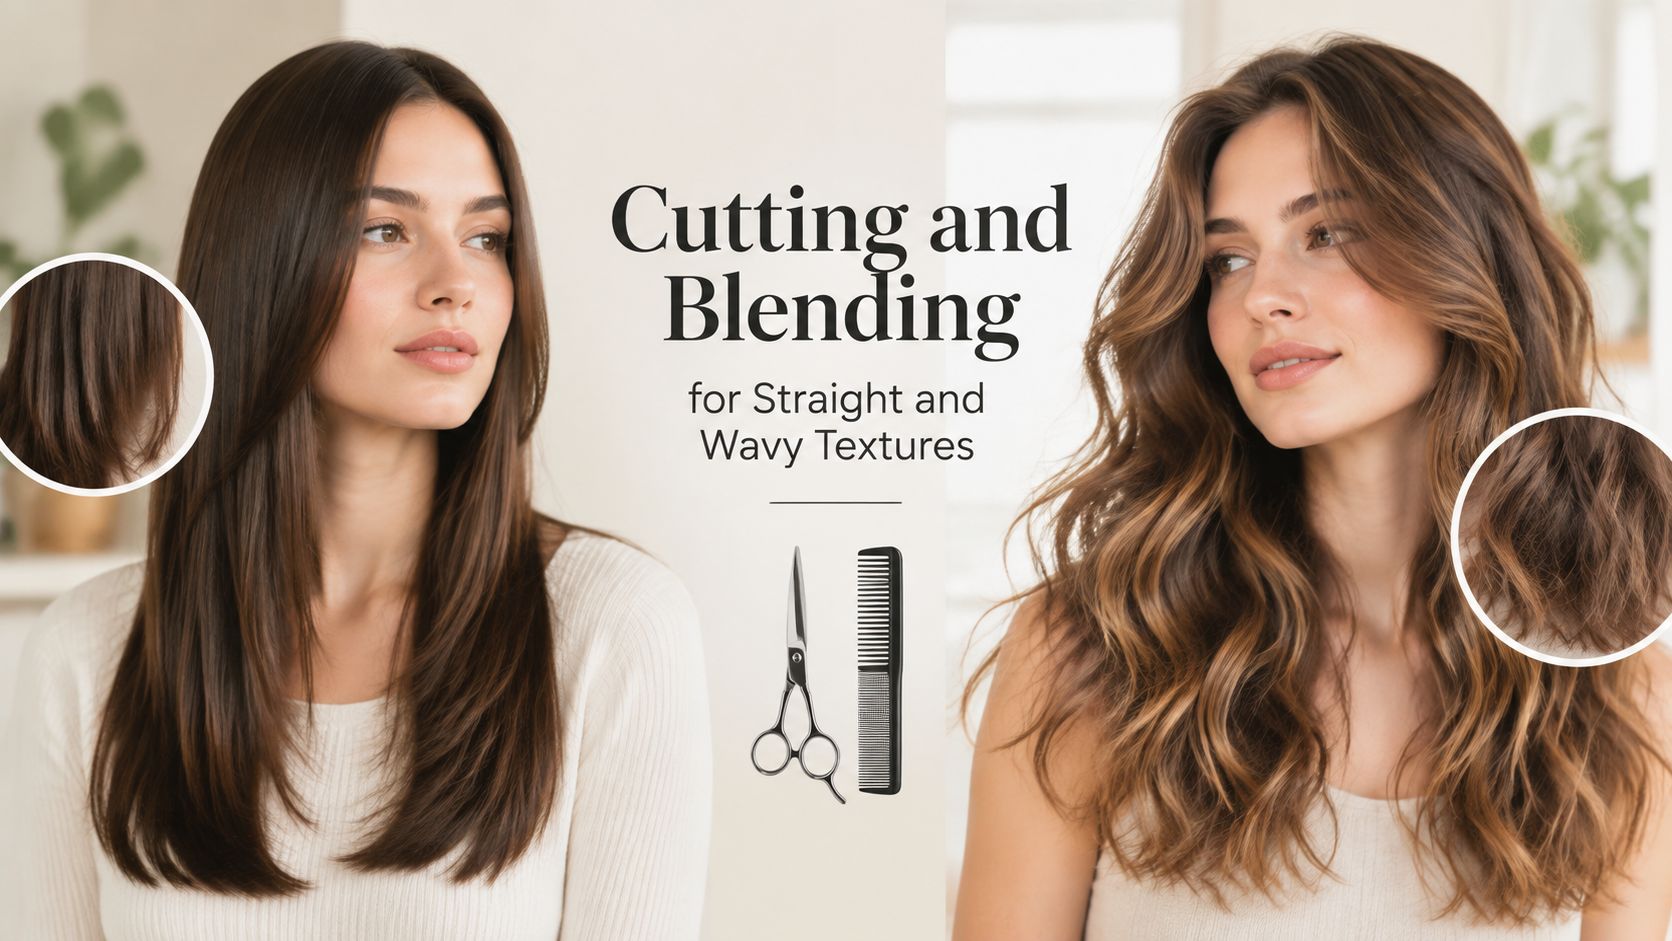
On straight hair, point cutting is useful at the perimeter when the ends look too solid against a finer natural baseline. The shear should enter the ends selectively, preserving enough density to prevent a transparent finish. Slide cutting can create a longer, softer transition through the mid-lengths, but it needs restraint on cuticle-intact hair because over-sliding can leave the extension looking thinner than the client's natural hair.
Texturizing shears aren't a default answer. They can remove bulk quickly, but repeated passes through double-drawn ends may produce an inconsistent edge that catches light and separates during movement. For a blunt or polished style, a small amount of point work often gives better control than a broad thinning pass.
Dead-straight styling exposes seams and density changes more readily than a soft wave. If the finish feels stiff, curl or wave the natural hair and extensions together, allow everything to cool, and brush through only afterward. That creates a connected surface rather than two separate curl patterns.
Wavy Clip-In hair should be assessed in its natural pattern before cutting. Cutting wet can make the wave recoil unpredictably, while cutting fully stretched can produce an uneven perimeter once the pattern returns. A stylist may use a controlled dry assessment, then refine only the areas that disrupt the client's existing movement.
For wavy hair, point cutting can preserve softness at the ends, while slide cutting may be appropriate through selected interior areas where the extension carries more density than the natural hair. Texturizing shears should stay away from the most visible perimeter unless the stylist has confirmed how the wave will contract.
Cutting principle: Remove weight from the zone that creates the mismatch, not from every zone that feels dense.
Cut the extension on the head when the final shape depends on the client's fall, crown direction, and side movement. This is particularly useful for layered silhouettes, side-swept styling, and wavy textures where the relationship between natural hair and extension changes with the head angle.
Cut off the head when the goal is a clean, controlled alteration to a detached weft, such as reducing an excessive length before installation or creating a consistent base shape. The risk is losing the client-specific reference point. After an off-head cut, reinstall the weft and reassess the perimeter from the front, sides, and back.
For highlighted or dimensional sets, shade placement and movement need to work together. The professional guide to highlighted clip-in extensions can support consultation, but the finished blend still depends on where the light and dark pieces sit within the client's natural parting.
Heat should refine the blend, not compensate for poor placement. Begin with dry, detangled hair, apply heat protectant, and keep tools in a low-to-medium range around 250 to 350°F, adjusting according to hair quality, texture, and styling frequency (Barely Extensions' heat-safety guidance). Keep direct heat away from the metal clips. The attachment hardware can become hot and transfer heat into the natural hair or compromise the clip area.
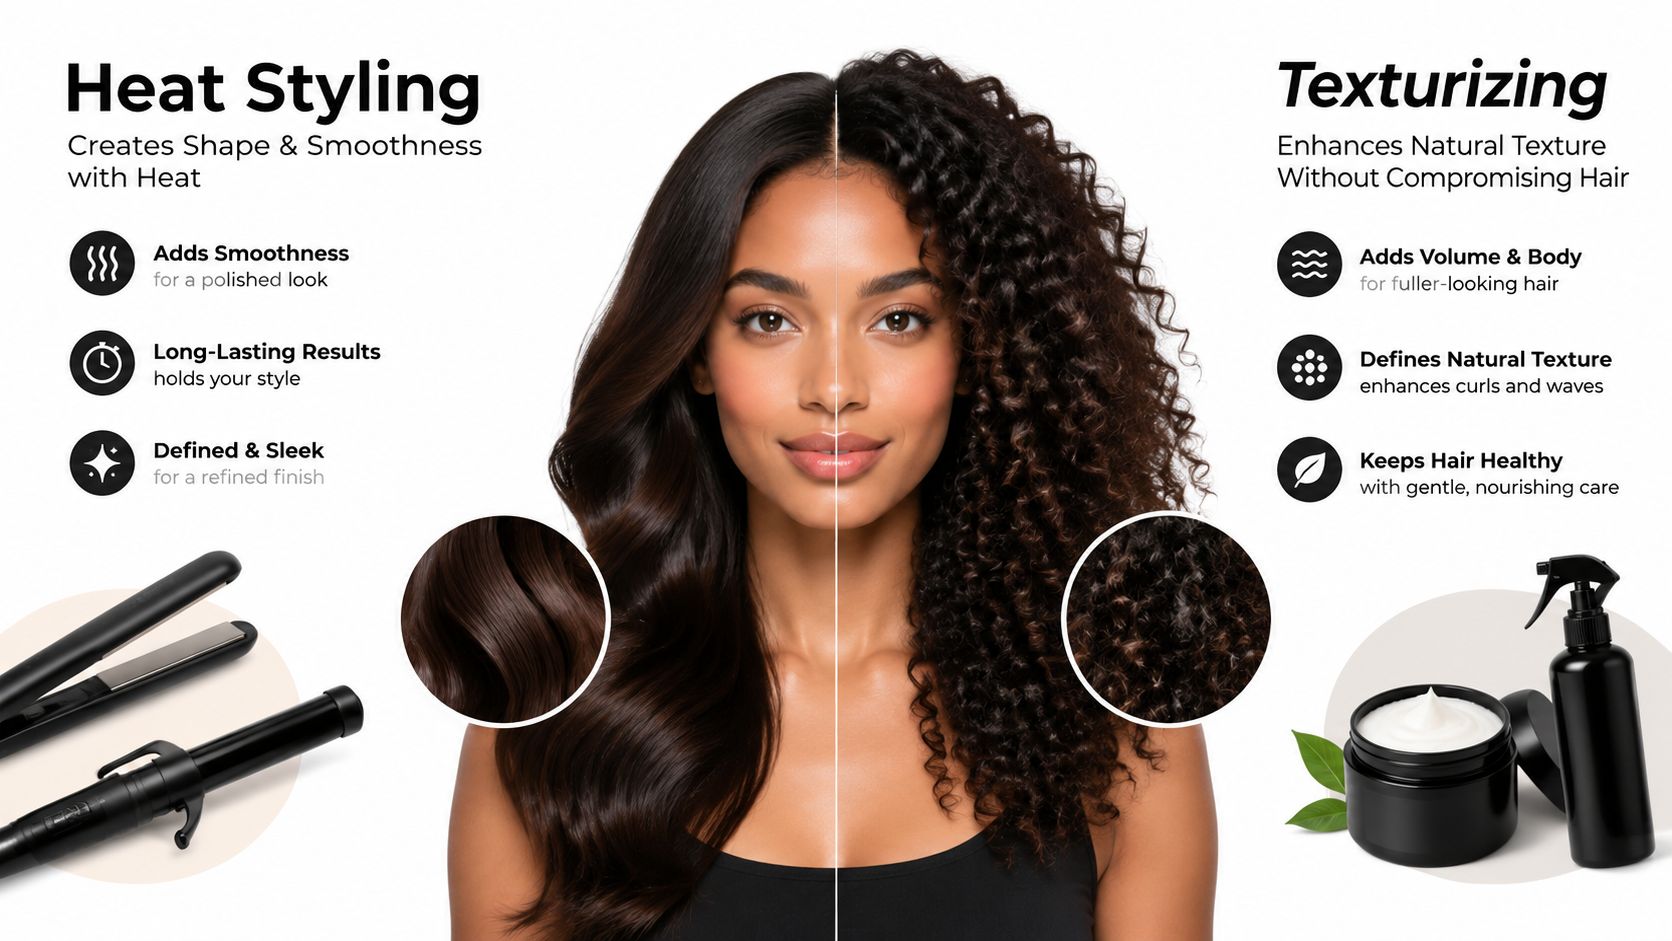
A straight texture may need a controlled pass to align the surface, while a wavy texture often needs less manipulation and more support for its existing pattern. Apply protectant through the lengths and ends, comb it through evenly, and allow the product to distribute before using a tool. Avoid saturating the attachment area, particularly where excess product could reduce grip.
Style the natural hair and extension together whenever possible. A curl formed only in the extension can look separate from the client's own hair, while a shared section creates continuity. Work in manageable sections, keep the tool moving, and avoid repeated passes over an area that has already taken shape.
| Hair situation | Starting approach | Blend technique | Main caution |
|---|---|---|---|
| Straight Clip-In, occasional styling | Low-to-medium heat, protectant, controlled pass | Curl natural hair and extension together, then brush after cooling | Don't clamp heat over clips |
| Straight Clip-In, frequent restyling | Use the lowest effective setting | Prefer soft set or limited thermal work | Repeated heat can reduce fiber integrity |
| Wavy Clip-In, occasional styling | Preserve the existing wave where possible | Enhance selected sections, then separate gently after cooling | Don't stretch the entire pattern |
| Wavy Clip-In, frequent restyling | Favor nonthermal shaping | Use setting, braiding, or controlled air-drying methods | Avoid forcing a new pattern repeatedly |
Brushing before the hair cools can pull out the shape and create separated curls. Wait until the hair has cooled completely, then use fingers or a suitable brush to soften the surface. The finished result should show movement without visible curl boundaries.
The professional hair straightener treatment guide can help a salon standardize tool handling and preparation. Conde Professional's Clip-In collection includes straight and wavy options, allowing the stylist to begin with a texture closer to the client's natural movement instead of relying on heat to create the entire blend.
A bride wants a fuller chignon for one day, a photo client needs a longer ponytail for a controlled shoot, and another guest wants volume without committing to a beaded row, microlinks, or fusion bonds. In each case, clip-ins can be the smarter method because the stylist can install them for the event, shape them with the natural hair, and remove them afterward. They aren't the right answer for every lifestyle, but their temporary structure is an advantage when retention beyond the appointment isn't needed.
For a low bun, keep the broadest weft low enough to contribute density without creating a ridge under the gathered hair. Place additional pieces where the bun needs internal support, then direct the natural hair over the clips before building the shape. The topmost attachment should sit beneath a stable coverage panel, not at the exact point where the hair will be pulled tightly.
A half-up style needs different planning. The crown and upper sides remain exposed, so the highest weft should sit below the half-up division, with the remaining hair directed over it. A small amount of controlled backcombing can improve grip, but the stylist should keep the base clean enough for comfortable removal.
For a ponytail, place wefts so the gathered direction helps hide the clips. Side pieces may need to sit slightly lower or farther back than they would for worn-down hair, depending on the ponytail height. The stylist should test the profile before securing the final elastic, because a placement that looks concealed from the back can show through at the temple or above the ear.
Effortless volume isn't the same as maximum density. Use only the wefts required to support the silhouette, then blend the natural hair and extension through the lengths. Excess hair can make a soft updo look rigid and can overwhelm the client's own perimeter.
The updo placement guide from Conde Professional can help stylists adapt attachment direction to the finished shape. A clip-in service works best when the consultation begins with the event style, not merely the desired length.
The final check should happen after the hair has cooled, the client has moved, and the style has been viewed from more than one angle. Brush or finger-comb the natural hair and Clip-In together, soften any separated curl groups, and use a light finishing product only through the mid-lengths and ends. Heavy product near the clips can reduce grip and make the hair look coated.
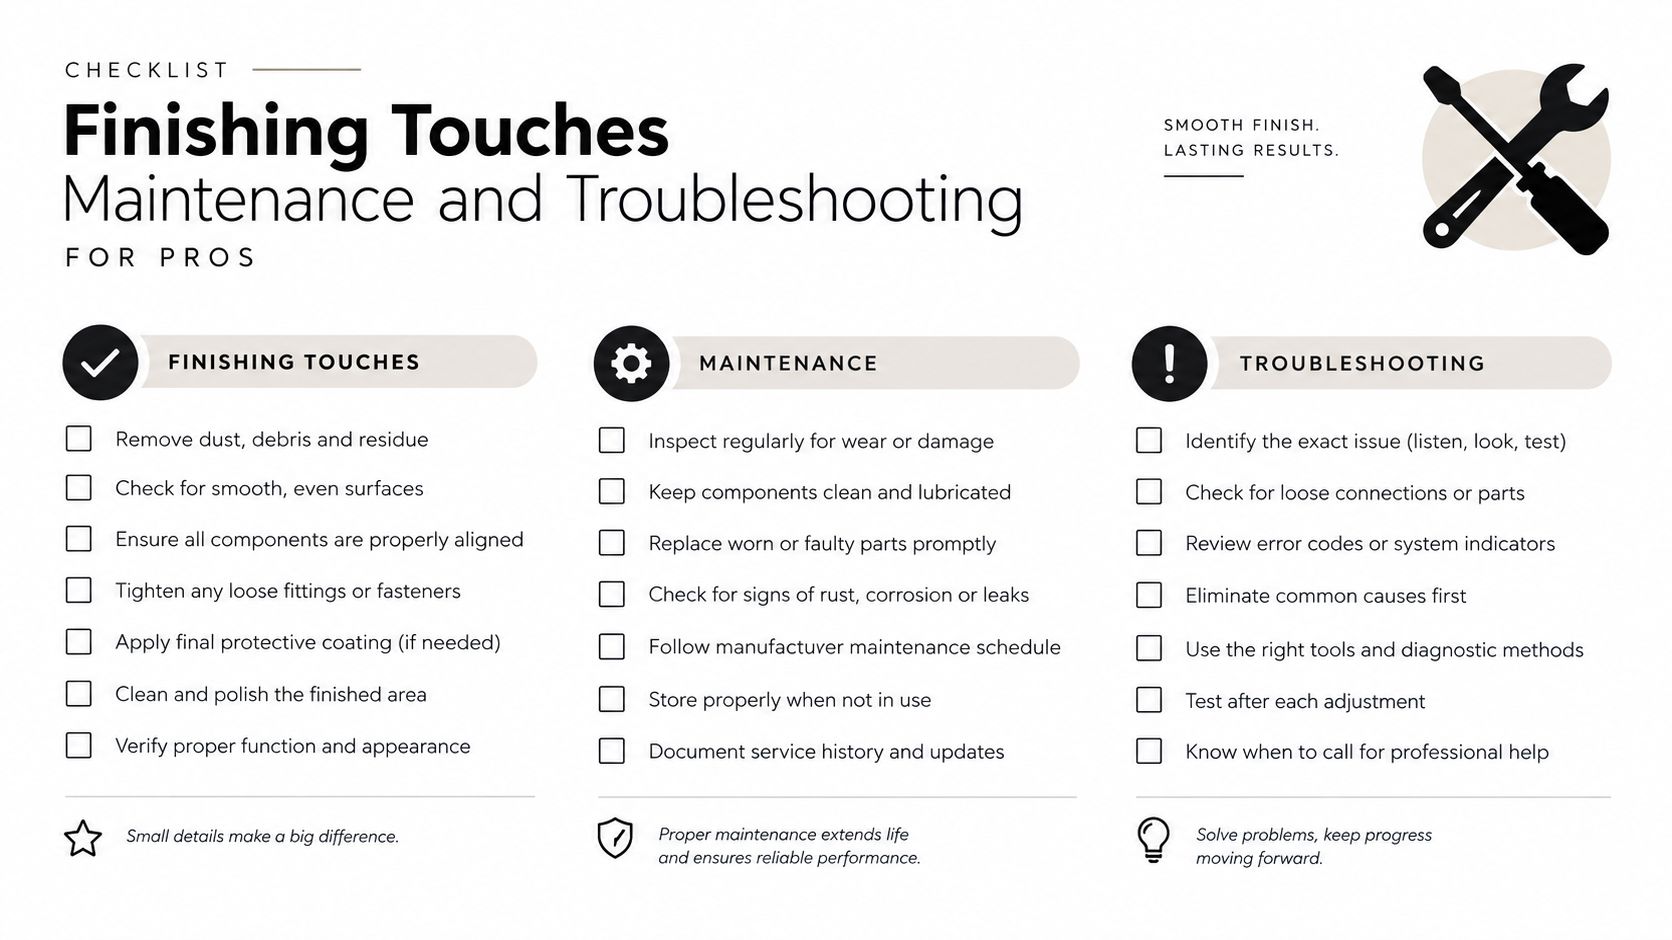
Ask the client to turn, tilt, and lift the hair as they would during the event. Check the highest weft, the side attachments, the nape, and the transition at the perimeter. A visible line usually points to insufficient coverage, an overly dense weft, or a section that was placed too close to the surface.
Explain removal without turning it into a rushed afterthought. The client should open each clip carefully, rather than pulling the weft down through the hair. The pieces should be detangled before storage, kept flat or hung in a way that doesn't crush the hair, and protected from unnecessary friction, moisture, and heat.
Cleansing should be gentle and directed through the hair rather than worked in circular motions. The professional guide to washing clip-in extensions provides a useful salon reference for maintaining the weft after use. The core quality check remains cuticle alignment. Intact cuticles running uniformly from root to tip support smoother handling, better moisture retention, and more natural shine, while stripped or misaligned cuticles are more prone to dryness, frizz, and breakage.
Conde Professional offers Clip-In alongside Volume Weft, Thin Weft, Tape Weft, K-Tip, Tape-In, and Bulk collections, with professional education and shade-matching support for licensed stylists. Open a professional account to access method guidance and build a repeatable clip-in workflow for shade selection, density planning, and event styling. Visit Conde Professional and make the account setup the next step before the next consultation.


