Your cart is empty
Tax included and shipping calculated at checkout

Drawer menu
Tax included and shipping calculated at checkout
A professional account gives you stylist pricing, priority support, early access to new releases, and education developed by working stylists.


The most popular advice about blending extensions starts too late. A visible extension line is usually created before the shears come out, by choosing too much weight, the wrong strand diameter, an unsuitable method, or a shade that only matched under salon lighting. Cutting can soften a transition, but it can't make disproportionate hair look naturally distributed.
Professional blending starts with proportion control. The stylist assesses the client's density, strand fineness, scalp sensitivity, chemical history, desired length, texture, and color behavior, then selects the method and amount of added hair. The finished result should show a continuous visual line from natural hair into extension hair, with no abrupt change in diameter, density, or movement.
A blunt line at the perimeter often gets blamed on poor texturizing. In practice, the cause is frequently structural. Human scalp hair isn't uniform, and reported diameters range from approximately 15 to 120 micrometers, with one established reference describing a typical range of 60–80 micrometers. An extension strand substantially thicker than the client's natural hair can look bulky, while hair that's too fine may disappear instead of providing the intended volume. Hair-diameter reference data
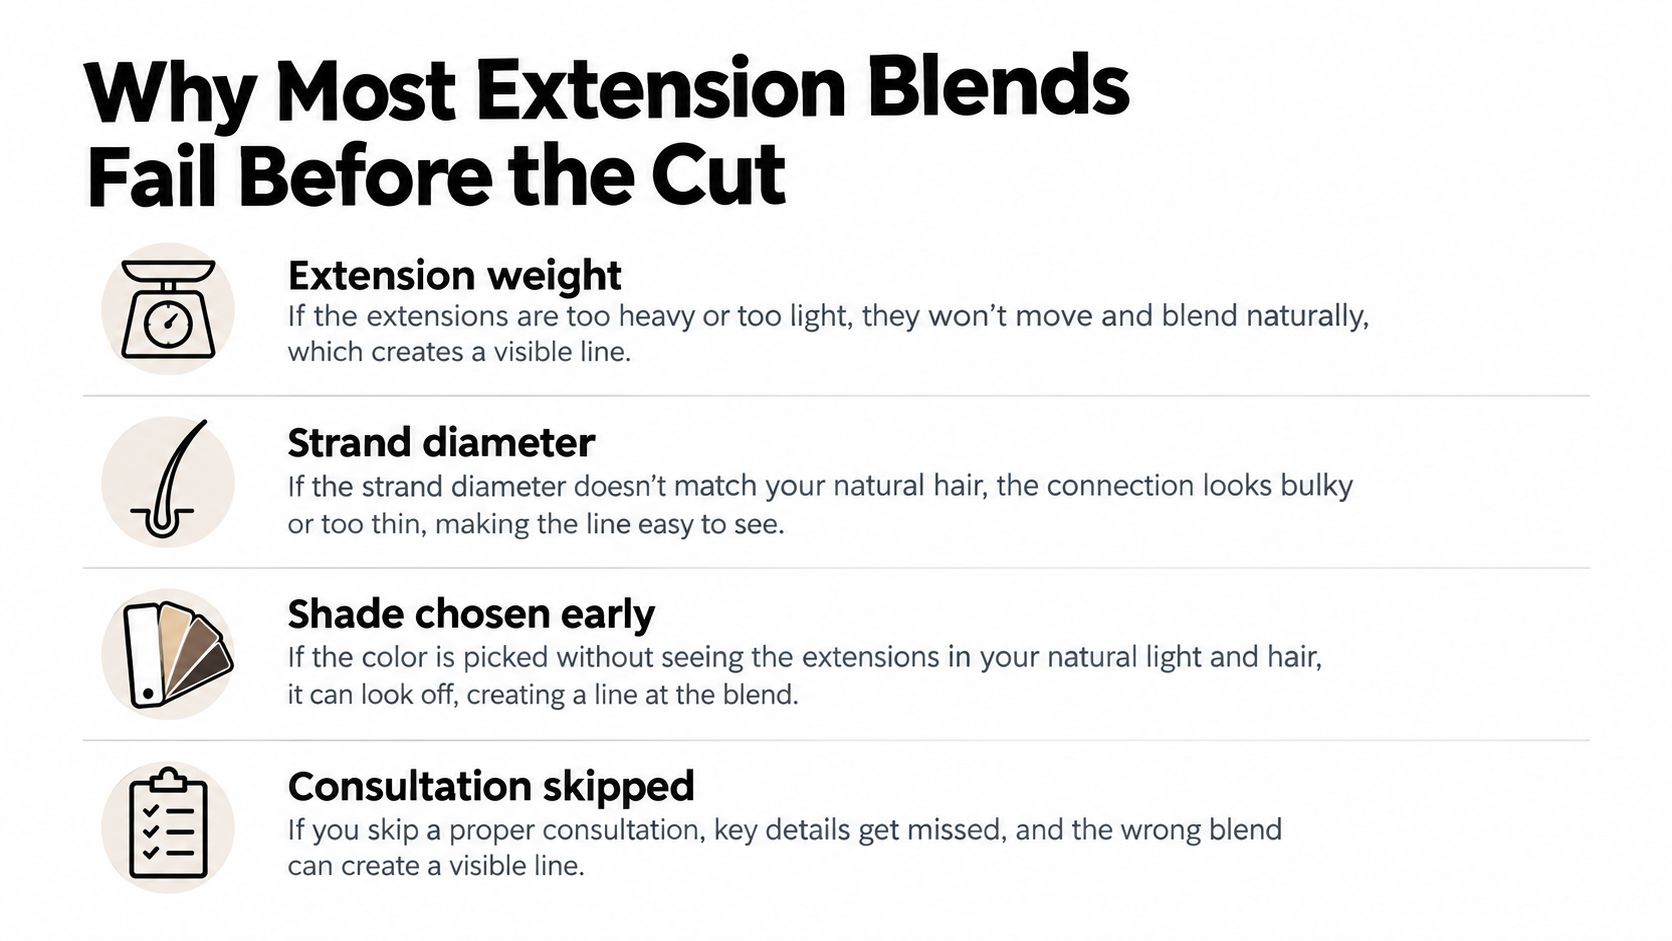
The consultation should identify the mismatch before installation:
A strand can match the shade and still fail visually. The extension may have a different diameter, a heavier density, or a movement pattern that exposes the join every time the client turns their head. Blending isn't a rescue haircut. It's the controlled relationship between the client's hair and the added fiber.
Practical rule: If the extension looks too dense before cutting, don't expect aggressive layering to solve it.
An effective stylist distributes added hair across an appropriate number of attachment points, selects a comparable fiber thickness, and preserves enough natural hair to conceal the installation. A graduated perimeter or carefully textured transition can then refine the line. Over-layering the client's hair to hide an overloaded extension often creates a weak perimeter and makes the discrepancy more obvious as the hair moves.
Color matching should happen before the install is committed, not after the extension has already been attached. Roots, mids, ends, undertones, gray blending, and natural wave behavior can all disagree. A repeatable assessment prevents the common mistake of choosing the closest shade from a swatch and hoping the finished styling will disguise the difference.
Start by assessing the client in daylight, ideally near a window and away from the warm cast of salon fixtures. Photograph or inspect the hair in its normal condition, then compare the mid-lengths and ends separately. A client with dimensional color may need a rooted or two-shade solution even when the mids appear to match a solid shade.
Conde's shade families give the stylist useful routes through that decision:
Place the proposed hair beside the client's natural hair in both dry and damp states. Dampness can deepen the visual read and reveal undertones that aren't obvious when the hair is fully dry. Check movement as well as shade. A color that looks correct while stationary can separate as soon as the hair bends, expands, or returns to its natural pattern.
For a deeper shade-selection process, stylists can use this guide to color matching hair extensions.
Hair-fiber shape varies substantially. Research found African and African Diaspora hair significantly more curled, East Asian hair significantly thicker, and European hair significantly lighter on average, while also documenting considerable variation within populations. The study describes hair fibers roughly 40–120 micrometers in diameter. Anthropological research on hair-fiber variation
A straight extension on naturally wavy hair may look acceptable after a polished blowout and fail at the client's normal air-dried texture. If the client wears a wave, the extension needs comparable wave behavior, or the stylist must establish that the installed hair will be styled consistently. Heat-styling both textures can create a temporary visual match, but it shouldn't compensate for an unsuitable selection.
A slightly imperfect color can look intentional when the dimension and movement are coordinated. An exact color still looks artificial if the wave pattern, density, or perimeter shape is wrong.
Every attachment hides differently, so the method affects the haircut before the haircut begins. The stylist needs to consider where the attachment sits, how much natural hair can cover it, and how the added weight will be distributed through the section.
Tape-Ins and Tape Weft installations can create a flat transition when the sandwich is aligned and the section is clean. They suit clients who need discreet distribution through areas with enough natural coverage, but exposed edges or an oversized section can show during movement. Tape placement is the wrong call if the client can't provide reliable coverage or if the selected amount creates a rigid panel against fine hair. The relevant Conde Tape-In collection and Tape Weft collection should be assessed alongside the client's sectioning pattern.
For row work, Thin Weft generally gives the stylist more control on fine or lower-density hair because the profile is less visually dominant. Volume Weft suits a client with enough density to conceal and support a fuller row, but it can overpower a delicate perimeter if the stylist tries to force the same quantity onto every client. Both methods require even distribution, appropriate section sizing, and enough distance from the scalp to prevent concentrated tension. The Thin Weft collection and Volume Weft collection serve different density decisions, not interchangeable row choices.
K-Tip installations allow targeted placement, but spacing determines how smoothly the transition zone behaves. A low-density client may not have enough natural hair to conceal multiple bonds or support the selected load. In that situation, K-Tip is the wrong choice, even if the client wants the flexibility of individual strands. The K-Tip collection should be considered only after the attachment count, spacing, and concealment have been checked against the client's actual density.
Clip-Ins are often the responsible option for temporary volume, bridal styling, or chemically compromised hair. They avoid a continuous installed load, but they still need careful placement and should not be stacked into a fragile area. Bulk is useful for custom bonds and wig work, where the stylist controls construction and distribution rather than relying on a pre-formed attachment. The Bulk collection supports that custom approach.
| Method | Best Client Profile | Blending Character | Tension Consideration |
|---|---|---|---|
| Tape-In | Clients with reliable natural coverage and a suitable flat section | Flat, distributed concealment when aligned correctly | Avoid oversized sandwiches and concentrated edge tension |
| Tape Weft | Clients needing a weft format with controlled placement | Broad, low-profile transition when covered fully | Section size must correspond to the added load |
| Thin Weft | Fine or lower-density clients needing a restrained row | Less visually dominant through a delicate perimeter | Use lighter distribution and avoid stacking |
| Volume Weft | Clients with stronger density seeking fuller coverage | Fuller row with a more substantial transition | Not appropriate when the perimeter can't conceal the row |
| K-Tip | Clients with sufficient density for spaced individual bonds | Targeted movement and placement | Poor choice for low-density or highly fragile hair |
| Clip-In | Temporary volume, bridal work, or chemically compromised hair | Removable, flexible concealment | Keep clips out of fragile zones and avoid overloading |
| Bulk | Custom bonds and wig work | Controlled by the construction technique | Load depends on the custom attachment and section design |
An overview of hair extension methods helps frame the method choice, but the client's density remains the deciding factor.
Extensions are easier to cut precisely when dry, because wet hair hides the finished density and movement. The hair should be styled close to the way the client will wear it before the final cutting decisions are made.
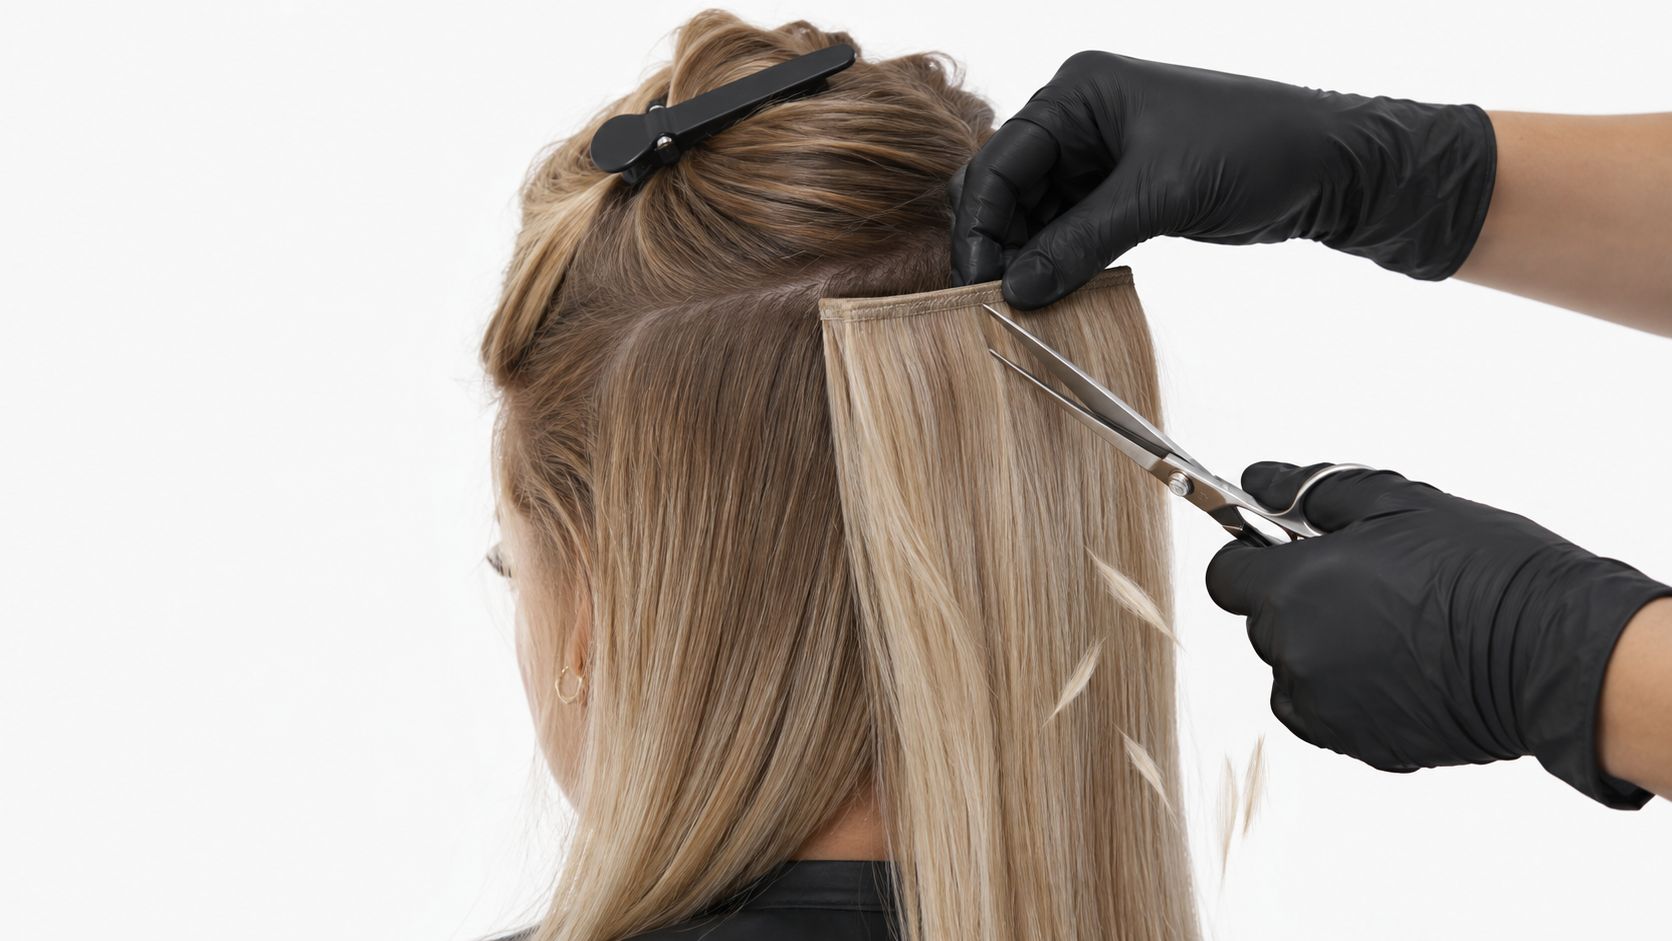
Begin with the perimeter. Balance the overall length across the back, then move into long layers through the sides and back. A V-shaped placement can improve the transition between the client's existing layers and the added hair, particularly when the installation follows the head shape rather than sitting as a rigid horizontal line.
Use point-cutting or controlled vertical, dragging cuts from the mid-shaft toward the ends. A blunt horizontal cut can leave a visible shelf because it preserves a sudden change in density at the join. Vertical refinement breaks that line without shredding the perimeter or removing unnecessary weight from the client's natural hair.
Cut the extension into the client's shape. Don't cut the client's perimeter away to accommodate a dense extension.
Face-framing comes last. The back and overall length need to be balanced before the front is refined, otherwise the face frame can become a distraction from an unresolved transition behind it. The stylist should feather the perimeter only as much as the client's density permits. Excessive texturizing often makes fine natural hair look thinner while leaving the extension line intact.
Cuticle direction matters throughout the install and finish. Extension hair should run root-to-tip in the same direction as the client's hair, which helps reduce tangling and matting and supports a consistent surface shine. Reversed direction can create friction and irregular movement that no amount of cutting will fully correct.
Finish by styling the natural hair and extensions together. Inspect the result in the client's intended texture, then check the line from multiple angles. The clip-in highlighted extension collection illustrates why dimension and finished styling need to be judged together rather than from an isolated swatch or unstyled strand.
Fine or low-density hair needs less added hair than many clients expect. The safest and most convincing result often comes from reducing extension weight, preserving the natural perimeter, and accepting a more modest length or volume goal instead of forcing a dense line into hair that can't conceal it.
The assessment should include strand diameter, perimeter fullness, scalp sensitivity, previous chemical damage, and the desired length. Then the stylist can choose among lighter or narrower wefts, fewer attachment points, lower-tension placement, or temporary clip-ins. A guide to extensions for fine and thin hair can support the consultation, but it doesn't replace a physical density assessment.
Over-layering the natural hair to hide a dense extension is a common failure. It weakens the client's visible perimeter, creates short pieces that can escape over the attachment, and often makes the extension appear even heavier underneath. Texturizing isn't a substitute for selecting a proportional amount of hair.
A client with fragile, chemically overprocessed, or visibly thinning hair may need a reduced service, a temporary option, or a refusal. Active traction alopecia and areas with poor density shouldn't receive added load. Pain, pulling, headache, or scalp tenderness are stop signals, not sensations to normalize for the sake of a finished look.
A clinical report found broken hairs and trichoscopic signs of traction alopecia in all 12 women examined who wore extensions despite having no hair-loss complaints. Dermatology guidance summarized by Johns Hopkins recommends removing extensions or weaves for a recovery interval after approximately 6–8 weeks, and chemically treated hair requires heightened caution because reduced structural strength increases breakage risk. Clinical report and dermatology guidance
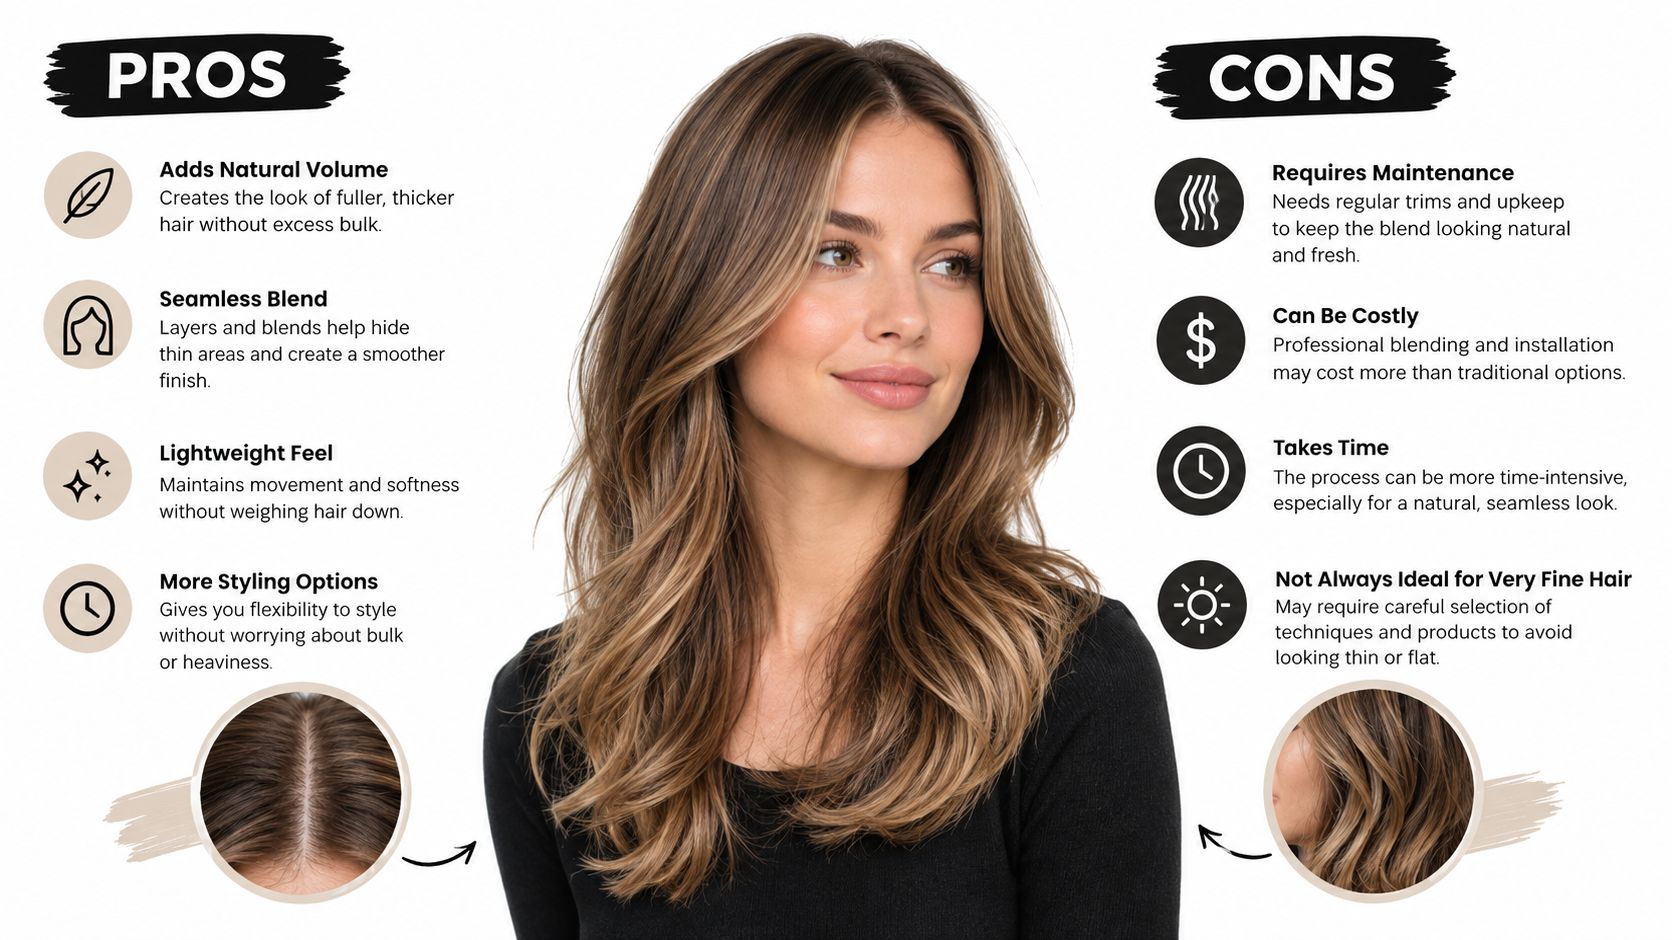
The professional benchmark is a flawless blend with zero pain, no visible traction points, full natural-hair coverage, and a scheduled removal or refit before tension accumulates. If the method can't meet those conditions, the method is wrong for the client.
A failed blend needs diagnosis before correction. The same appointment can often improve the result, but only if the stylist identifies whether the problem is shape, placement, density, texture, or lighting.
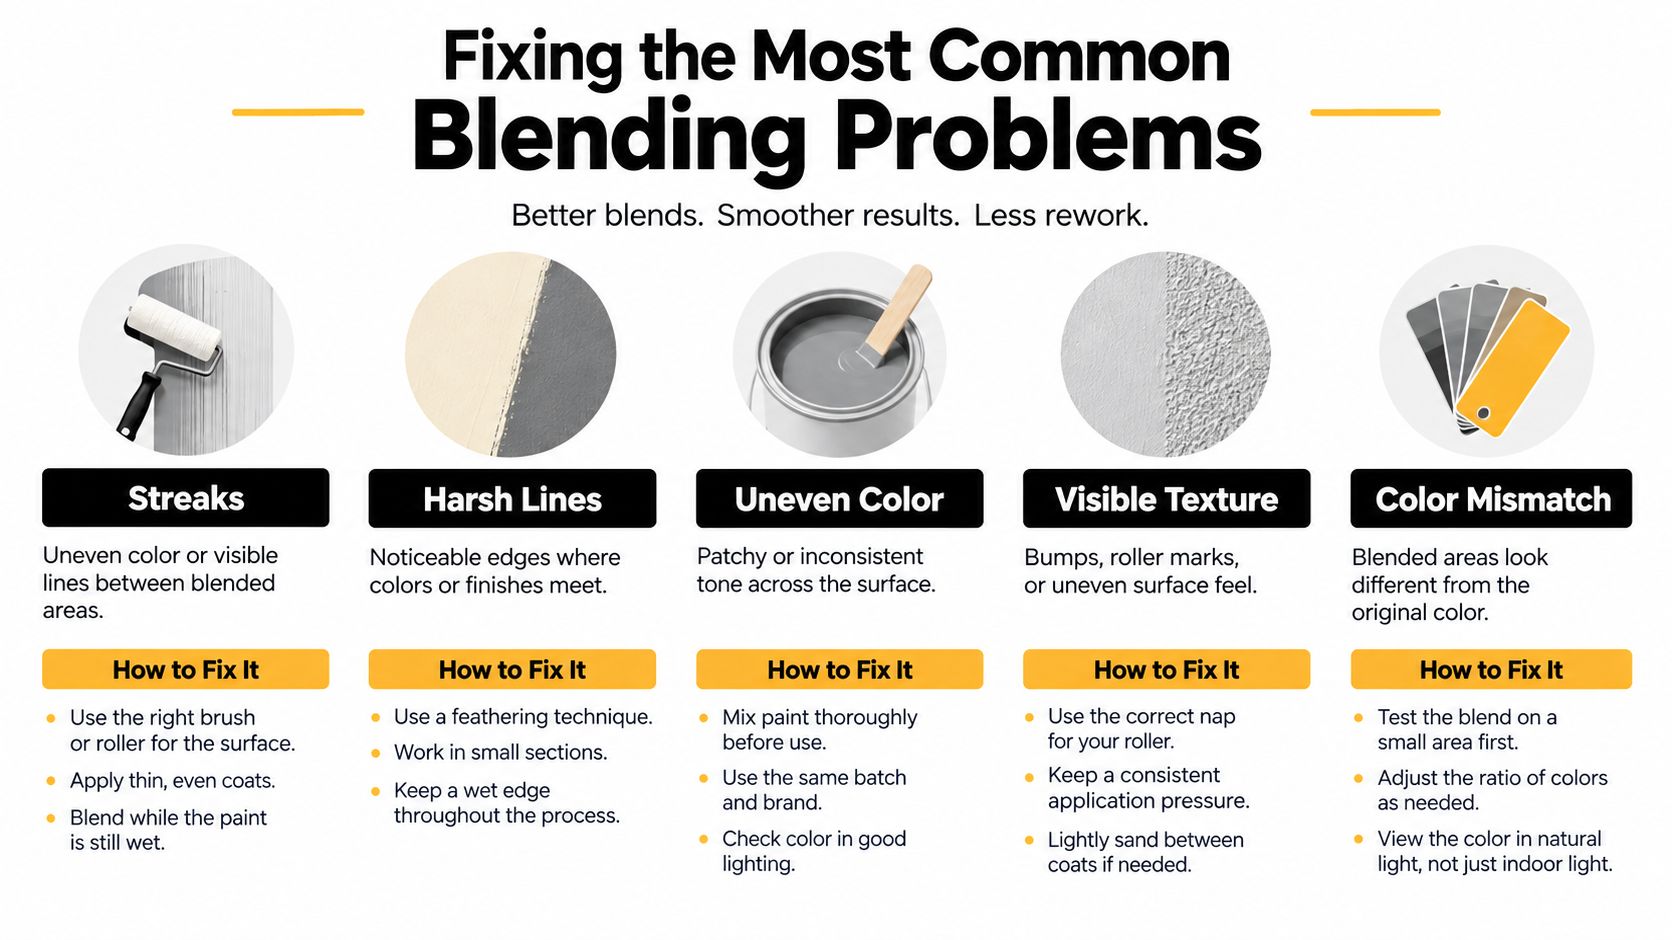
Inspect the blend from the front, profile, and rear views. Check attachment points while the hair is moving, confirm that the natural hair fully covers the installation, and compare the feel of each section for heaviness or tightness. The finished style needs to work in motion, not only in a still mirror view.
A reliable blend depends on a repeatable workflow, not just a strong finish. Conde Professional supplies professional options including color rings, extension tapes, aluminum and silicone-lined beads, keratin beads, and installation accessories, alongside its extension methods. A stylist can use the color ring during the daylight assessment, verify the attachment materials before installation, and keep the chosen method consistent with the consultation record.
Clients should receive clear at-home guidance for gentle detangling, careful handling around attachments, and prompt communication if they notice pain, pulling, scalp tenderness, matting, or unusual breakage. The stylist should avoid making unsupported performance promises and should document the maintenance plan at the original appointment. Further practical care guidance is available in this resource on taking care of extensions.
Conde provides education resources for working stylists, including courses and method guidance, plus shade and product support by text, phone, or email. Business clients should use the professional account route rather than consumer checkout so product selection and wholesale access are handled through the appropriate channel.
Conde Professional supplies salon extension methods, color rings, attachment materials, and education resources that support proportion-led blending for licensed professionals. Visit Conde Professional to open a professional account, review the collection, and get real-time shade guidance before the next install. At the next consultation, pull a color ring and run the density assessment before recommending any method.


