Your cart is empty
Tax included and shipping calculated at checkout

Drawer menu
Tax included and shipping calculated at checkout
A professional account gives you stylist pricing, priority support, early access to new releases, and education developed by working stylists.


A client arrives with a saved gallery photo, fine ends, and a request for “fuller, longer hair” without visible tabs. The useful tape-ins before and after assessment starts before the adhesive opens: the stylist has to prove that the target is achievable and that the natural hair can carry the planned load.
A reveal photo shows the finish, not the entire service. A defensible result compares cosmetic improvement with installation safety, using the same baseline, lighting, angle, and hair condition before and after.
Start with a consultation photo, then inspect the scalp for erythema, tenderness, irritation, and existing tension-related loss. Map density through the crown, sides, perimeter, and occipital area. Check strand strength, identify previously lightened or broken zones, and agree on the target length, density, texture, and finish before selecting the method.
The installation decision should follow the assessment, not the other way around.
A 2023 cross-sectional study of 223 women visiting 29 salons in Yaoundé, Cameroon found that 95.1% regularly used hair extensions, while 34.5% had traction alopecia. The research grouped extensions with other hair-care practices, so it doesn't prove tape-ins caused the condition. It does support a professional benchmark: the before photo should include scalp and density documentation, while the after assessment should check comfort, shedding, breakage, and excessive pull. The study details the extension-use and traction-alopecia findings.
Practical rule: A seamless photograph is only one measurement. The real result includes how the hair feels, behaves, and holds up at removal.
For visual references, consistent lighting and controlled framing matter as much as the camera. Teams creating educational galleries can use portrait retouching with reference looks to standardize presentation, but retouching shouldn't conceal tabs, breakage, scalp redness, or uneven density.
Stylists can also review what tape-in extensions involve before building a service protocol. The four gallery angles ahead are fine-to-volume, lengthening, color blending, and repair or redo. Some scenarios deliberately move away from tape-ins because the honest professional answer isn't always another adhesive install.
Fine hair rewards restraint. A client may need only targeted density through the sides and ends, but the result can look heavier than intended if each tab carries too much hair or if the section exposes the adhesive at the parting.
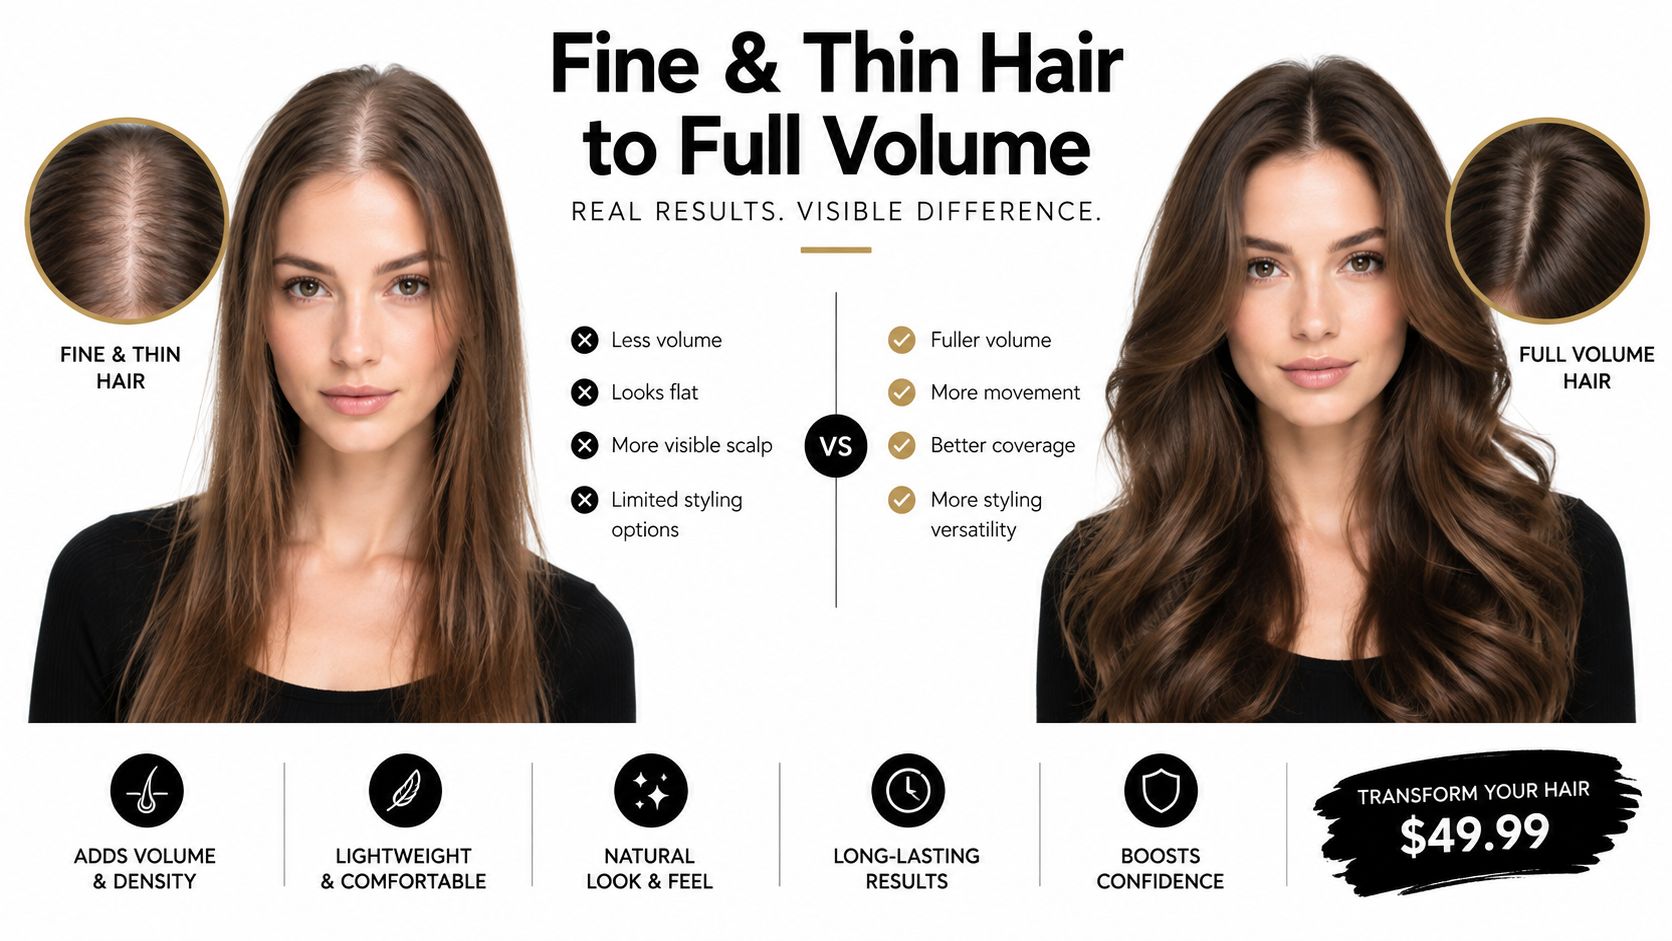
For a low-density client with fragile ends, the first case is usually a targeted volume install, not a full-head length transformation. Sections stay narrow enough for clean sandwiching but broad enough that the natural hair isn't concentrated into a thin, stressed strip. The stylist keeps panels away from the immediate parting and crown, then uses a soft root shadow or a close tonal match to prevent the tab from flashing through when the client moves.
A second case may need density at the sides and occipital area, while the crown remains mostly natural. The mechanical reason this works is distribution. The stylist adds fullness where the haircut lacks weight, then leaves the most delicate sections unloaded. A softened perimeter cut removes the blunt extension line. Point cutting or controlled texturizing through the connection helps the natural ends disappear without thinning the extension hair excessively.
The Conde Professional Tape-In collection can support this type of professional sourcing, with the stylist choosing the panel, texture, and shade after the density map is complete. A professional account is the appropriate route for a licensed stylist evaluating wholesale hair and installation supplies.
| Density Profile | Section Width | Tabs Per Row | Root Shadow? | Blend Cut |
|---|---|---|---|---|
| Fine through crown, stronger at occipital | Narrow and balanced | Minimal, only as needed | Usually helpful near visible partings | Soft perimeter with light point cutting |
| Fine with sparse sides | Targeted side sections | Fewer, spaced to avoid overload | Match the natural root story | Face-frame connection and tapered ends |
| Fragile, previously lightened ends | Avoid damaged zones | Conservative placement | Useful if tabs sit near the top | Preserve the natural ends, blend below the attachment |
Tape-ins become a poor solution when the client's hair is too fine to support the planned weight. Overloaded tabs can show through, shift, or mat against the scalp. The guide to tape-ins for thin hair is useful for planning, but it doesn't replace an in-person scalp, density, and strand assessment.
Length clients and volume clients need different installations. A client with healthy mid-length hair who wants fuller ends may need strategically placed panels, while a client seeking substantial added length needs a stronger anchor, more controlled weight distribution, and a method that won't create excessive tension at the root.
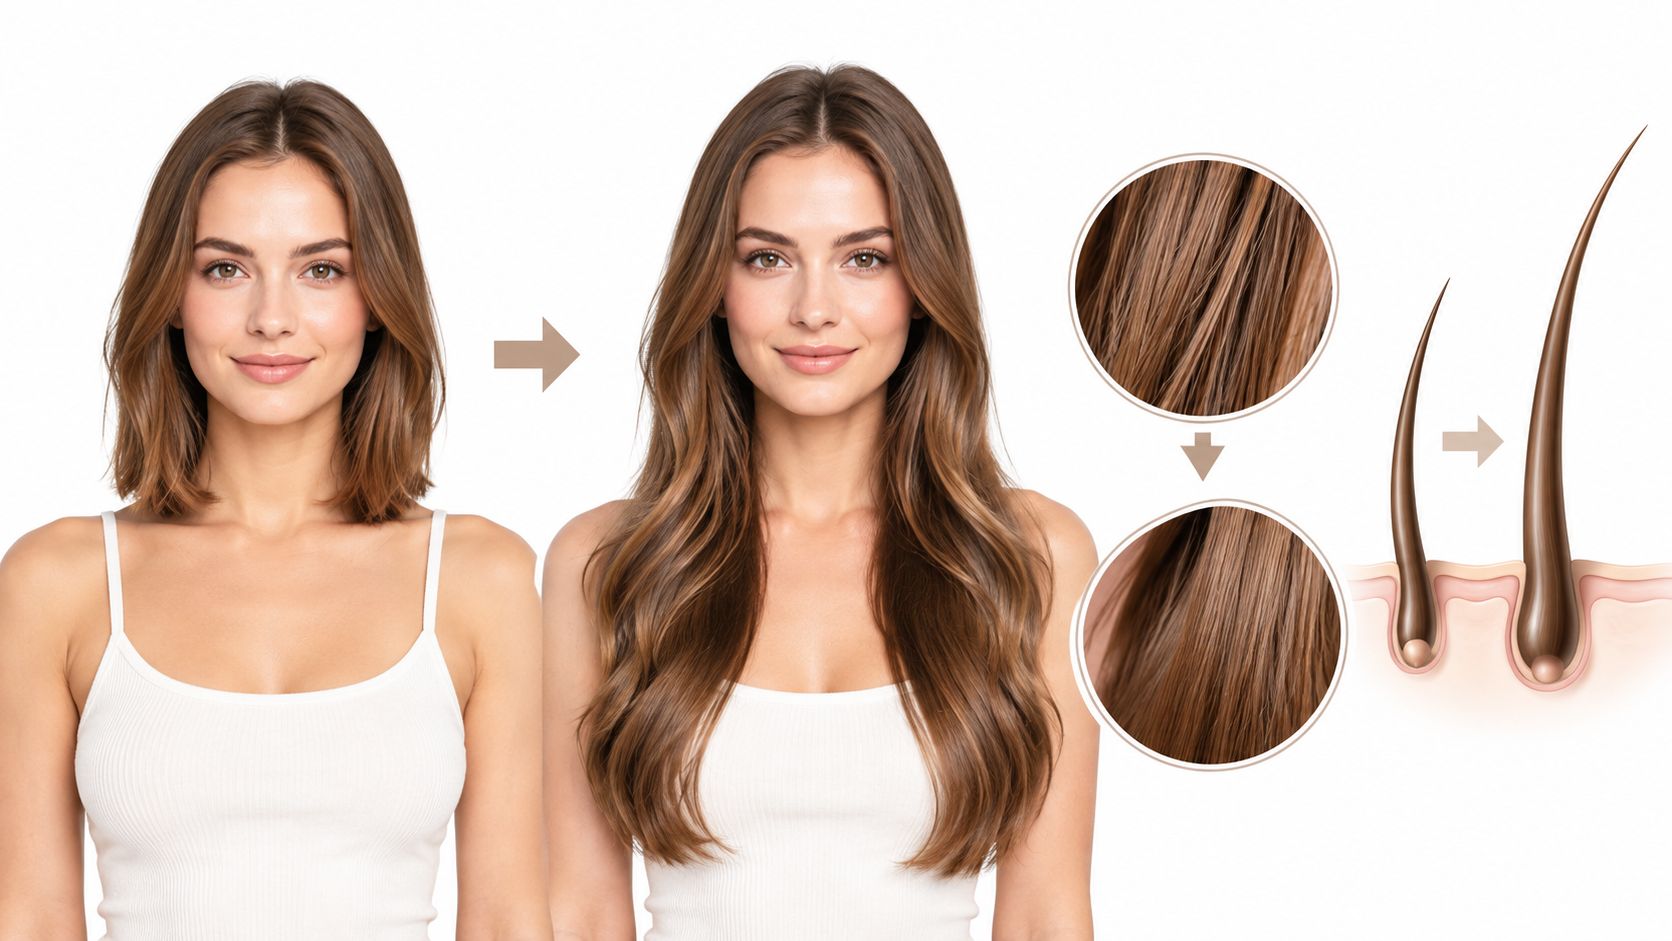
For mid-length texture matching, the stylist can place panels through the lower sides and occipital area, following the client's natural fall. Wavy hair needs movement matched at the reveal, because a straightened extension can look longer and thinner than it will after styling. Straight hair exposes every seam, so the finish depends on precise sectioning and a clean, graduated blend.
For density only at the ends, the attachment pattern should stay low enough to support the visual goal without filling the entire head. The cut then connects the extension perimeter to the natural length. A length-only client doesn't need the same total amount of hair as a volume client because the target is continuity, not maximum fullness from root to tip.
For full lengthening from an occipital anchor, the stylist builds upward in controlled rows and checks the side profile before adding more. The seam should follow the head shape. As the natural hair grows, the orientation may need to rotate or be reassessed so the tabs don't become visible or pull away from the scalp.
| Client goal | Tape-in approach | Main advantage | Main limitation |
|---|---|---|---|
| Fuller ends | Lower, targeted placement | Adds density without filling the crown | A blunt cut can expose the transition |
| Matched mid-length texture | Texture-matched panels and careful finish | Preserves natural movement | Wavy and straight finishes reveal different lengths |
| Full lengthening | Occipital anchor with balanced rows | Creates a clear length change | Added length increases leverage on short natural hair |
| More than about 14 inches of added length on already-short hair | Consider hand-tied or beaded row | Better suited to managing substantial load | Requires a different maintenance and installation plan |
Conde Professional offers longer options in 18 to 28 inches, so the stylist can assess whether the chosen length is proportionate to the natural baseline rather than selecting the longest option automatically. The extension length guide can help structure that consultation.
Tape-ins are usually the wrong tool when a client with very short natural hair wants more than about 14 inches of added length. A hand-tied or beaded row may handle the load more safely, depending on density, strand strength, and scalp condition. The impressive day-one reveal isn't worth a move-up where the tabs create persistent tension.
Color work fails in galleries when the extension lengths blend but the tabs don't. A client with a rooted balayage, for example, can look perfectly matched through the mid-lengths while a pale panel flashes at the root every time the hair is lifted.
A highlight client usually needs dimension through the mid-lengths and ends, not a solid block of lightness. A balayage client needs a softer base break, with the deeper shade retained closer to the root and lighter pieces placed where the natural brightness already lives.
The color families available through Conde Professional include Solid, Balayage, Bronde, Highlights, Superblend, Rooted, and Fantasy. They give the stylist a starting structure, but the final decision still depends on the client's natural base, previous color, porosity, and the way the hair moves.
Consider a rooted blonde case. A deeper tab sits higher in the section, while a lighter panel follows beneath it through the mid-lengths. The tabs are staggered rather than stacked into a single visible line. In a bronde case, a Superblend or Tone-on-Tone approach can preserve depth between the natural root and the brighter ends, preventing the extension hair from looking disconnected.
A single panel rarely solves a complex color story. Tab-to-tab sequencing can create the missing transition:
Photograph the before and after in comparable daylight, with the hair dry and styled in the same general direction. Studio lighting that removes shadow can make a poor tab match look convincing. A useful color-matching reference is this professional guide to matching extension shades, particularly when the client's hair contains several tonal layers.
The consultation photo should be a working document, not a decorative image. It needs to show the condition of the scalp, the density available for sectioning, the target length, and the areas the installation must avoid.
Check for erythema, tenderness, persistent tightness, visible breakage, and existing traction patterns. Ask about recent chemical services, active scalp symptoms, prior extension reactions, daily styling tension, and how the client wears the hair overnight.
Map the head in zones:
A client who reports no thinning isn't automatically a safe candidate. In a dermatology examination of 12 women who reported no hair-loss symptoms, dermoscopy identified broken hairs and early traction-alopecia signs in every participant. The clinical case series also reported acute hair loss approximately 7 to 20 days after extensions were applied in four patients, with extensions detaching alongside tufts of natural hair. The dermatology report describes these early findings and the tension mechanism.
The target photo should show length, density, texture, parting, and finish. The client and stylist need a shared reference for what the after photo will measure. If the client wants a dense, long result but the density map supports only a lighter enhancement, the consultation is the point to adjust the goal or choose another method.
A color ring and shade-matching support help separate a true color decision from a screen-based guess. The stylist should also document the selected family, the natural base, and any mixed placement plan. That record protects the color match at reinstallation and makes a later correction more deliberate.
A signed-off target photo prevents the reveal from becoming a negotiation after the install.
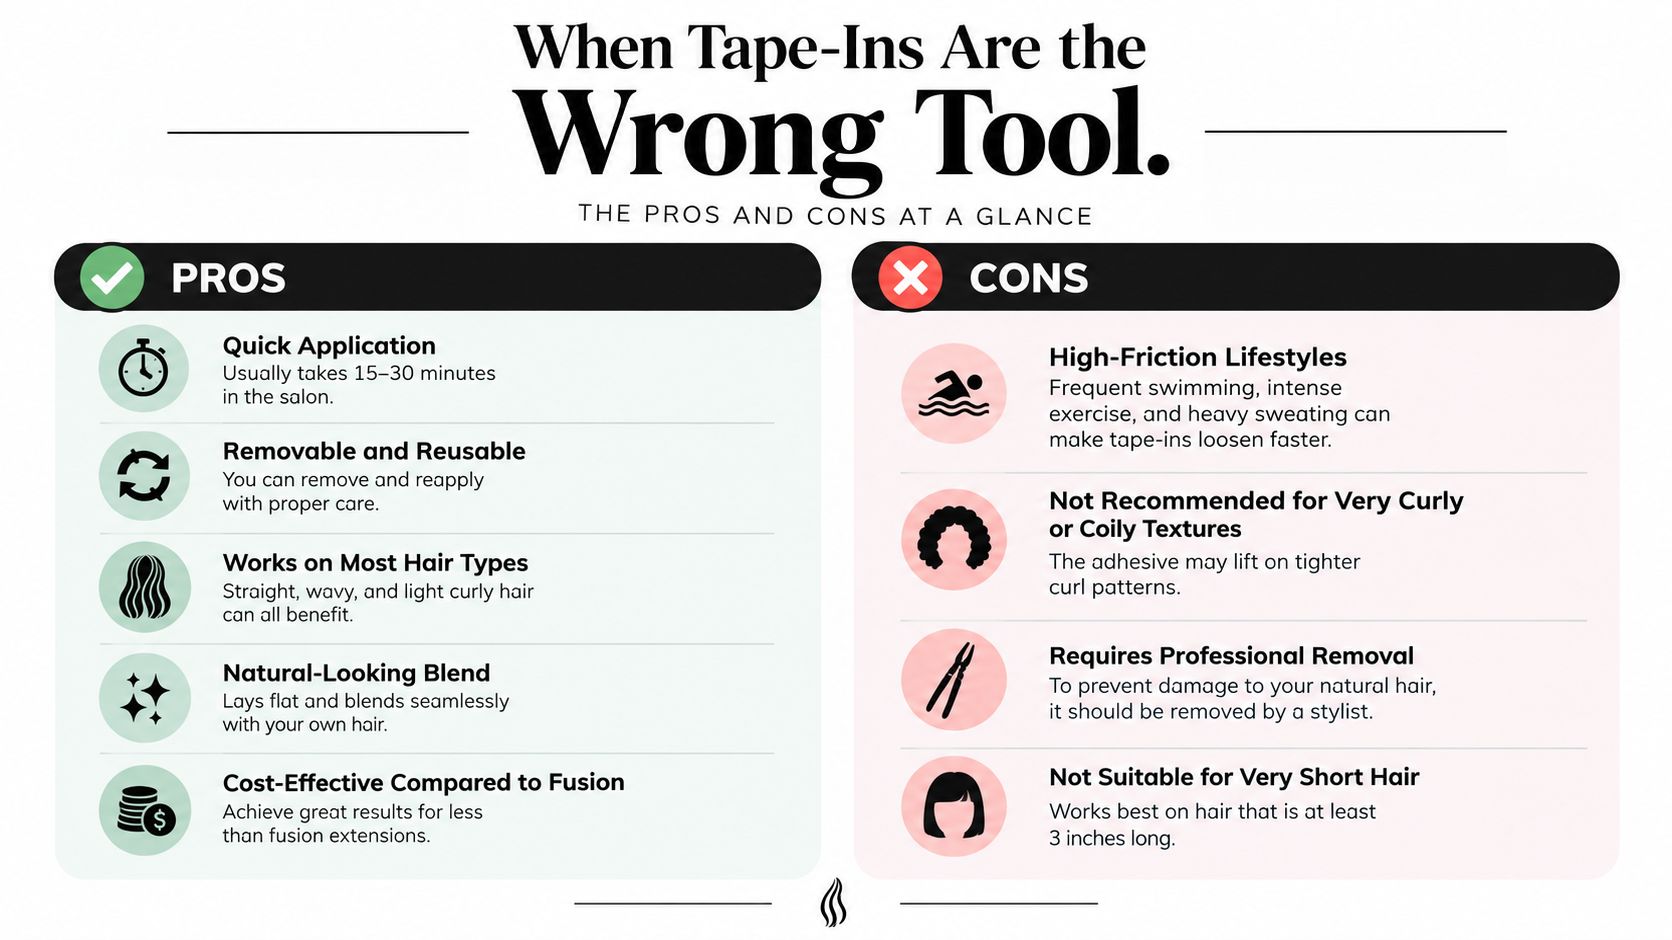
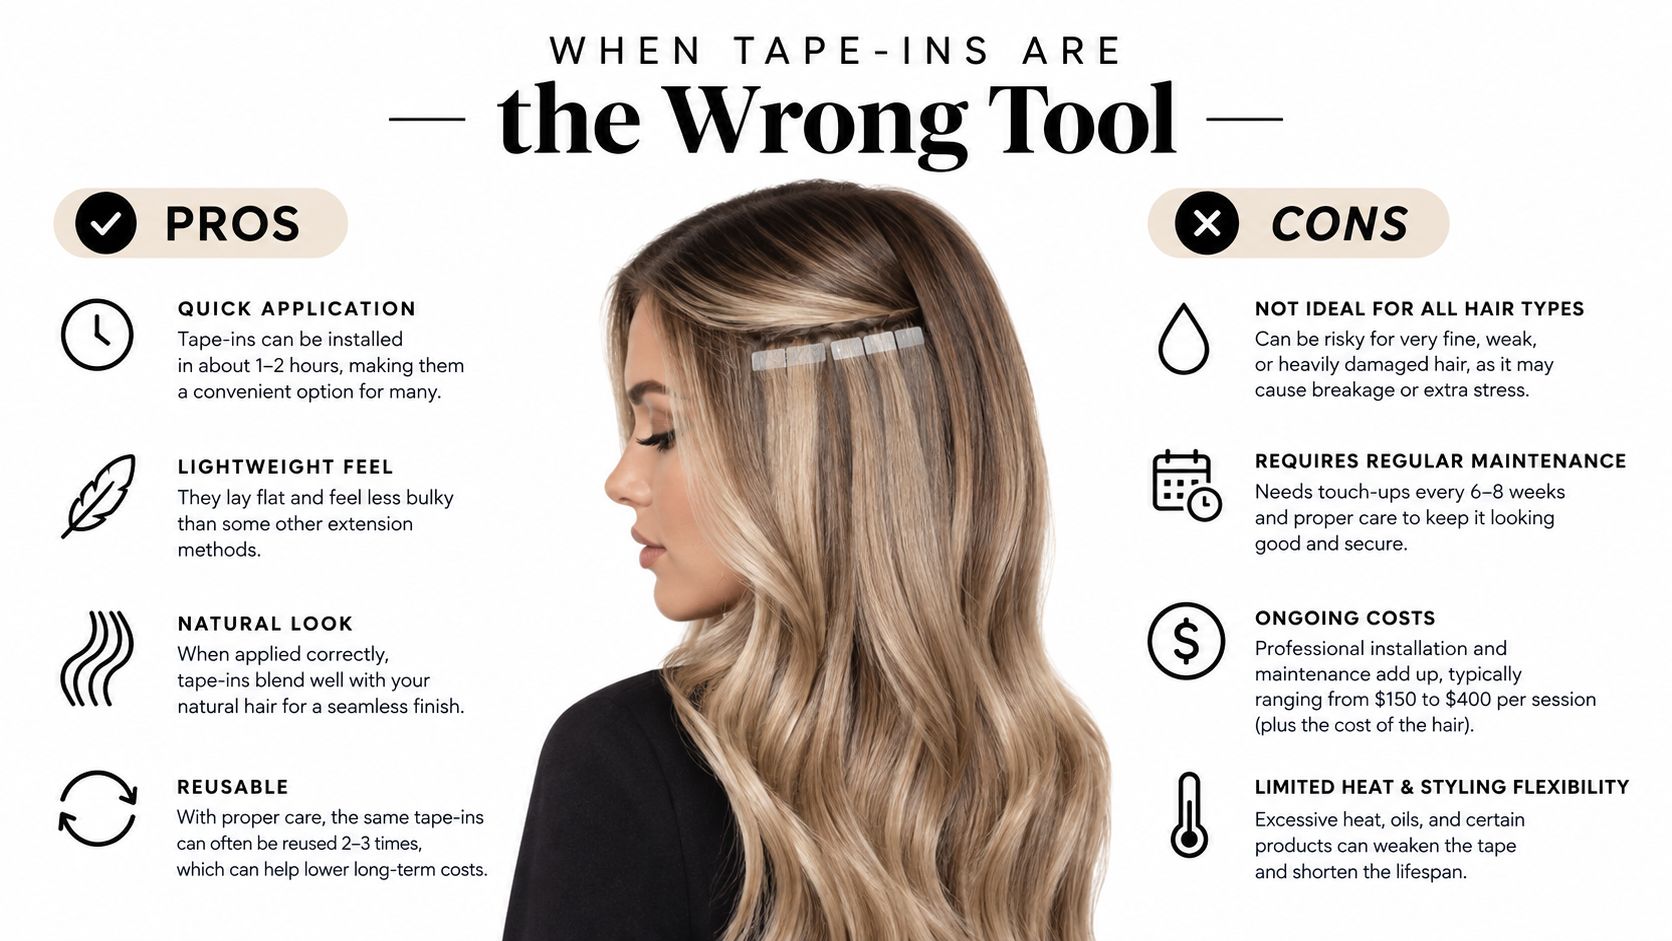
Tape-ins can look excellent on installation day and still be a poor professional recommendation. The deciding factor is not how flat the tabs appear at the reveal. It is how the client's hair, scalp, routine, and desired result will handle the mechanical demands between installation and removal.
A high-friction lifestyle is the first warning. Frequent swimming, intense exercise, repeated wetting, and aggressive brushing can challenge adhesive stability and increase tangling around the attachment. The day-one result may be clean, but the move-up can show lifted tabs, residue, or shifted sections. A different method, a temporary option, or no installation may serve the client better.
Very curly or coily textures can also create adhesive-lift problems, particularly when shrinkage, moisture, and texture movement repeatedly stress the attachment. A beaded row, microlinks, or another suitable method may provide a more stable plan after a texture-specific consultation. The recommendation should follow the hair's behavior, not a desire to force every client into the same system.
A client with very short hair who wants extreme length may show a dramatic day-one reveal, but the short anchor can create excessive tension. Hand-tied or beaded row methods may offer a more appropriate structure, depending on the baseline.
A client with pre-existing traction alopecia should not receive added weight over compromised areas. Clinical camouflage guidance discourages extensions even when traction alopecia is mild because of progression risk. The clinical review discusses extension use and camouflage considerations.
A client with inflammatory scalp disease, pain, folliculitis, or persistent tightness needs assessment before an install. The professional response is to stop, document the finding, and refer to a dermatologist or appropriate medical professional when the presentation warrants it.
The ethical alternative to a risky install is a clear referral, not a softer adhesive promise.
A no-installation recommendation isn't a lost sale. It protects the client's hair, the stylist's standard, and the credibility of every future tape-ins before and after image in the salon.
The after photo is the installation checkpoint, not the conclusion. A professional service continues through the move-up, removal, and post-removal assessment, where the stylist can see whether the original section size, tab placement, adhesive choice, and weight held up.
Set the move-up interval according to the specific adhesive system, tab placement, natural growth, and client routine. A generic longevity claim doesn't replace checking the attachment. At each visit, look for tenderness, redness, persistent tightness, broken hairs, shedding at the tabs, matting, and increased weight as the natural hair grows.
Clinical prevention literature identifies force and duration of pulling as important risk variables. It also notes that extension length, added weight, wear duration, and nighttime tension can increase risk, while repeated or prolonged pulling may progress from initially reversible traction to permanent follicular injury. The prevention review outlines these mechanical risk factors.
Removal should be controlled and tab by tab. Apply the appropriate oil-based release product, separate the adhesive without tearing through the natural hair, and inspect the released section for broken hairs, excess shedding, redness, or residue. The stylist should document whether the hair is suitable for the same placement, needs a shifted seam, requires reduced weight, or needs a break.
Don't reinstall automatically because the client liked the photograph. Compare the original baseline with the current density, comfort, breakage, and attachment zones. A changed parting, increased tension at the perimeter, or weaker ends can make the previous layout unsuitable.
The guide to reusing tape-in hair extensions belongs in a professional protocol alongside a strand and scalp check. Reuse depends on the condition of the extension hair and the client's natural hair, not just on whether the panels still look presentable.
A practical maintenance record includes:
A responsible tape-in transformation is the one that still makes sense after removal. The stylist should leave the client with a documented next step rather than treating a polished reveal as proof that the service was successful.
Conde Professional supplies professional extension options including Tape-In, Tape Weft, Volume Weft, Thin Weft, K-Tip, Clip-In, and Bulk, alongside shade families and salon installation accessories. Licensed stylists can review the collection and open a professional account through Conde Professional to keep sourcing, color selection, and future installs organized.


