Your cart is empty
Tax included and shipping calculated at checkout

Drawer menu
Tax included and shipping calculated at checkout
A professional account gives you stylist pricing, priority support, early access to new releases, and education developed by working stylists.


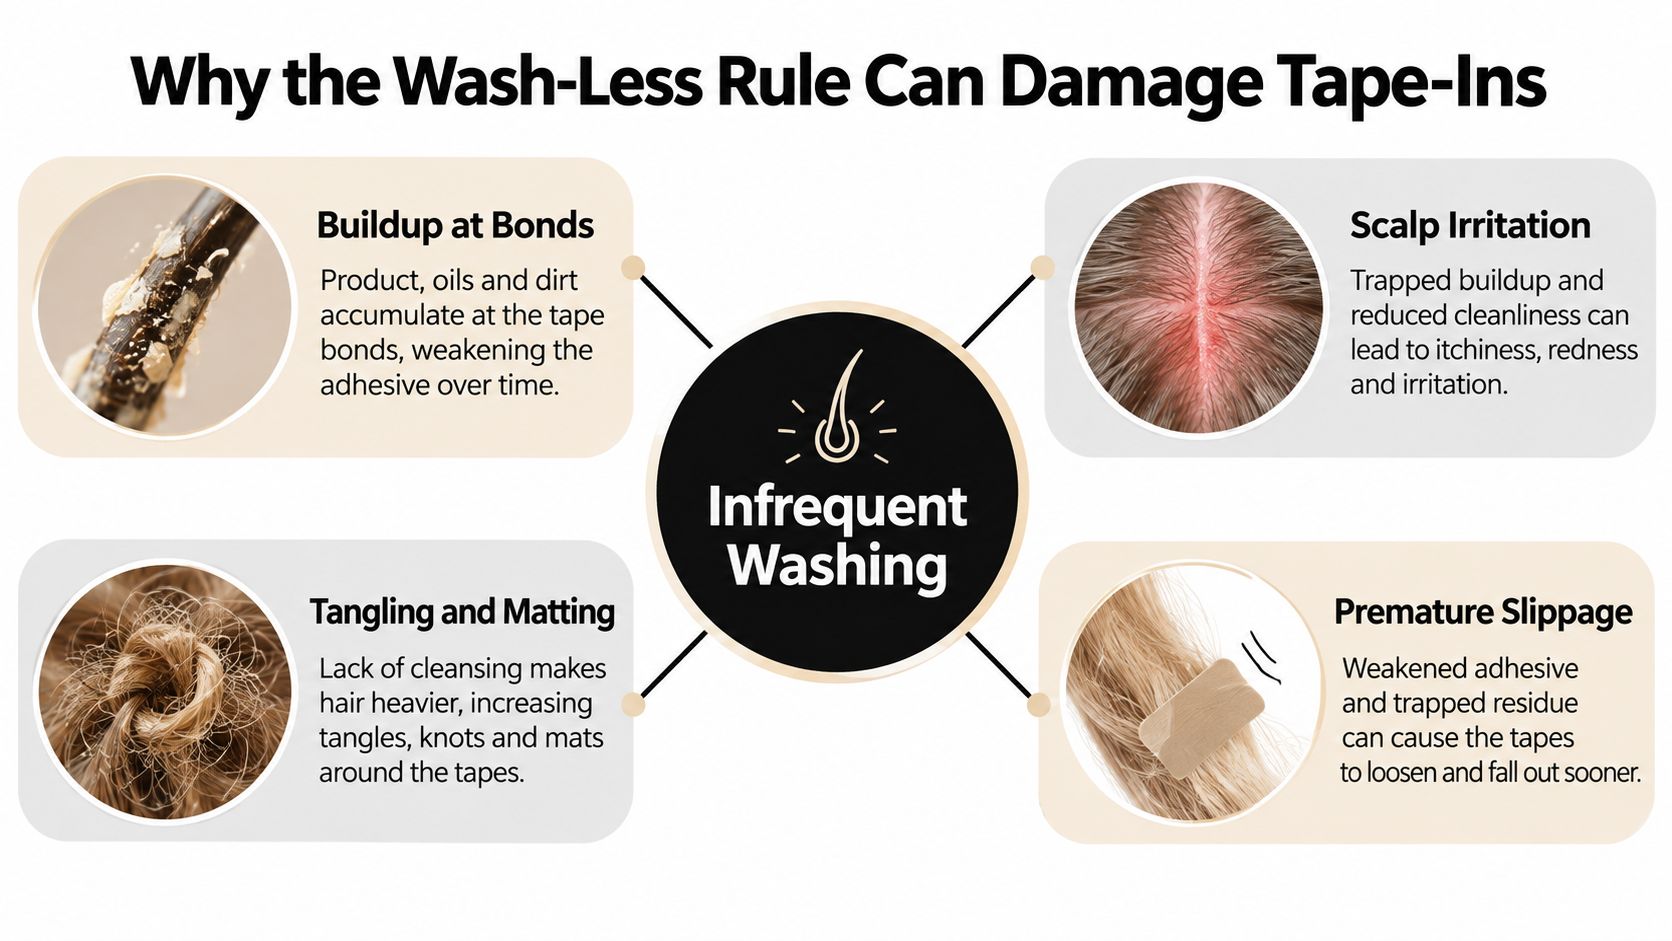
“Wash tape-ins as little as possible” sounds protective, but it's incomplete advice. The better approach is to cleanse often enough to manage oil, sweat, and residue, then keep water, hands, and products controlled around the bonds.
For stylists, how to wash tape-in hair extensions starts with the client's scalp and the condition of the attachment area, not a fixed wash-day rule. A careful wash can remove buildup with less mechanical stress than leaving residue to collect and then detangling through it.
Infrequent washing isn't automatically gentler. Oil, sweat, and styling residue can collect around the roots and attachment area, contributing to buildup and tangling. When the client eventually detangles, that resistance can increase pulling on the hair and tabs. The practical target is clean scalp, low-friction handling, and products kept clear of the adhesive.
Water temperature matters, too. Research published by the Society of Cosmetic Chemists found no observable relaxation in hair-wave samples washed at temperatures up to 60°C, with relaxation increasing progressively above that point. In a separate repeated-washing test, samples washed at 45°C once weekly for 12 months showed no observable wave relaxation. That work used hair samples, not every tape adhesive system, so it isn't a durability guarantee for an install. It does support using lukewarm water rather than very hot water, with approximately 35–45°C as a conservative working range (Society of Cosmetic Chemists research on hair-wave relaxation).
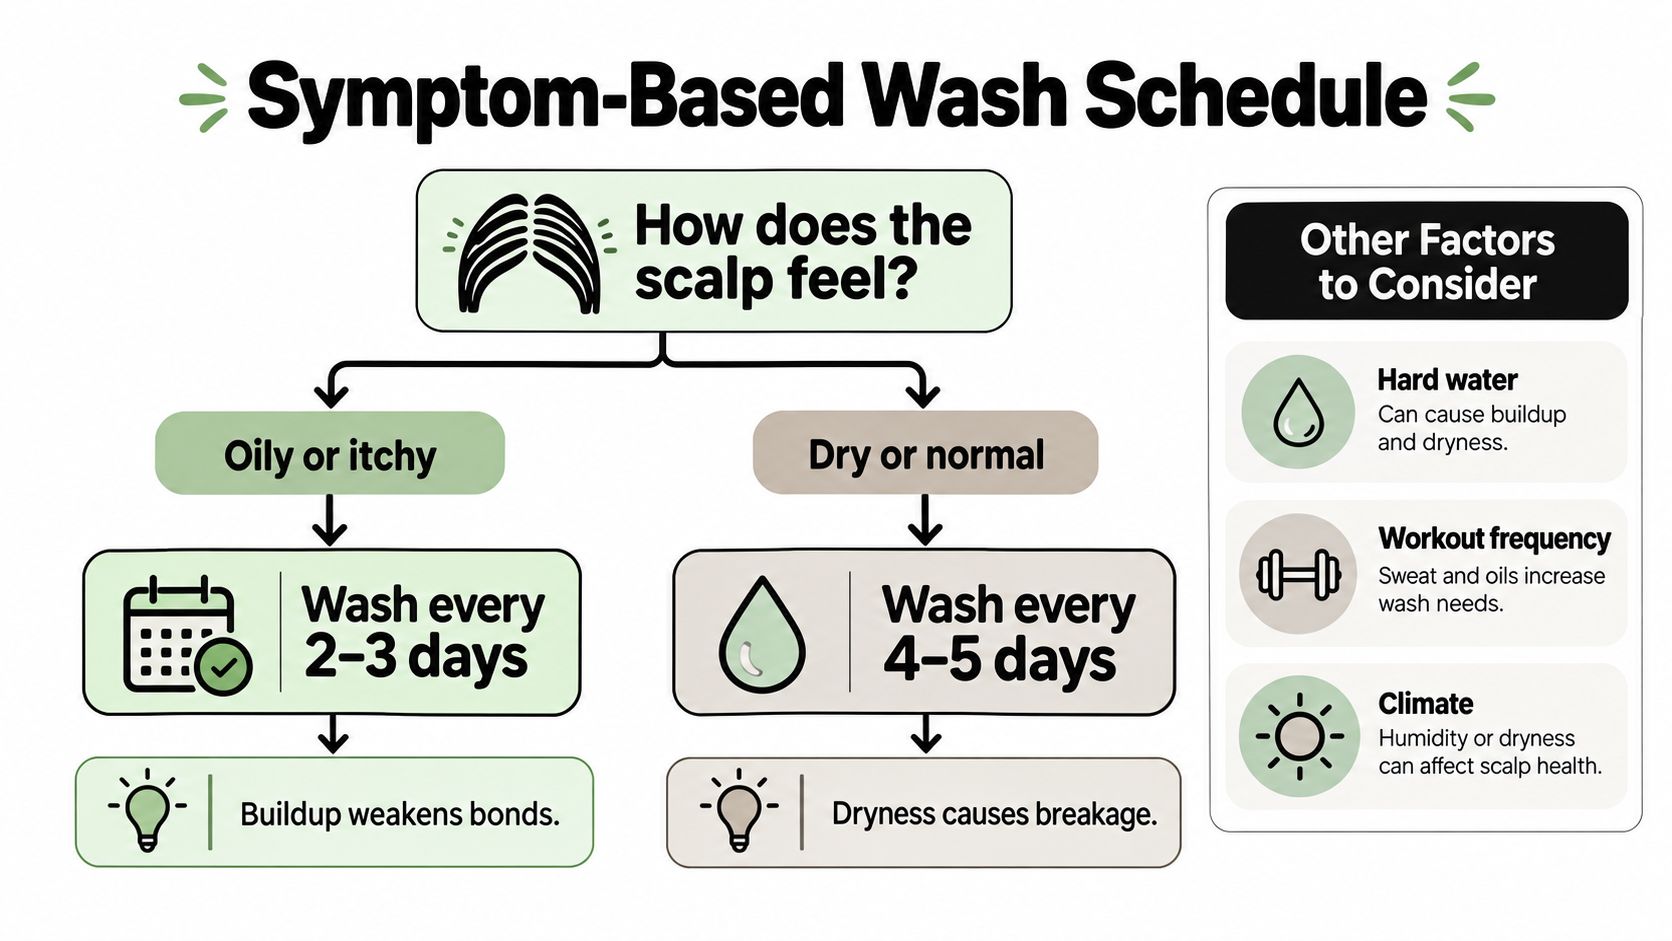
An oily scalp, frequent sweating, humid conditions, hard water, and heavy styling-product use can all change how quickly the roots feel coated or the attachment area accumulates residue. A dry or normal-feeling scalp may need a different cadence. Ask what the client uses, how often they exercise, and what they notice between appointments.
There's no single interval that suits every install. Watch for oily or itchy roots, visible residue, or hair clumping near the scalp. Those cues can indicate that the client needs a wash, not another day of avoiding water.
Practical rule: “Wash less” isn't the target. Cleanse with enough frequency to manage buildup, then avoid friction and conditioner at the attachment points.
Discuss the relationship between aftercare and natural-hair stress during consultation, and use Conde Professional's guide to tape extensions and hair damage as a resource for that conversation.
The first shampoo is a bond-care decision, not a test of how long a client can tolerate an oily scalp. Most tape adhesive manufacturers specify a cure window of roughly 48 hours before the first shampoo. The installed system's instructions take priority, since cure times and aftercare requirements vary. Advise clients not to sleep with wet extensions unless their system's instructions specifically allow it.
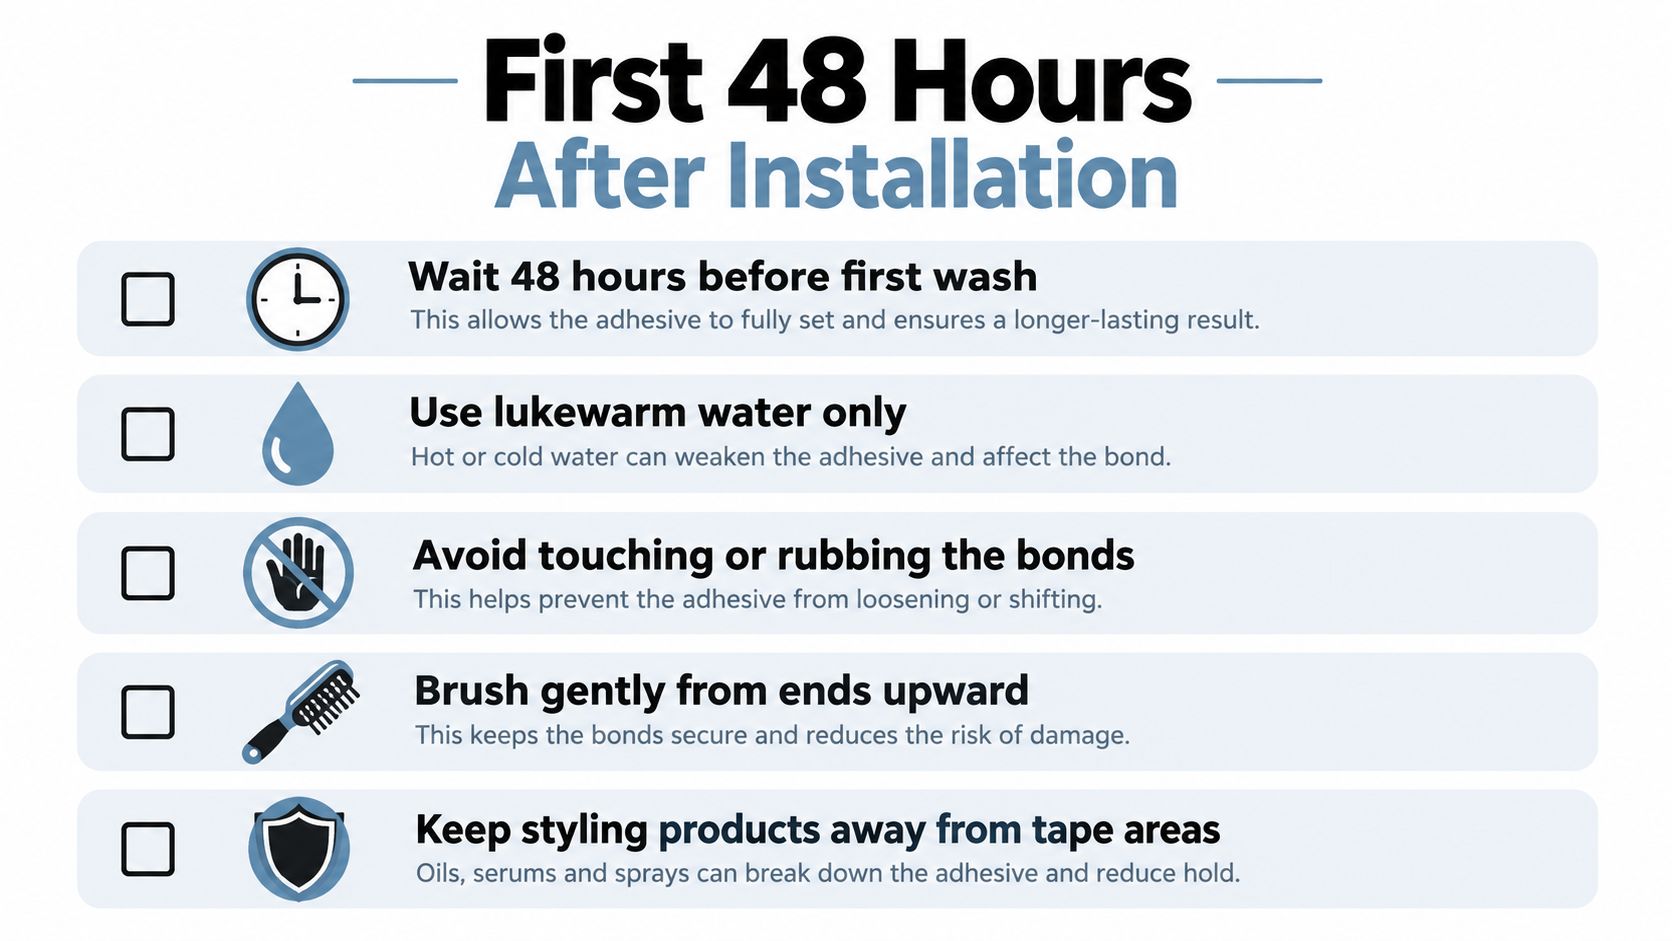
Check the bonds and the client's brushing technique before they leave. Show them how to hold the hair immediately below each tape while brushing, especially on damp hair, which is more vulnerable to mechanical stress. Use a wide-tooth comb or extension-safe brush, working from the ends upward. Ease knots apart rather than pulling them through the tabs.
Set out the first-wash routine clearly: keep the head upright or tilted back, use lukewarm water, and keep oils and conditioner away from the adhesive. If sweat or another concern makes washing seem necessary within the cure window, have the client check the installed system's instructions and contact the installer before proceeding. Don't improvise an early-wash workaround. If washing is approved, keep friction low and dry the attachment area fully before bed.
A clear aftercare plan should prevent unnecessary handling while the bond settles, without making clients afraid to wash when their system's instructions allow it.
Position the client upright, with the head neutral or tilted slightly back. Don't tip forward over a basin. Before wetting, confirm the hair is detangled from the ends upward and the attachment area is supported.
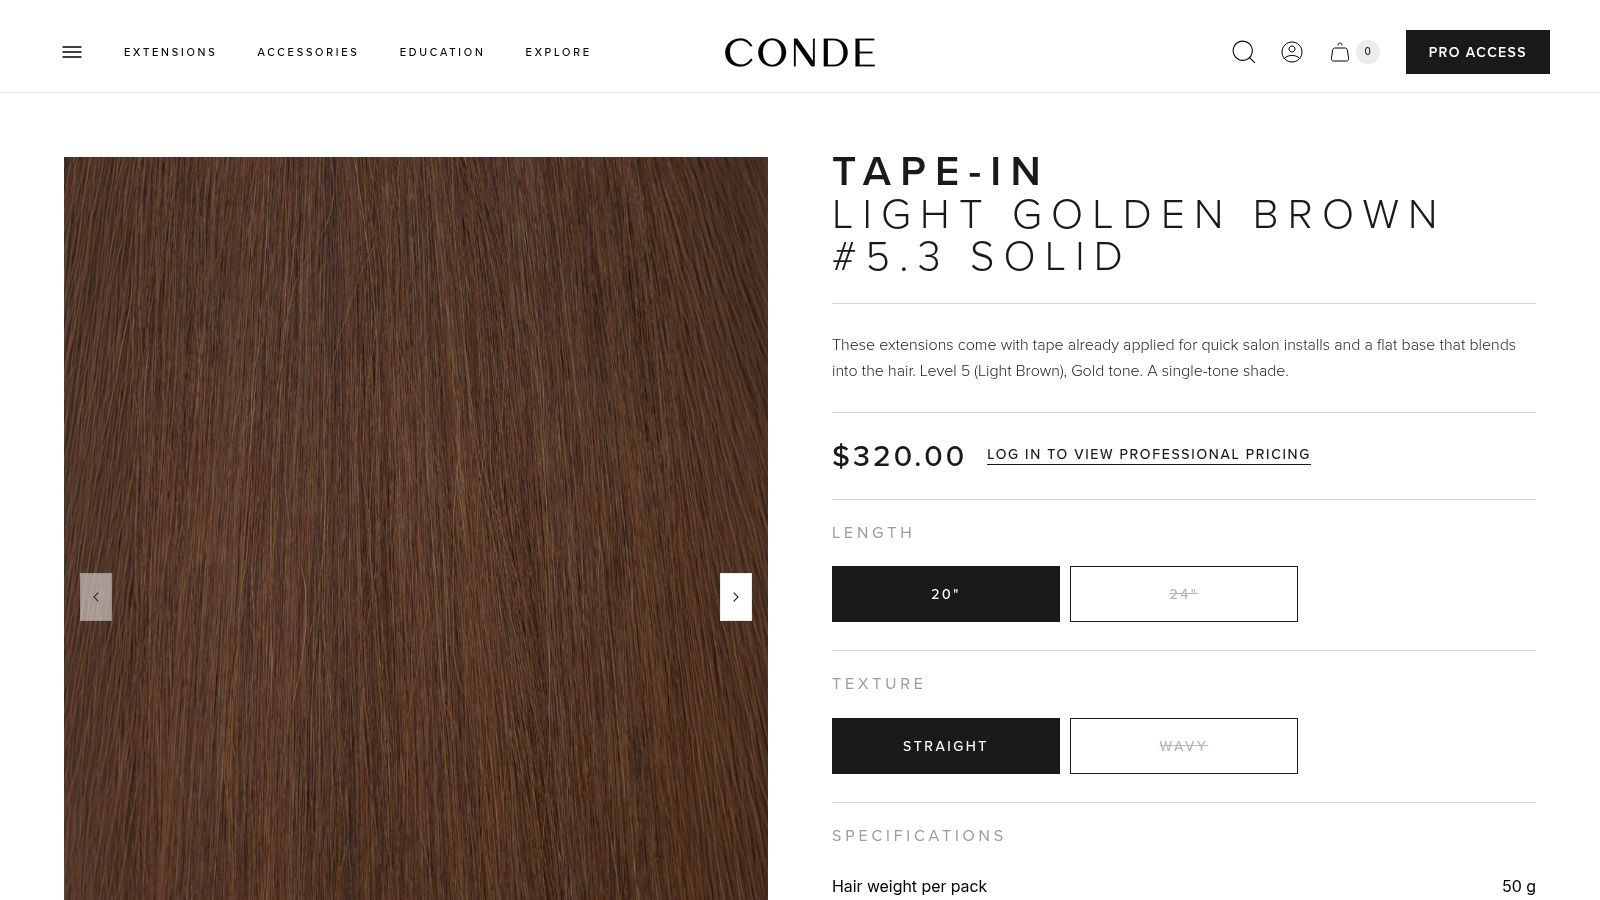
A controlled downward wash works for an in-place Tape-In system, including the Tape-In collection from Conde Professional. The point is the technique, not the label: keep the lengths hanging naturally and the tape panels from twisting or folding.
The common shortcut is to scrub the whole head quickly, then gather the lengths on top to rinse. That may feel efficient, but it introduces friction and can twist rows together. Keep the hair flowing in one direction instead.
For stylists reviewing options for routine cleansing, Fillaree's refillable hair care is a resource to consider as part of a broader product discussion. Product choice doesn't replace the wash technique. For more on choosing formulas for extension services, see Conde Professional's guide to sulfate-free shampoo and conditioner for hair extensions.
A fixed schedule ignores the differences visible behind the chair. A client who works out often or lives in a humid climate may notice sweat and oil sooner than a client with a dry scalp and little product buildup. Hard water and heavy styling products can also change what the hair feels like at the roots and lengths.
A 2021 peer-reviewed study analyzed shampoo frequency, including a five-week controlled trial with 60 healthy adults aged 18–50. Daily washing performed better than once-weekly washing across measured scalp and hair endpoints, with no objective hair disadvantage detected at that level of cleansing. The study examined natural hair, not tape adhesive, so it can inform scalp hygiene but doesn't establish a tape-in wash schedule or predict wear duration (peer-reviewed study on shampoo frequency).
Keep scalp cleansing distinct from length cleansing. The scalp needs direct, controlled shampoo application; runoff can clean the lengths without repeated rubbing. Record the client's scalp condition, wash habits, climate, and products at installation, then revisit the routine if buildup or matting appears. For conversations about maintenance expectations, refer to Conde Professional's guide to tape-in extension longevity.
A careful drying routine protects the attachment area as much as the wash does. Blot the hair instead of rubbing or twisting it. Friction can tangle the lengths and pull at the tabs before the hair is detangled.
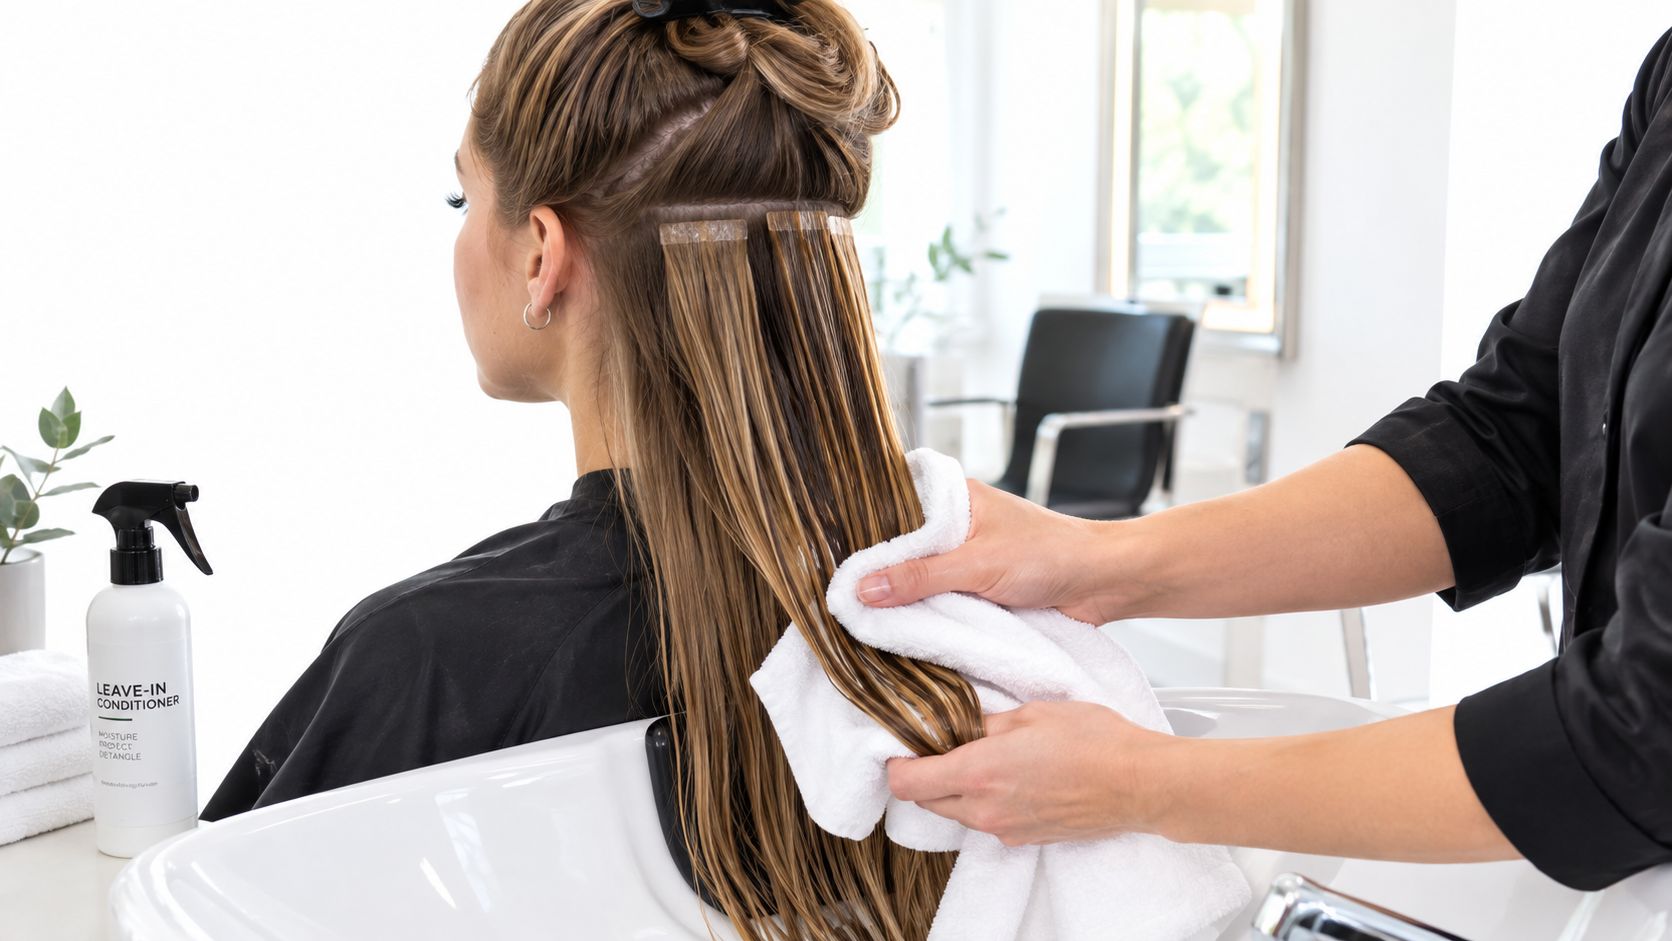
Apply conditioner, masks, oils, and heavier styling products from mid-lengths to ends. Keep them off and away from the adhesive. Product caught around tabs can soften the bond and collect hair between rows, inviting matting. Check between rows as you rinse and clear away residue. If the client says the roots feel dry, explain that conditioning the attachment area can put the bond at risk. Use an appropriate product on the lengths instead.
Remove excess water, then detangle in sections, starting at the ends and working upward. Support the hair just below each tape with one hand while the other works through tangles. A wide-tooth comb or extension-safe brush can help, but technique matters more than pressure. Don't pull a brush from the root through a snag.
Air-drying can fit the client's routine, provided the tape area is fully dry before bed. Damp hair compressed overnight can place stress on the attachment area, especially when combined with gravity and brushing. Blot, separate the rows, support the bonds while detangling, then dry the roots thoroughly.
For between-appointment care, discuss detangling spray for hair extensions alongside careful brush technique. Spray can help with manageability, but it doesn't replace supporting the hair at the attachment point.
A wash can remove residue. It can't correct a bond that's slipping, a tab that remains tacky, or matting that resists careful detangling. Teach clients to recognize those signs early so they don't respond with more scrubbing, extra conditioner, or a home repair.
A short, clear instruction works well at the chair: if a tab slips, feels persistently tacky, or hurts, contact the salon before washing or re-taping it at home. Early assessment gives the stylist a chance to address the actual cause instead of adding friction to an already stressed area.
A wash routine can only do so much if the hair tangles easily or sheds during routine detangling. For professional selection, assess cuticle integrity, alignment, shedding, combability, and wash durability rather than relying on a supplier grade. Labels such as 6A through 10A are marketing claims, not grades set by a governing body.
Construction matters to service planning, but method choice should fit the client. Tape-In may be the wrong choice if the client can't keep product away from the adhesive or won't follow a controlled wash and drying routine. Compare it with Volume Weft, Thin Weft, K-Tip, Clip-In, or Bulk according to the service goal and maintenance commitment. Use Conde Professional's guide to products for hair extensions as a professional reference when reviewing care choices.
For a same-day supplier check, ask how hair is evaluated for cuticle integrity, color consistency, shedding, and combability after washing. Then match the method to the client's handling habits, not just the desired finish.
Open a professional account with Conde Professional to access wholesale extension options and education resources for licensed stylists. Review the Tape-In line and choose a system that fits your service plan, then visit Conde Professional to begin the account process.


