Your cart is empty
Tax included and shipping calculated at checkout

Drawer menu
Tax included and shipping calculated at checkout
A professional account gives you stylist pricing, priority support, early access to new releases, and education developed by working stylists.


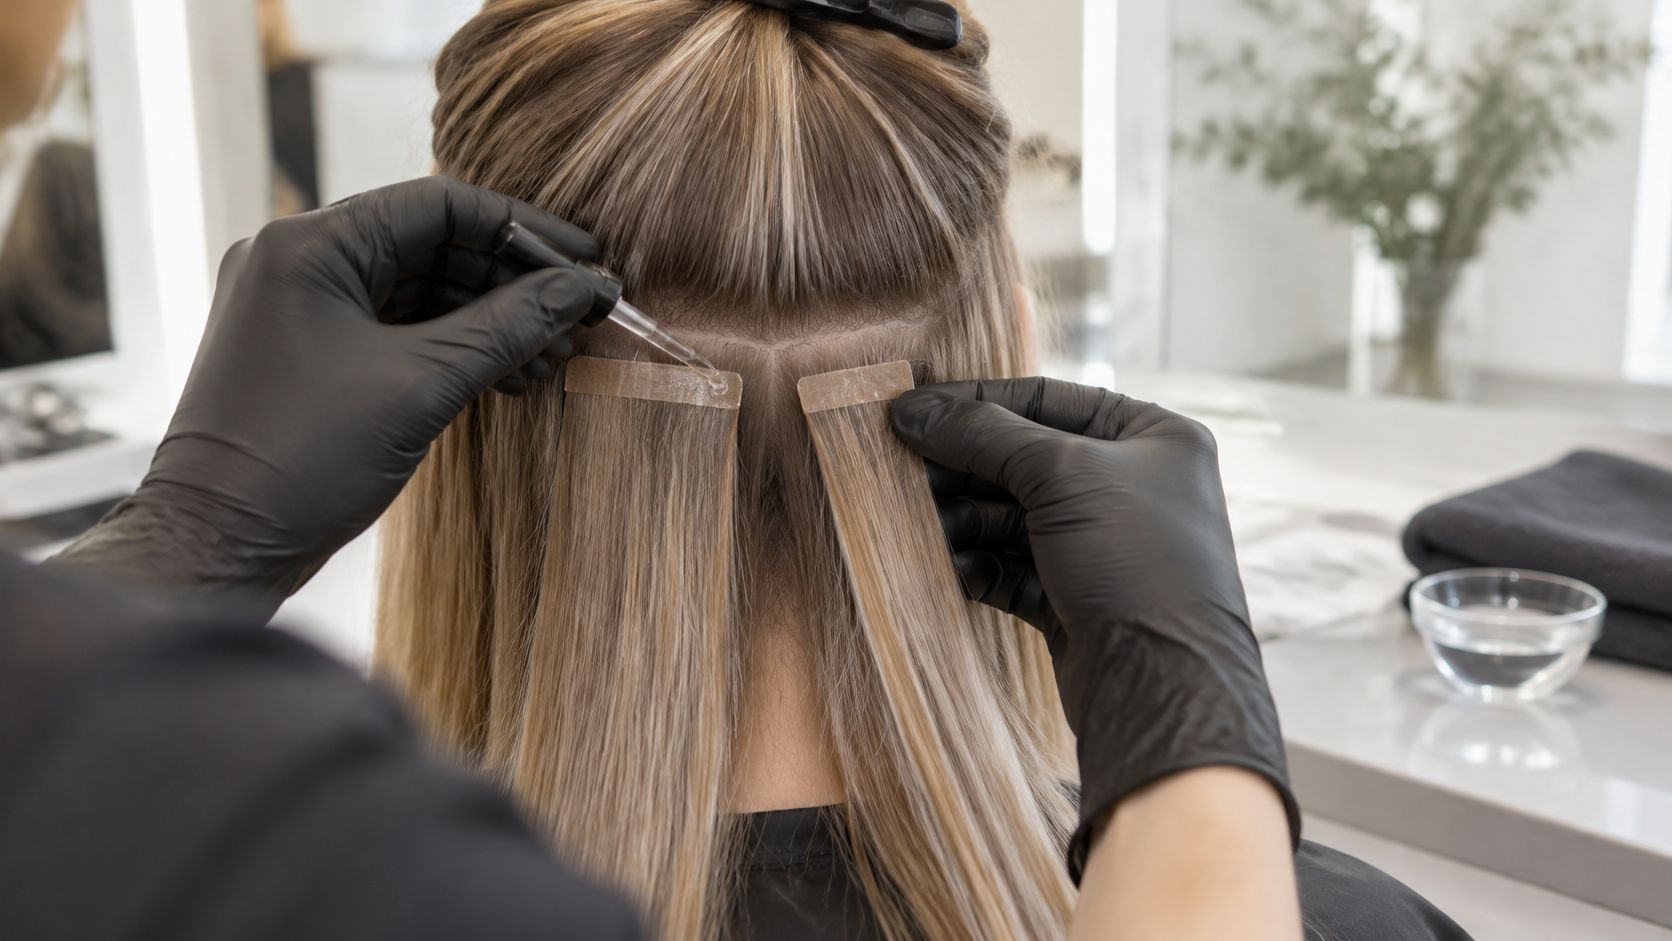
The advice to keep adding remover until a tape panel gives way misses the key decision: an extension tape remover should soften the adhesive enough for low-tension separation, not make harder pulling possible. If the bond still grips after the correct dwell, the stylist needs to reassess compatibility and scalp tolerance rather than chase a faster release.
Tape adhesive holds through pressure-sensitive adhesive viscoelasticity, not a mechanical grip. Removal requires softening or swelling that adhesive so its cohesive strength falls and the panels can separate without loading the natural hair.
Think of lifting a label from glass after softening the glue rather than tearing the paper away. The remover changes the bond; the stylist controls the direction and pressure of separation.
The Book and Paper Group's technical guidance on adhesive removal describes solvent compatibility through Hansen solubility parameters and explains how ester/alcohol blends can swell highly polar acrylic adhesives. Some aged or cross-linked acrylic systems resist complete dissolution, leaving controlled mechanical separation necessary after swelling.
That's adhesive-engineering guidance, not permission to substitute conservation solvents at the chair. A professional tape system still needs a remover approved for its intended application and compatible with both the attachment and extension material.
The practical variables are straightforward:
A compatible remover may open the adhesive without turning every trace into liquid. The stylist should slide the panels apart parallel to the hair, not pull outward from the scalp.
A small-area test on spare tape from the same system helps separate a chemistry problem from an application problem. Test the intended remover, observe the adhesive response and inspect the extension backing before committing to full removal.
The explanation of how tape-ins work is useful when reviewing attachment mechanics with an assistant. It helps distinguish adhesive release from prying two panels apart.
Practical rule: Resistance is information about the bond, not an instruction to increase force.
Speed is the wrong first question. Solvent-based removers act directly on tape adhesive, and that direct action brings a greater handling burden with it. Oil-rich and citrus systems work the bond more gently, while their residue can add real cleansing work before re-taping. Treat the choice as a risk decision: which handling load can this station control, and which cleanup cost fits the booked time.
Remover types compared for tape-in removal
| Remover type | Adhesive behaviour | Residue and re-tape impact | Handling and ignition risk |
|---|---|---|---|
| Alcohol-based | Breaks down adhesive; evaporates relatively cleanly | Lower residue; confirm re-tape compatibility with tape maker | Flammable; keep away from heat and sparks |
| Ester/alcohol blend | Swells highly polar acrylic adhesives | Remove swollen adhesive; verify backing compatibility and cleansing requirements | Flammable; ventilate the workstation |
| Ketone-based | Dissolves many adhesive films | Evaporation doesn't establish re-tape readiness; follow the tape system's cleanup protocol | Flammable; repeated skin exposure dries skin |
| Oil-based | Softens and loosens the bond | May leave residue; shampoo before re-tape | Confirm flammability, skin-contact precautions and storage on label and safety data sheet |
| Citrus-terpene | Can reduce aggressive solvent exposure within a suitable formulation | Residue can interfere with new tape unless fully cleansed and dried | Use in ventilated area away from ignition sources |
| Household acetone | Dissolves adhesive | Not a salon product; residue not validated for re-tape | Highly flammable; dries and cracks skin with repeated exposure |
OSHA's standard for flammable liquids treats flames, sparks, pilot lights, heat sources, electric motors and static electricity as ignition hazards. A solvent worked near a hot tool station or a running dryer motor carries that risk whether or not the label spells it out. Ventilation and ignition control set the ceiling on which products belong in the room at all.
Alcohol-based products suit a removal-and-re-tape appointment where cleanup efficiency matters. A dry-looking tab can still hide adhesive film, so appearance alone is no release check.
An ester/alcohol blend earns its place when the tape chemistry responds to that blend. Matching solvent polarity to the adhesive matters more than reaching for the strongest bottle on the shelf.
Ketone-based products deserve particular attention to contact limits and protective equipment. Fast evaporation leaves exposure and ignition concerns fully intact.
Oil-based products can make separation manageable while leaving the stylist with more shampooing and drying. Plan that extra cleansing time in the booking instead of discovering it mid-service.
Citrus-terpene formulations carry the same precautions as any other solvent blend. Scent and ingredient origin say nothing about flash point.
Household acetone has no place in a validated salon workflow. Dissolving adhesive proves nothing about backing compatibility or readiness for replacement tape.
Choose by adhesive compatibility first, cleanup requirements second and workable station controls third. If the room cannot support the product's handling requirements, that product is the wrong choice for the service, however fast it releases tape. I would rather add ten minutes of shampooing to the appointment than run a hotter solvent where I cannot control ignition.
The attachment determines the removal protocol. A weft name alone doesn't tell you what holds it to the client's hair, and reaching for the fastest solvent is how removals go wrong.
Conde attachment methods and their remover requirements
| Conde method | Attachment chemistry | Tape remover needed | Note |
|---|---|---|---|
| Tape-In | Adhesive-backed weft panels sandwiching a thin section of natural hair | Yes, label-matched | Apply at the seam from both sides |
| Tape Weft | Determined by the installed attachment method | Only if the installed attachment uses compatible tape adhesive | Confirm adhesive system before choosing a remover |
| Volume Weft | Determined by the installed attachment method | Not for a sewn or beaded attachment itself | Confirm attachment method before choosing a remover |
| Thin Weft | Determined by the installed attachment method | Only where compatible adhesive is present | Confirm attachment method before choosing a remover |
| K-Tip | Keratin bond | No; use a keratin-bond removal method | Tape remover won't release a keratin bond |
| Clip-In | Mechanical clips | No | Release clips; no solvent involved |
| Bulk | Loose hair intended for the chosen bonding technique | No attachment exists on the loose hair itself | Once installed, follow the installed bond's removal protocol |
Remy, cuticle-intact and double-drawn describe hair characteristics. Remover compatibility comes from the attachment itself. A hand-tied weft on a beaded row needs its own mechanical release, hair installed with microlinks follows a microlink procedure, and fusion bonds need the appropriate bond-removal approach.
For an adhesive-panel example, Tape-In Brunette #6/7/10 Balayage uses adhesive-backed weft panels. Its multi-tonal gradient changes nothing about the requirement to identify the tape and match the remover.
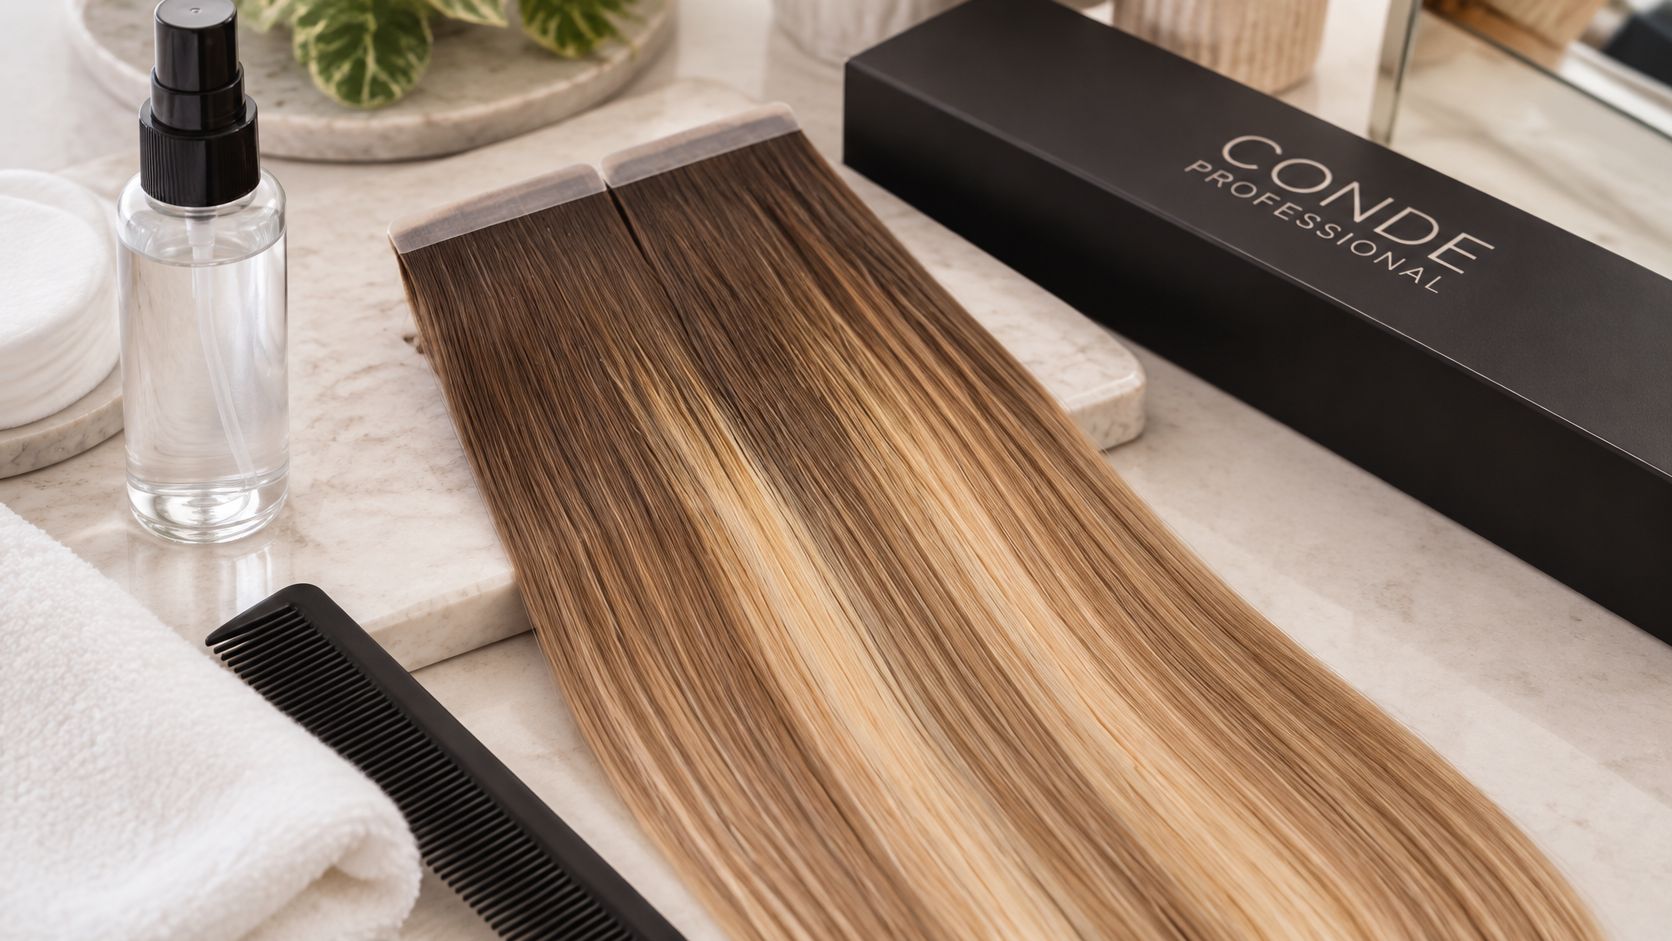
The tape-in installation guide provides a useful attachment reference when reviewing panel placement and the natural-hair section between adhesive surfaces.
Tape-in can suit a client whose attachment zones tolerate the system and whose maintenance schedule supports careful removal and cleanup. Broken, irritated or unresolved reactive skin rules it out until the area has been assessed and appropriate product testing has been completed on unaffected skin according to the label.
Two procedural mismatches cause the avoidable damage here: applying tape remover to a keratin bond, and pulling an adhesive panel before it has released. More of the wrong product solves neither. Identifying the attachment correctly the first time is the safer and faster path.
Professional removal is controlled solvent release. Each section should remain visible and supported so the stylist can distinguish adhesive movement from tension on the client's hair. Speed is a weak measure of success here: the goal is a panel that slides free under light pressure, and reaching that point sooner by pulling harder only adds traction the solvent was meant to remove.
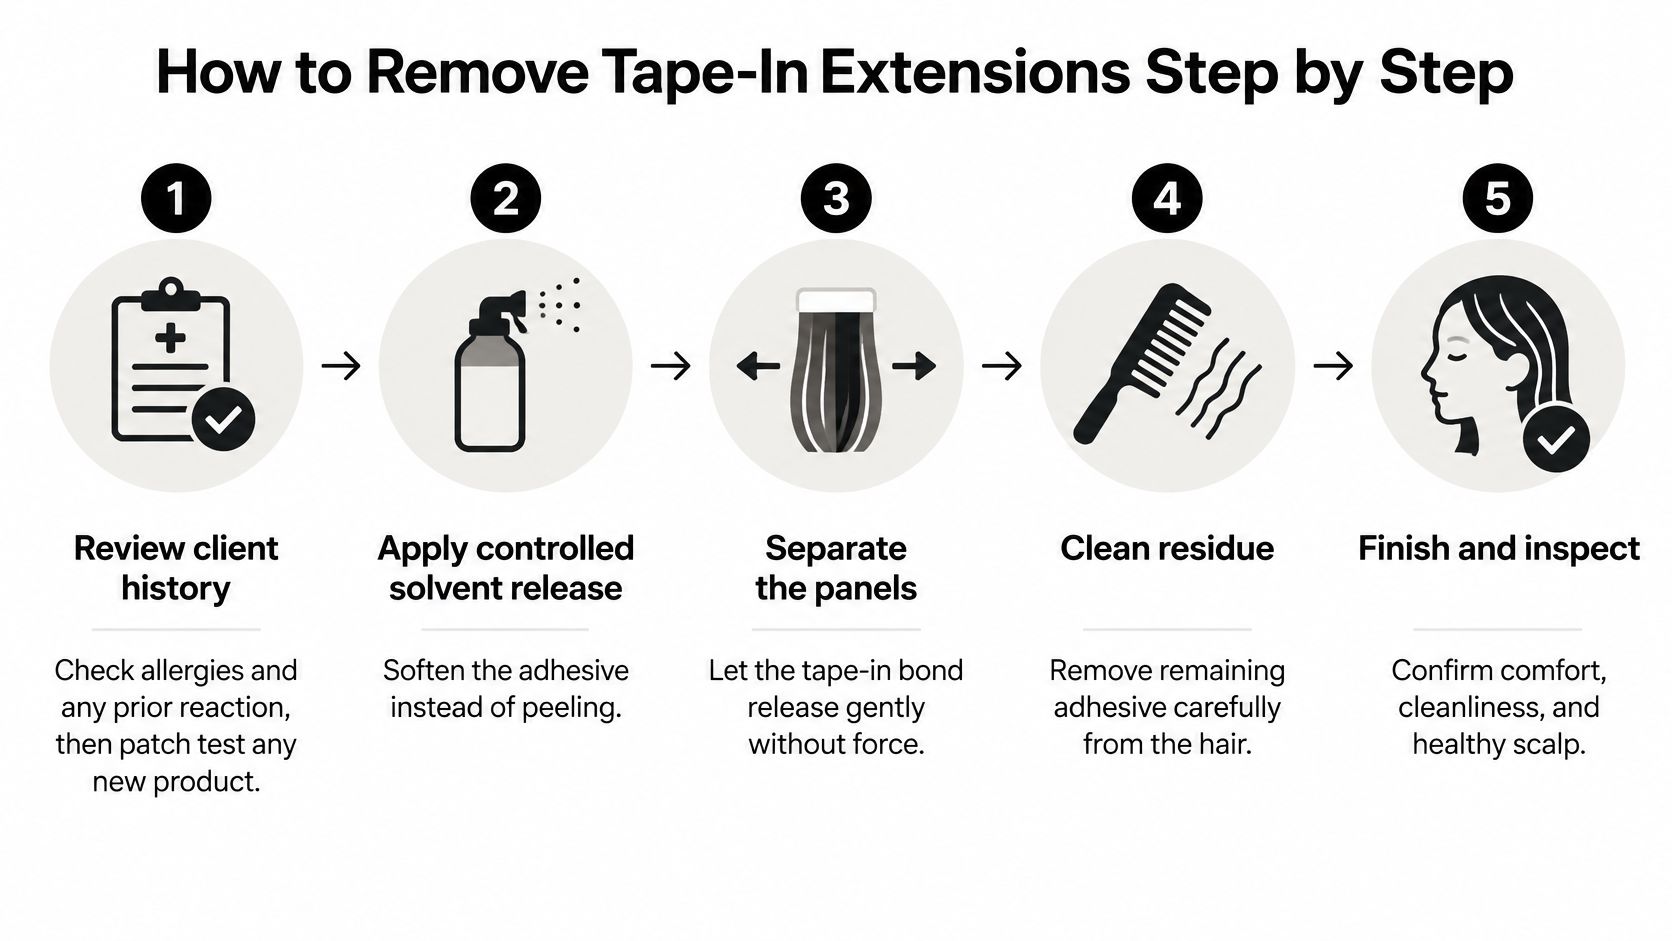
A removal tray should include the selected remover, absorbent material for runoff, clean sectioning clips and a designated surface for released extensions. Keep the bottle accessible without leaving it open between applications.
The client also needs a clear instruction: report burning, sharp pain or pulling immediately. Quiet tolerance shouldn't become the stylist's test of whether a bond is ready.
Working section by section takes longer than a full-head spray, but the stylist retains control over exposure, runoff and tension.
Don't open several softened bonds and leave them touching loose hair while moving elsewhere. Finish the target attachment before advancing, particularly around a fragile hairline or a section with trapped shed hair.
A panel that releases with a light slide after dwell is behaving as expected. Proceed at that level of pressure rather than treating successful release as permission to work faster or pull harder.
Residual adhesive affects how evenly a fresh tab can attach. A new tab placed over an uneven or contaminated zone has an unpredictable foundation.
The extension-reuse guide includes residue removal and careful handling in weft preparation. Excessive saturation, prolonged handling and scraping can compromise the weft.
Move-up standard: Don't reinstall a weft that still carries old adhesive at the attachment zone.
A thorough cleanse adds appointment time, but residue left behind can compromise the next attachment. Follow the replacement-tape guidance to prepare the zone for the new adhesive system rather than relying on a generic degreasing routine.
For clients prone to product buildup, Coil's guide to build a low porosity hair routine can support the home-care conversation. Keep conditioning products away from areas intended for fresh adhesive; home care does not replace the tape system's preparation instructions.
Before re-taping, check the zone by sight and touch. It should have no tackiness, trapped debris or dampness. If reaching that condition requires repeated harsh cleaning, reassess whether the extension is fit for reinstallation.
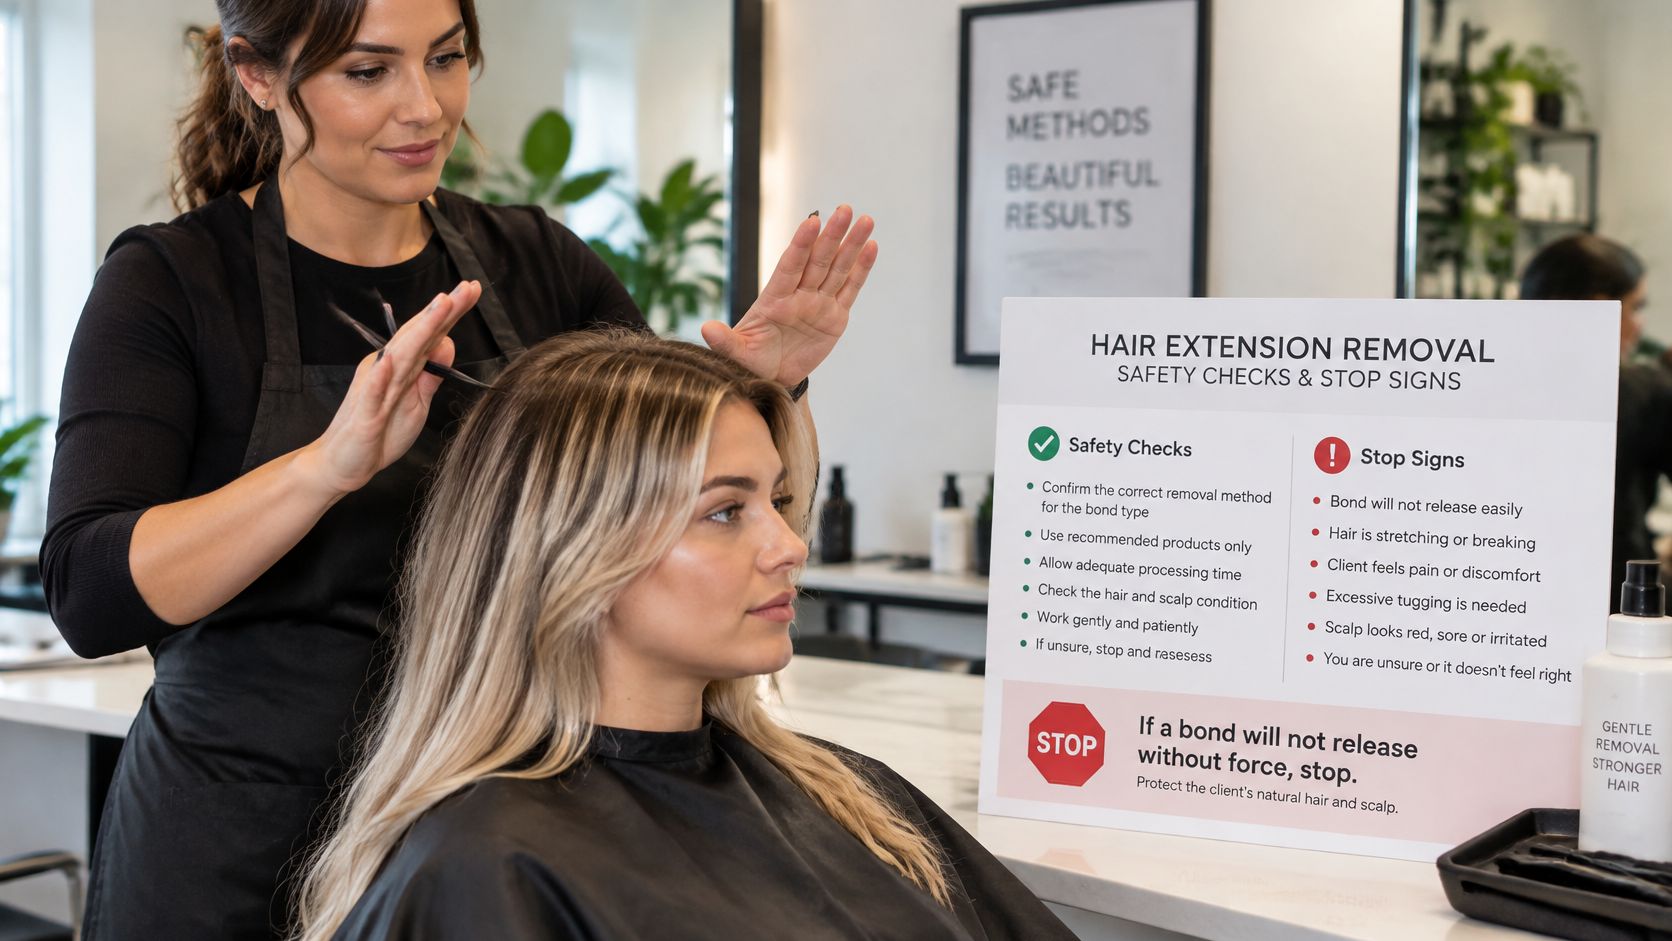
If separation needs force, stop. A fast removal is not worth pulling against the natural hair or escalating solvent exposure because the appointment is running behind.
Removal symptoms, likely causes and the action to take
| Symptom | Likely cause | Action |
|---|---|---|
| Panel releases with a light slide after dwell | Bond is releasing as expected | Continue section by section |
| Bond still grips after full dwell | Aged or cross-linked adhesive, or remover that is not releasing the bond | Follow the earlier pause step and reassess the remover against its label and safety data sheet |
| Separation requires force | Insufficient dwell or incompatible remover | Stop and reassess the remover against its label and safety data sheet |
| Burning, sharp pain or tingling at the scalp | Possible irritation or sensitivity | Stop, rinse as the label directs, and refer to a medical professional if it persists |
| Redness or broken skin at the attachment zone | Compromised skin | Stop the service over the area and assess before proceeding |
| Remover contacts the eyes | Direct exposure | Rinse immediately as the label directs and follow its first-aid guidance |
| Strong vapour in the room | Inadequate ventilation | Pause, ventilate and close containers |
| Dry, brittle hair after cleanup | Over-degreasing or aggressive combing | Reduce solvent contact, detangle gently and reassess the cleanse step |
These are possible explanations, not diagnoses. Document what happened and follow the product's first-aid instructions. Do not try to identify a skin condition at the chair.
Rubbing alcohol and acetone are flammable; acetone can also dry and irritate skin. Household availability does not establish that either is suitable for a professional extension service. Choose a remover for the adhesive system and follow its handling instructions rather than substituting a household solvent.
Keep containers closed between sections, maintain ventilation and control ignition sources throughout the appointment. Apply remover at the adhesive interface, not across the scalp or extension lengths, and do not apply it over broken or irritated skin.
The clinical review of traction alopecia describes how persistent traction at attachment points can cause nonscarring hair loss that may progress to scarring. Repeatedly forcing a stuck panel risks nonscarring loss of natural hair. Stop when separation requires force.
Use guidance on tape extensions and hair damage to frame the maintenance conversation without promising damage-free wear. Persistent pain, burning or redness calls for ending the service and referring the client to a medical professional.
The fastest removal is not always the safest, and more solvent is not a universal fix. Stopping may leave a partly removed set. Explain that possibility before starting, and allow time to reassess instead of improvising under pressure.
A remover should have a clear place in the salon's process before the client returns. Use the selection order established earlier, then document which tape system the product serves and how the service will be prepared.
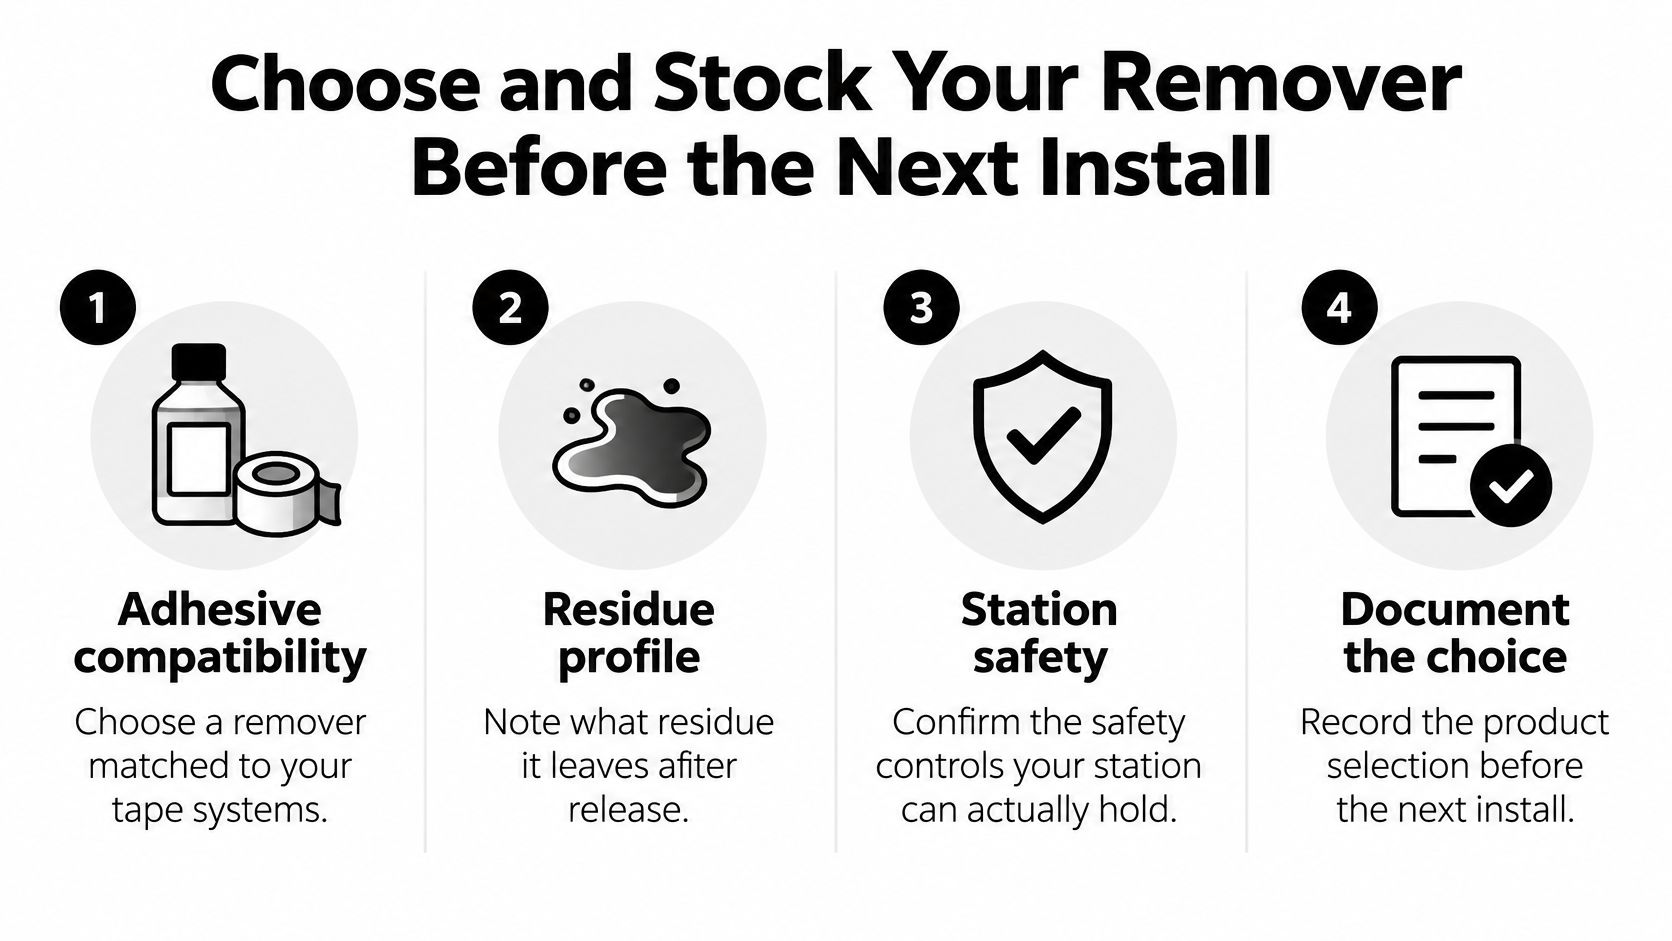
For stock control, keep the manufacturer's storage requirements with the designated storage area. Follow each product's documentation rather than applying one temperature rule across different formulations.
A low-cost bottle may add service time if residue takes longer to clear or re-taping fails. Compare cleanup time per section, product consumption and backing condition using the same tape system. Release speed alone does not show whether the product suits the full appointment.
The guide to selecting products for hair extensions can support a broader review of maintenance products. Keep the removal choice specific: staff should be able to explain which attachment the product serves, how to handle it and what condition the hair must be in before the next bond.
Choose adhesive panels only when the client's attachment zones, maintenance commitment and planned removal process support them. Otherwise, select a more suitable attachment method before installation.
Conde Professional supplies hair extension methods and professional education to licensed stylists through its wholesale business. Visit Conde Professional to open a professional account and request method guidance for the tape systems, removal workflow and re-taping supplies the salon plans to use.


