Your cart is empty
Tax included and shipping calculated at checkout

Drawer menu
Tax included and shipping calculated at checkout
A professional account gives you stylist pricing, priority support, early access to new releases, and education developed by working stylists.


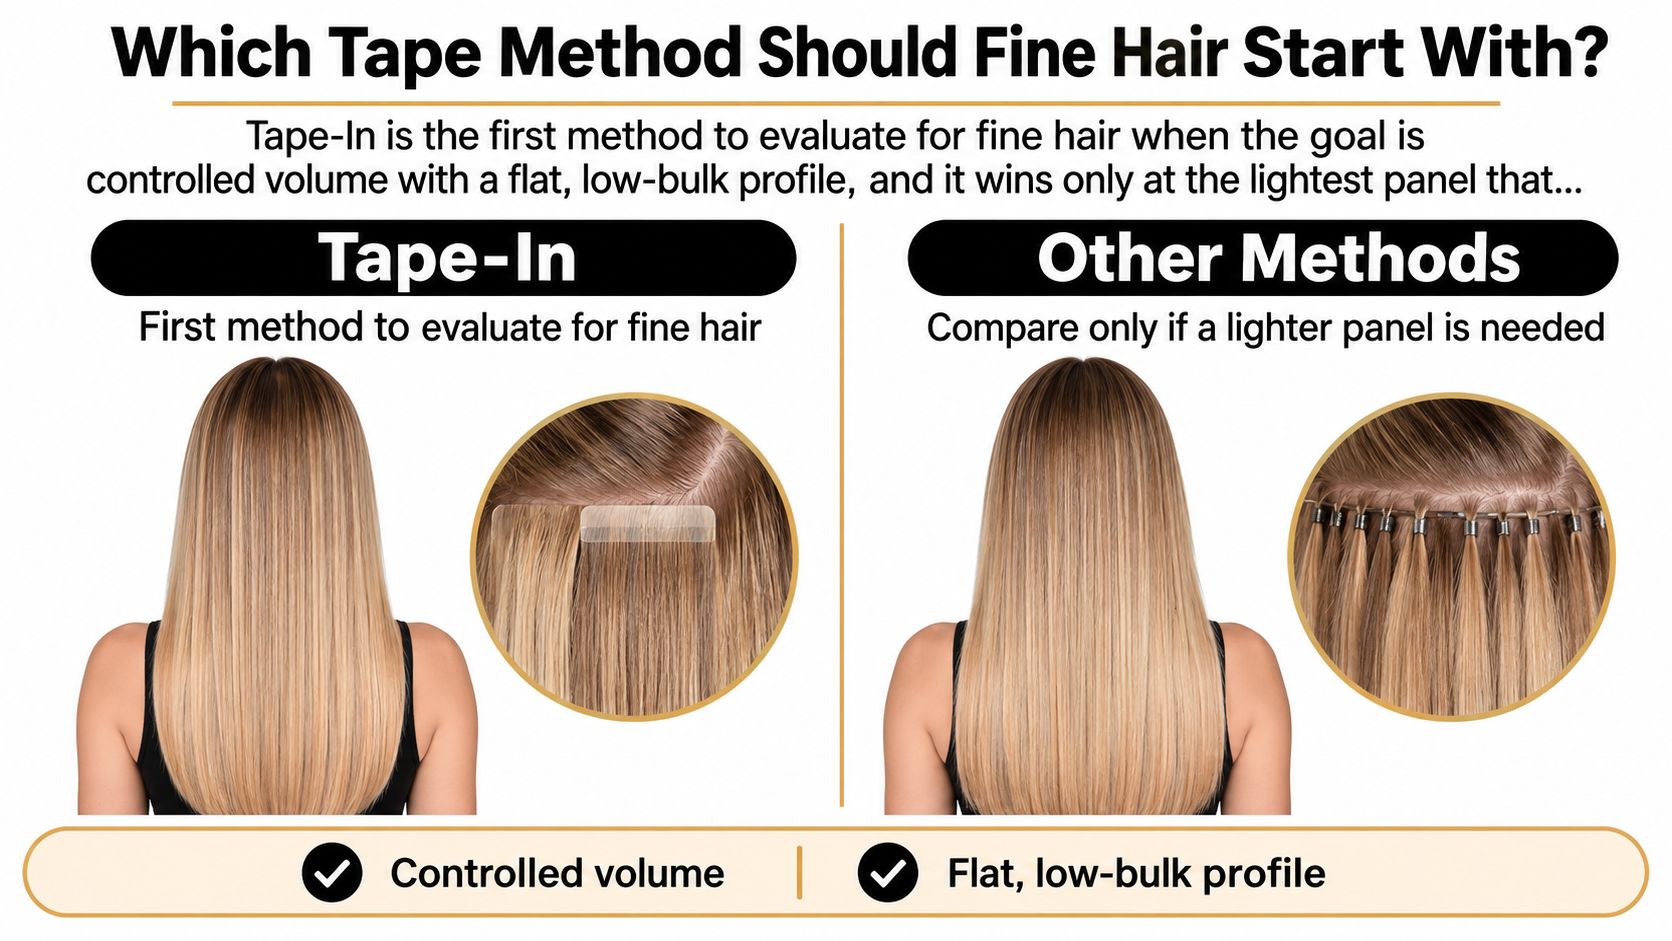
The best tape for thin hair is the lightest tape-in that reaches the target density, not the strongest adhesive. Tape-In is the default method to evaluate for controlled volume, but uncertain scalp condition, fragile supporting hair or an unsuitable removal plan changes that default.
A secure bond doesn't establish that a natural section can carry the attachment. For stylists choosing the best tape-in hair extensions for thin hair, the useful comparison is load per natural section, followed by the stress required to remove the bond. Product selection starts there, before length, fullness or shade availability.
Fine hair should start with a method that keeps each natural section's load manageable and avoids unnecessary removal stress. Tape-In is one option to assess for controlled volume and a flat profile, provided the scalp and supporting hair can tolerate the attachment and removal process.
Fine diameter and low density are different considerations. A client can have many fine strands or sparse areas with little hair to support an attachment. Assess the planned placement by zone, not by the label “fine hair.”
Tape-in and tape-adjacent methods for fine hair
| Method | Attachment profile | Available lengths | Thin-hair fit | Main trade-off |
|---|---|---|---|---|
| Tape-In | Two adhesive-backed panels sandwich a thin natural section | Check the selected product | A flat profile can suit controlled volume when each supporting section can carry the panel | Adhesive removal and wear-time limits |
| Tape Weft | Confirm adhesive format and attachment construction with supplier | 18 to 28 inches; confirm selected variant | Consider only after panel load and supporting section are assessed | The method name alone does not establish attachment weight |
| Thin Weft | Confirm seam construction and intended installation method | 18 to 28 inches; confirm selected variant | Assess where sufficient density supports the planned row | Confirm profile with supplier |
| K-Tip | Individual bonded attachment; confirm bond specifications | 18 to 28 inches; confirm selected variant | Consider targeted placement only where supporting sections are adequate | Bond removal and concentrated attachment load |
| Clip-In | Removable, no adhesive bond | Check the selected product | May suit occasional volume when adhesive is ruled out | Handling at every removal |
Conde Professional offers Volume Weft, Thin Weft, Tape Weft, Tape-In, K-Tip, Bulk and Clip-In methods. A method's availability does not determine whether a specific section can support its load.
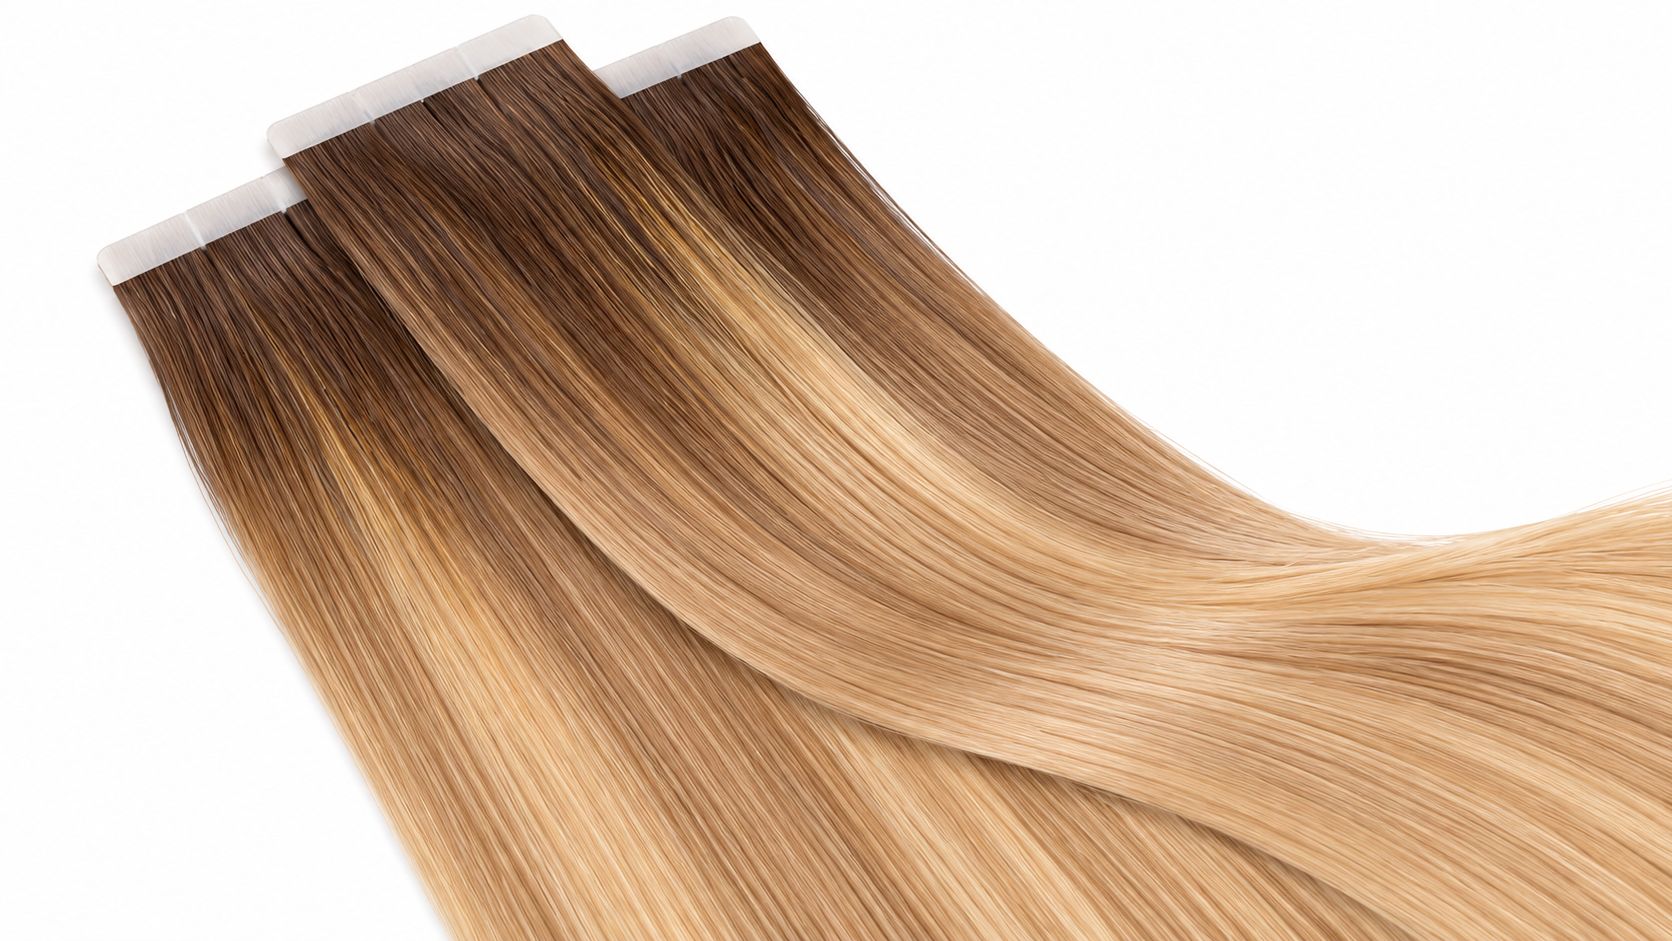
The Tape-In Brunette #6/7/10 Balayage listing is available for review, but the shade name alone does not tell you the panel's weight, thickness or adhesive specifications. The Tape-In Extra Light Blonde #10 Solid listing offers a different color-planning option.
Check the selected product's specifications before ordering. For a broader discussion of extension choices for thin hair, assess the client's handling routine alongside placement and removal needs. Clip-In may suit occasional use when adhesive is ruled out; a sewn or bonded method still requires careful assessment of load and removal stress.
Added weight, time in wear and sustained directional pull determine the demand placed on each supporting natural section. A flat attachment can still carry too much hair, and a narrow panel doesn't compensate for an inadequate natural section.
The 2023 hair-camouflage review in the International Journal of Women's Dermatology describes broken hairs and signs of traction alopecia in all 12 women wearing extensions examined by trichoscopy, despite none reporting hair-loss complaints. It also notes the added weight and tension of extensions beyond shoulder length and describes a preference for loosely sewn-in or microring systems over adhesive glue in its clinical context.
That finding isn't a product trial of modern tape panels. It doesn't establish that every tape install is unsuitable, or that microlinks are suitable for every fine-haired client. It does establish a reason not to use comfort alone as the acceptance test.
Stylists control grams per section, panels per section and hours of wear. Those are working variables, not a validated formula for a universally safe install. No supplied source establishes a maximum gram allowance for a fine natural section.
Conservative selection criteria for fine hair
| Criterion | What to measure | Conservative choice for fine hair | Record at consult |
|---|---|---|---|
| Panel width | Width of the tape relative to the natural section | Narrowest panel that reaches target density | Width used and sections per head |
| Weight per panel | Grams per panel from the supplier spec | Lightest panel that meets the goal | Verified grams per install; leave blank if not supplied |
| Length | Projected length against the shoulder line | Shorter than shoulder length when hair is fragile | Length chosen and reason |
| Density | Number of panels across the head | Fewer panels distributed across suitable sections | Panel count per zone |
| Adhesive | Bond behavior and the remover used at removal | Adhesive matched to a remover the team already uses | Product used and removal plan |
| Hair condition | Elasticity, chemical history and prior shedding | Install only after a condition check | Condition notes and date |
The width decision starts with the supporting section, not with how much scalp the tape can conceal. A narrow attachment is useful only when it allows adequate supporting hair to enter the bond without borrowing strands from outside the section.
Likewise, total install weight doesn't describe distribution. An apparently modest install can still overload a sparse side if the stylist places too much of that weight there.
Practical rule: Specify the natural section first. Select the attachment to suit it, rather than enlarging the section to justify a predetermined set.
For fragile hair, the shoulder line is a practical checkpoint, not a styling preference. The Dermatology Times guidance on traction-related extension wear advises approximately 3–4 weeks of extension wear before alternating with the natural hairstyle and discourages extensions where traction alopecia already exists.
A longer catalog option isn't a recommendation to install it at its full length. If the desired finish requires a shorter result, assess the cutting plan before ordering and confirm the resulting panel weight rather than calculating it from the amount cut away. The extension length guide can support silhouette planning, but the supporting hair still sets the limit.
The Johns Hopkins review of traction-prone hairstyling identifies extensions among higher-risk styling practices and notes additional vulnerability in chemically treated hair. Behind the chair, that makes bleach history, overlap and elasticity relevant to placement, not merely to color formulation.
Consider a client asking for fuller ends rather than a new length. The stylist can preserve the existing silhouette, place a restrained amount of hair through suitable mid-head zones and blend the perimeter without filling every available gap.
The wrong response is to add more hair whenever the blend looks incomplete. First check whether the target shape exceeds the client's supporting density. Shortening the extension length or changing the cut may solve a transition that additional panels would only make heavier.
Record the proposed width, verified weight, finished length, distribution and removal date before application. At maintenance, those notes allow the stylist to compare the actual result with the original decision instead of relying on memory.
Before placing an order, get the specifications that affect load per natural section and the stress of removal. A product name or photo cannot show panel weight or tape width.
The tape-in method guide explains the method. For the selected variant, request its measured specifications and written care and removal guidance.
Check shade against the client's natural base and visible lengths before cutting. Grade labels vary by supplier, so ask for measured specifications rather than relying on a grade alone. If the hair's condition permits, assess a sample attachment on a suitable section with similar texture before planning a full install.
Conde Professional checks batches for weight, color accuracy and strand strength, and hair that falls short stays at the facility. Its quality checks also cover cuticle integrity and color blending. Remy, cuticle-intact and double-drawn descriptions do not specify panel mass or whether a particular attachment suits the client's hair.
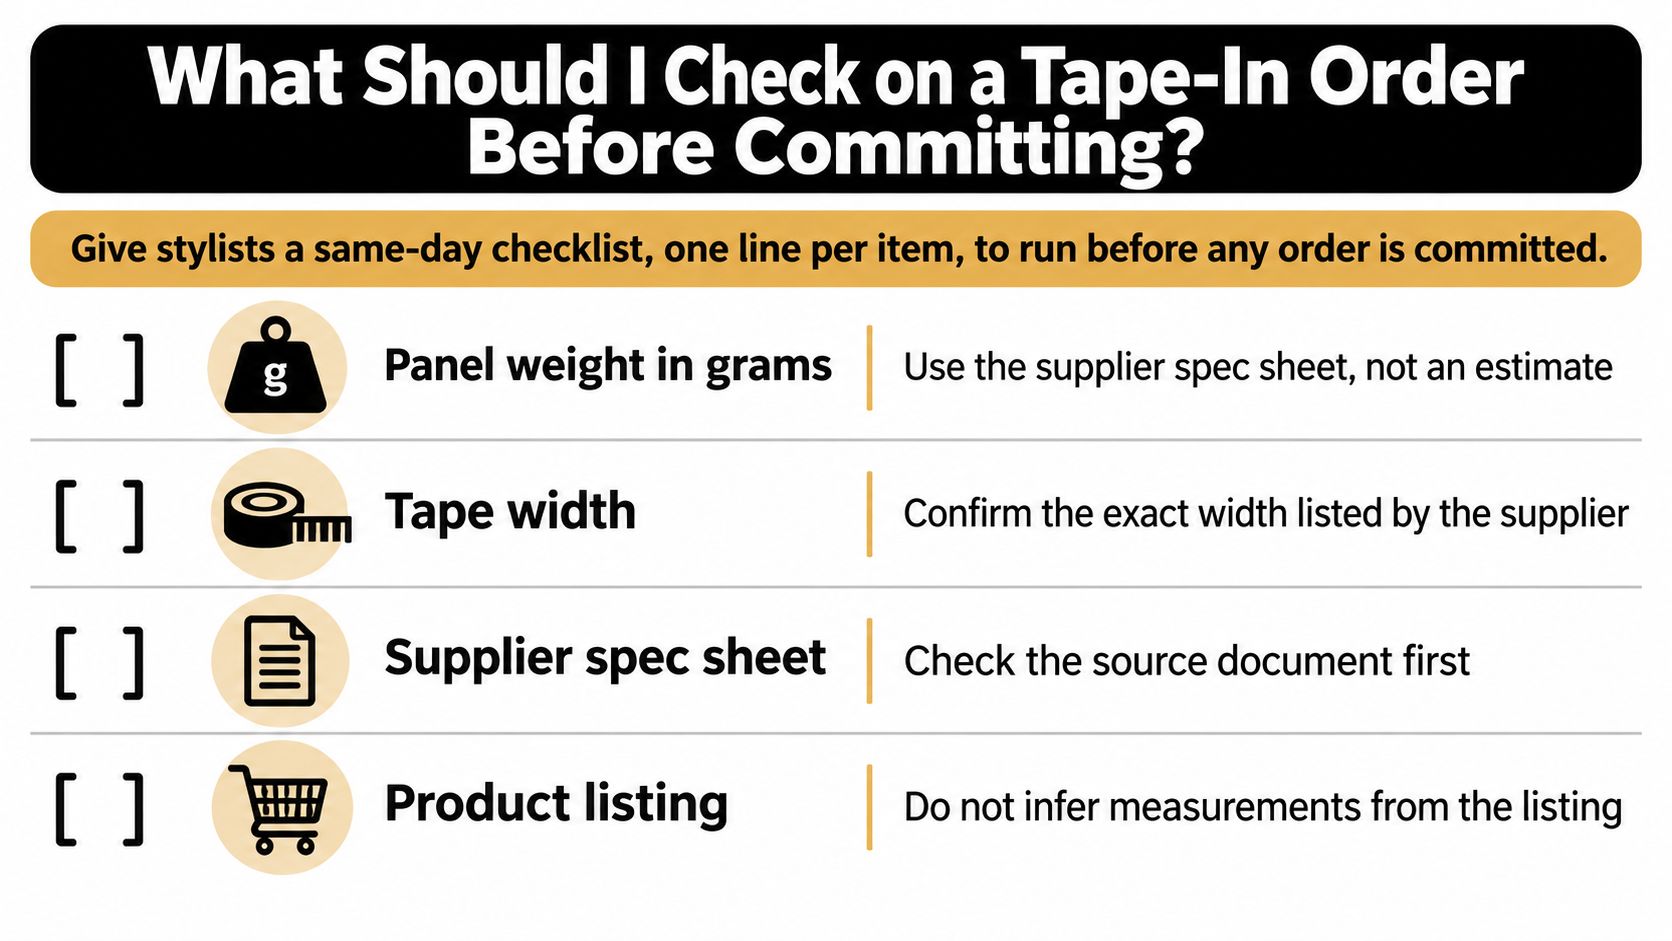
Record the confirmed specifications and care guidance in the client's file. Leave any unprovided measurement blank rather than estimating it.
The lightest individual tape can still be the wrong choice when too many panels sit on weak perimeter hair. Placement must allocate load according to available supporting hair, not according to a symmetrical row diagram.
The review of traction-related hairstyling practices supports evaluating attachment weight, extension length and wear duration together. For the stylist, that means a sparse zone isn't an invitation to concentrate attachments precisely where the client wants more coverage.
Placement guidance by scalp zone
| Scalp zone | Attachment guidance | Reason |
|---|---|---|
| Hairline and temples | Avoid full-density panels | Tension can concentrate on weak supporting hair |
| Crown | Lightest suitable panels, used sparingly | Limited natural hair may be available to share the load |
| Mid-head | Main attachment zone where density permits; spread across sections | Adequate supporting hair distributes attachment load |
| Perimeter and nape | Keep lightly loaded and check last | Sparse perimeter hair has less reserve for added weight |
| Length beyond shoulder | Shorten the length rather than add density | Added length adds weight and tension to fragile shafts |
Begin with the hair in its natural fall, then check the client's usual parting and styling positions. Separate coverage from support: enough hair to hide an attachment doesn't necessarily mean enough suitable hair to carry it.
Mark stronger mid-head sections before allocating side panels. Then examine the crown with the hair moving, not just lying still, because a panel that disappears under a combed-over section may become exposed during ordinary movement.
A hand-tied or beaded row shouldn't be chosen merely to bridge a weak zone. The same support assessment applies even when the attachment profile changes.
A side that needs several additions to conceal the transition may need a different finished shape. Reassess the length and cut before installing more hair.
Placement checkpoint: If a zone cannot carry the planned result, shorten the result or remove a panel. Don't add density to disguise an unsuitable load.
The finished map doesn't have to be perfectly symmetrical. The distribution should reflect the client's actual hair, provided the visual blend remains balanced.
The dermatology review addressing extension-related traction identifies attachment load and sustained tension as relevant concerns, rather than adhesive security alone. A panel that stays attached isn't automatically performing well for the natural hair underneath it.
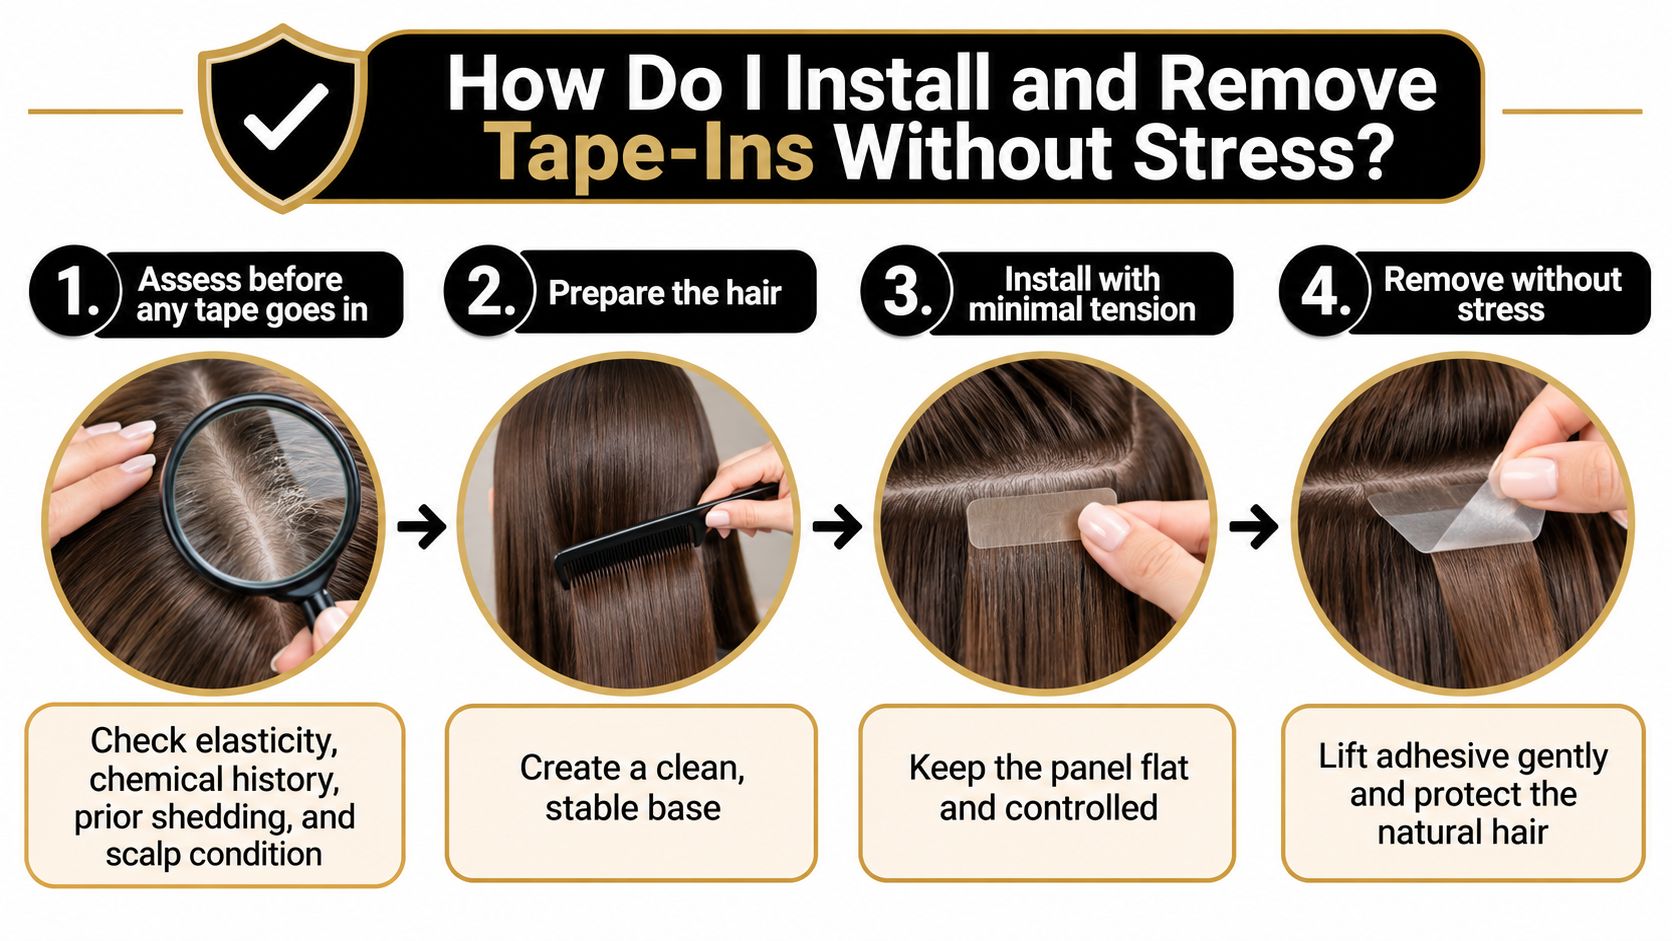
Support the section above the working area while releasing the adhesive. Keep released panels away from loose hair, and separate residual tack before combing so detangling doesn't become an accidental pulling test.
The tape-in removal procedure should be part of staff training before the salon books the service. Removal time must allow deliberate release, residue management and inspection of each natural section.
Inspect for localized breakage before proposing another application. Photographs and condition notes are more useful than an automatic re-tape appointment when the supporting hair has changed.
A well-executed install allows the client to move without pulling, with the root line sitting flat. That is an immediate acceptance check, not a promise of damage-free wear.
Tenderness, tightness, or increased shedding between visits calls for prompt assessment. A panel that feels secure can still place too much load on a fragile natural section. Check for restricted movement, concentrated weight, and visible changes at the attachment site. Do not diagnose the cause from a message or photograph.
Maintenance symptoms, possible causes, and actions
| Symptom at maintenance | Likely cause to investigate | Action |
|---|---|---|
| Tenderness or tightness at the root line | Panel too heavy or placement restricting movement near the hairline | Remove the affected panel; reassess placement and reduce its weight before considering reapplication |
| Headache or scalp pulling during wear | Excess length, density, or attachment tension | Remove affected panels; reassess length and total load |
| Broken hairs along the tape line | Traction or stress during adhesive removal | Stop installs; use a compatible remover and allow a break |
| Small red bumps at attachment sites | Pulling or another source of irritation | Remove the panels and advise medical evaluation |
| More shedding between visits | Excessive wear or an unresolved hair or scalp concern | Remove the panels, reassess suitability, and allow a break before any new install |
| Perimeter thinning | Attachment load concentrated on fragile perimeter hair | Remove load from the area; reconsider distribution only after assessment |
Book the next assessment according to the client's condition, not a fixed wear interval. Fine hair can change between appointments, and an adhesive that remains secure does not show whether the natural section is tolerating its load.
Schedule an early condition checkpoint and act on symptoms when they arise. Tenderness, pulling, or increased shedding means the client should not wait for the next booked visit.
The clinical account of extension-site alopecia supports taking visible attachment-site changes seriously. Remove the styling load, document what you observe, and direct unresolved concerns to a qualified clinician.
Explain tape-in damage considerations without presenting extensions as treatment. If clients ask about medical options, the overview of finasteride and minoxidil for thinning hair can help them prepare questions for a qualified prescriber. A stylist should not recommend medication.
Do not move a sore attachment onto another sparse section. Reapplication requires a fresh condition assessment, and any new tension or increased shedding calls for removal and reassessment.
For fine hair, judge a tape-in plan by how much load each natural section must support and how removal may affect fragile strands. Adhesive strength alone does not determine whether the method suits the client.
Conde Professional offers Tape-In extensions and stylist education, with shade guidance and product support available by text, phone, or email. Use that support to resolve color or method questions before placing an order.
Use the consultation record fields established earlier, rather than creating a second checklist of specifications. Before ordering, resolve any missing product details and confirm the intended adhesive-release process.
General home-care reading can support a separate conversation about hair health. Vitamin Planet's tips for healthier, thicker hair may help with broader care questions, but it does not establish whether a client's hair can support tape-ins.
For next week, choose one consultation and confirm the client's shade match and method questions with Conde's support team before ordering. That gives you a concrete starting point without treating a product choice as clearance for every fine-hair client.
Conde Professional sells professional hair extensions and offers education for stylists. Visit Conde Professional to review its methods and education, then contact the team for product selection or shade guidance.


