Your cart is empty
Tax included and shipping calculated at checkout

Drawer menu
Tax included and shipping calculated at checkout
A professional account gives you stylist pricing, priority support, early access to new releases, and education developed by working stylists.


For a fine-haired client with previous lightening, choose a row the natural hair can carry, with tension and placement matched to its condition. Lightweight hand-tied extensions still require a clear removal plan agreed before stitching begins.
A discreet attachment line can suit the design, while compromised perimeter hair may need to be left out. The deciding factors are the client's hair load, where the row sits, and how soon it will be removed.
Hand-tied extensions consist of hair manually secured to a thin weft base, then sewn onto a foundation row, often formed with small silicone-lined beads, to create a low-profile attachment line built row by row.
The important distinction is weft construction versus installation method. Hand-tied describes how the weft is made. A beaded row describes the foundation carrying it. Neither term, by itself, establishes the right weight, placement, or maintenance schedule for a particular client.
Hand-tied weft compared with other extension methods
| Method | How It Attaches | Best Suited For | Main Trade-Off |
|---|---|---|---|
| Hand-tied weft | Thin weft sewn onto a beaded foundation row | Low-profile volume and custom row placement | Tension and placement rest entirely on the stylist |
| Tape-In | Two adhesive tapes sandwich a section of natural hair | Quick, repositionable placement | Adhesive performance matters; removal follows supplier guidance |
| K-Tip | Keratin bond fused to a small section of natural hair | Individual strand placement | Heat-set bonds need careful removal to protect natural hair |
| Clip-In | Removable wefts held by clips | Temporary length and volume | Not a permanent attachment; hold relies on clip placement |
| Bulk | Loose hair with no attachment of its own | Stylist-built methods where attachment is chosen at install | Results rely on the attachment the stylist builds |
A hand-tied row fits a service requiring continuous distribution and a concealed attachment line. Its limitation is the same continuous structure: the row must work with the client's density, parting, and movement rather than forcing those features around a preset placement.
Tape-In allows panel-by-panel positioning, but adhesive application and removal remain part of the service commitment. It's not a shortcut around assessing the supporting section. K-Tip offers individual strand placement where a continuous row may be awkward, with more individual attachments to manage during installation and removal.
Clip-In belongs in temporary styling plans. Conde Professional's Clip-In is the wrong choice for a client who needs a permanent attachment. Bulk is loose Remy human hair, not a ready-made attachment system; the stylist must select and build the attachment.
Volume Weft, Thin Weft, and Tape Weft are method names in Conde Professional's assortment. Those names shouldn't be treated as interchangeable with hand-tied construction, nor should a stylist infer cutability, stacking limits, or installation instructions from a name alone.
The useful comparison is the complete service: attachment profile, supporting section, removal process, and access for maintenance. With a hand-tied row, the stylist controls tension and placement, so both the technical skill and the consequences of poor execution sit in the install.
Hand-tied installs suit clients whose hair can carry an even, conservative row. A row is the wrong choice wherever its supporting section is too fragile to carry the planned addition.
The consultation must separate a cosmetic request from a workable attachment plan. Density alone isn't enough: previously lightened hair, a delicate perimeter, and discomfort reported before installation can change the decision.
Client cases and how hand-tied installs fit them
| Client Case | Fit | Adjustment |
|---|---|---|
| Fine hair | Suitable with a lighter, narrower foundation | Lower total weight and keep rows light and spaced |
| Dense hair | Suitable with distributed rows | Spread attachment points rather than loading one area |
| Chemically processed hair | Suitable only after review of breakage | Lower weight, shorter review interval, and documented condition |
| Fragile or thinning hairline | Not suitable at the perimeter | Keep rows off the hairline and temples and reassess |
| Existing breakage | Not suitable across compromised supporting sections | Reassess placement and defer if adequate support isn't available |
| Active alopecia areata or inflammatory hair loss | Not suitable until medically cleared | Refer to a qualified medical professional first |
| Scalp pain reported at consultation | Defer the install | Address the source of tension and reassess |
A clinical review of hair-camouflage practices recommends avoiding extensions with active alopecia areata or inflammatory hair loss and avoiding lengths beyond the shoulder to reduce tension. Those are referral and conservative-planning considerations, not conditions a stylist should diagnose or treat.
The appropriate response is not to order the fullest option. A workable proposal starts with lighter total weight, a narrower foundation, and an earlier review, then checks whether the proposed length can blend without requiring excessive added density.
A shorter finished result may be the better service. If the natural ends are too sparse to support a convincing transition without substantial loading, the stylist should change the result or decline the install.
Conde Professional's guide to extensions for fine and thin hair can support method selection, but the client's actual supporting sections determine suitability.
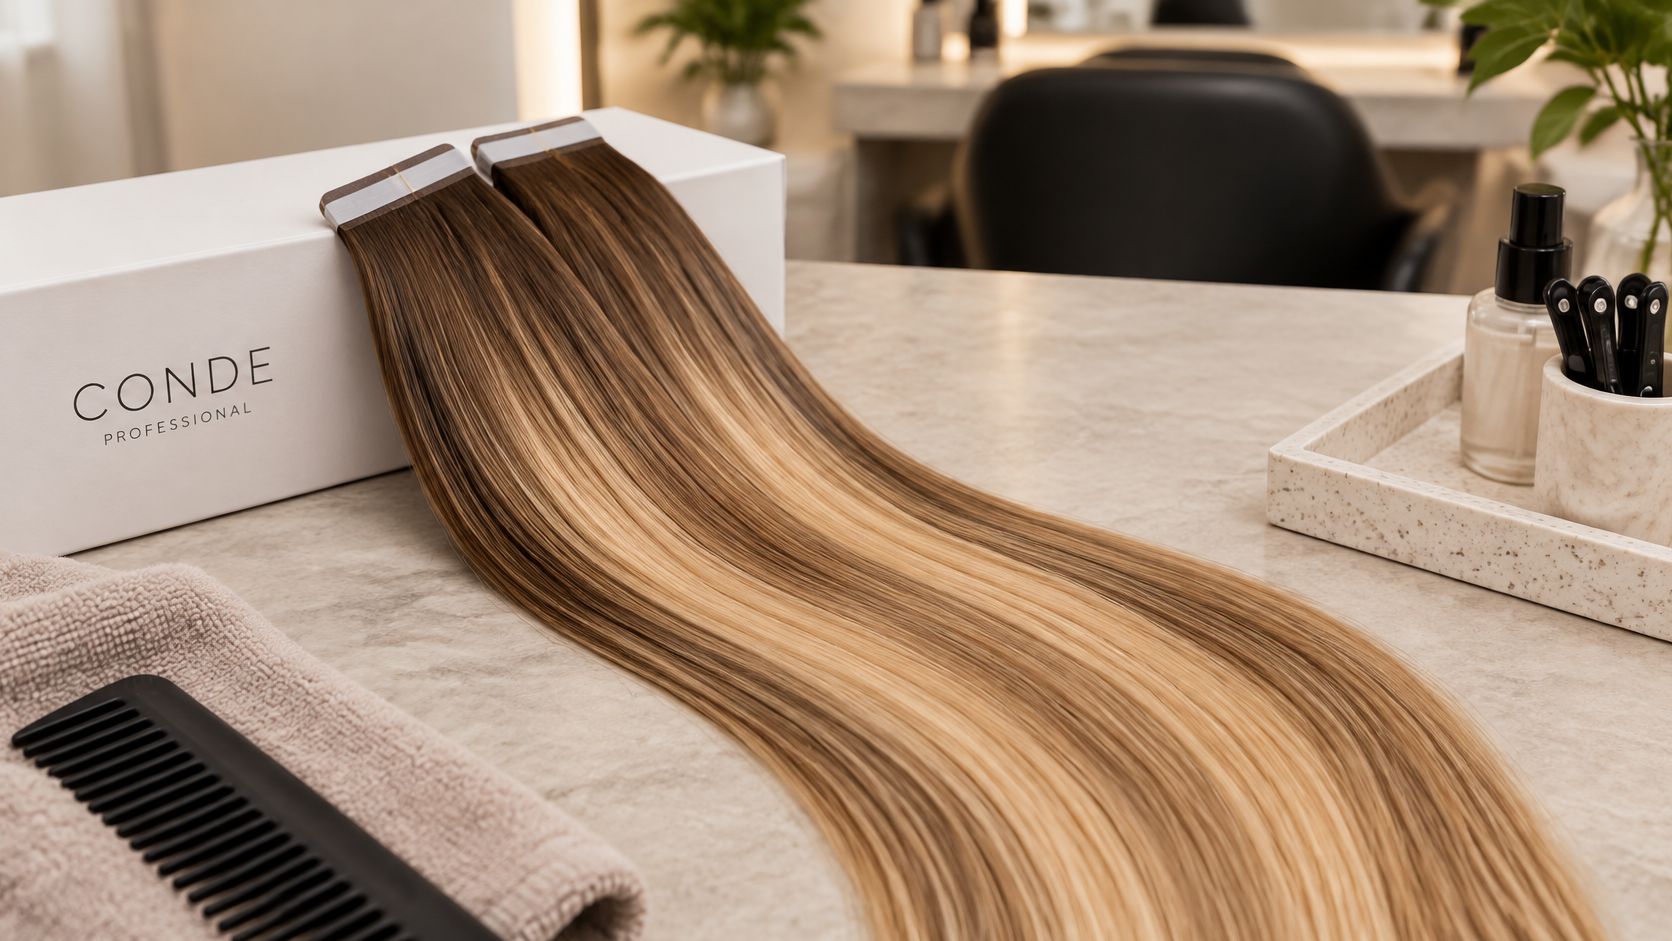
For an adhesive-panel alternative, Tape-In Brunette #6/7/10 Balayage is a multi-tonal gradient blend in adhesive-backed weft panels. Its color blend doesn't determine attachment suitability; the supporting hair and removal plan still govern selection.
Consultation decision: Can the client maintain the proposed row without sustained pulling, including during sleep, styling, and routine care?
A grade number doesn't establish quality. The industry explanation of human-hair grades describes the 6A–10A scale as supplier-defined marketing, without an accrediting body, government agency, trade association, or ISO standard certifying those labels.
An impressive grade can't establish cuticle integrity, Remy alignment, low shedding, or durability through salon handling. Purchasing decisions need documented checks and a sample that behaves consistently under practical evaluation.
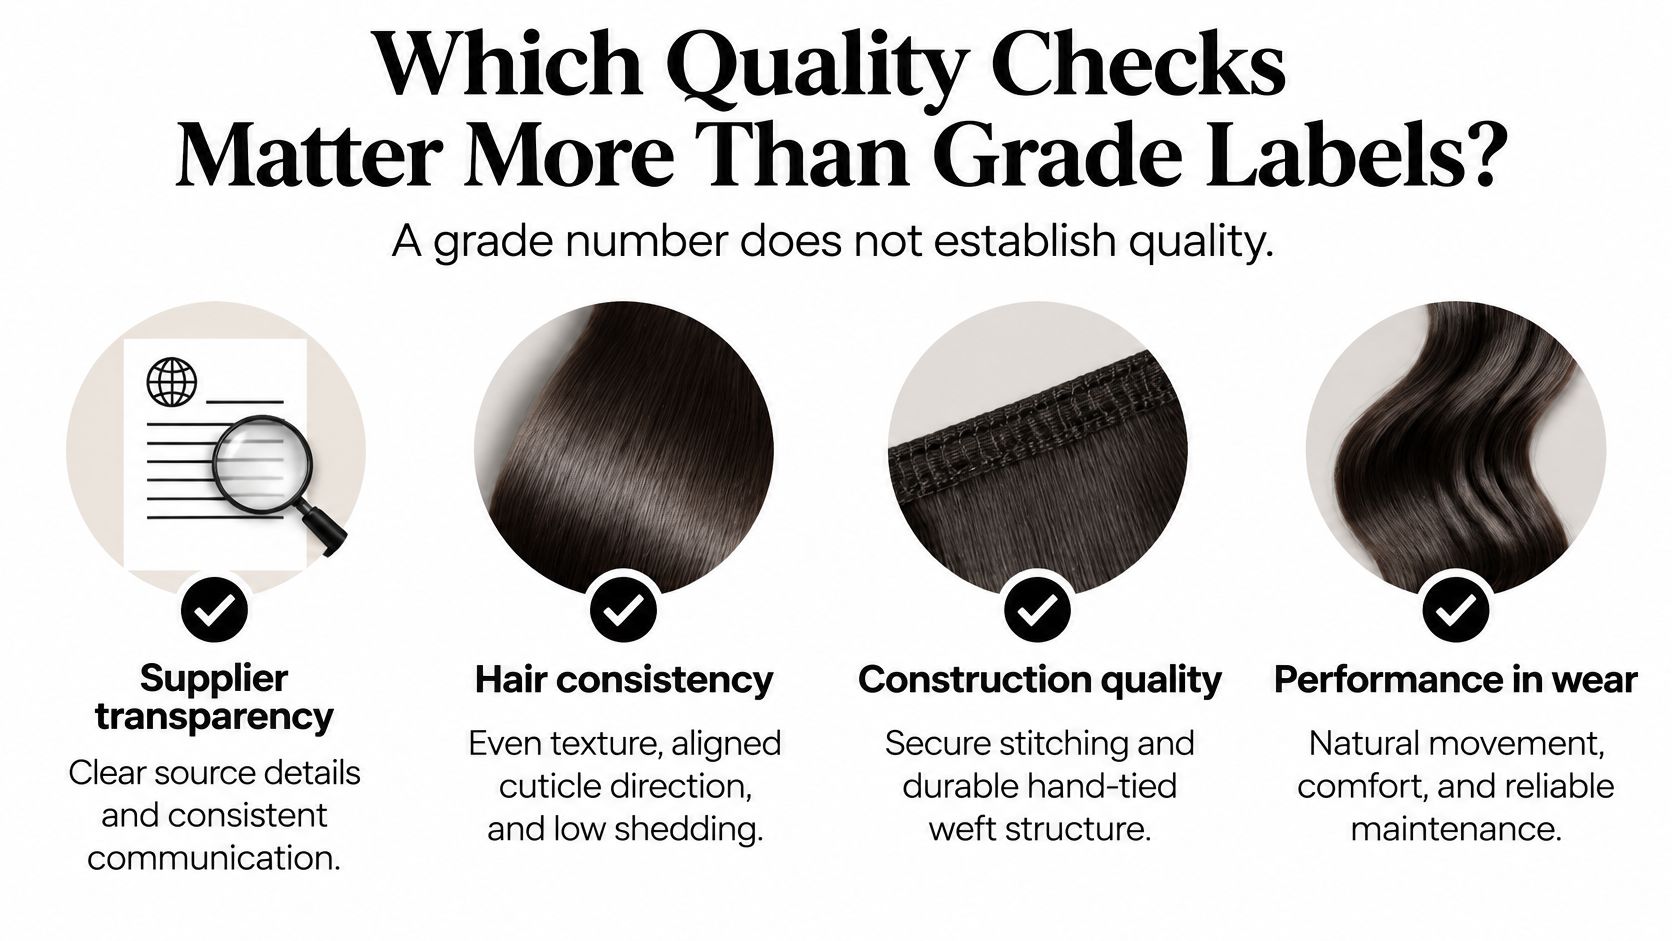
Useful questions are specific: How is cuticle integrity assessed? Under what conditions is shedding evaluated? How is color matched across lots? What handling restrictions apply to the weft base?
Conde Professional checks every batch for weight, color accuracy, and strand strength, and hair that falls short of its standards stays at the facility. Conde also checks cuticle integrity and color blending so the hair looks natural and wears well over time.
Those process checks are more relevant than an unsupported grade label. The Remy human hair extensions guide provides additional terminology for purchasing conversations without replacing sample evaluation.
Loose bulk hair needs the same alignment, combability, and shedding checks before an attachment is built. The booking should follow product approval, not precede it.
A supplier's written answer should describe the check performed. Repeating a grade number isn't an answer.
Begin with the consultation and use the client-case assessment to choose a starting foundation before any stitching begins. The install should follow the client's supporting hair, not a standard row diagram applied to every head.
The technical installation guide describes a thin weft sewn to a foundation row, often using silicone-lined beads, with controlled tension and checks for movement, concealment, security, and localized pulling. The objective is even tension, not maximum tightness.
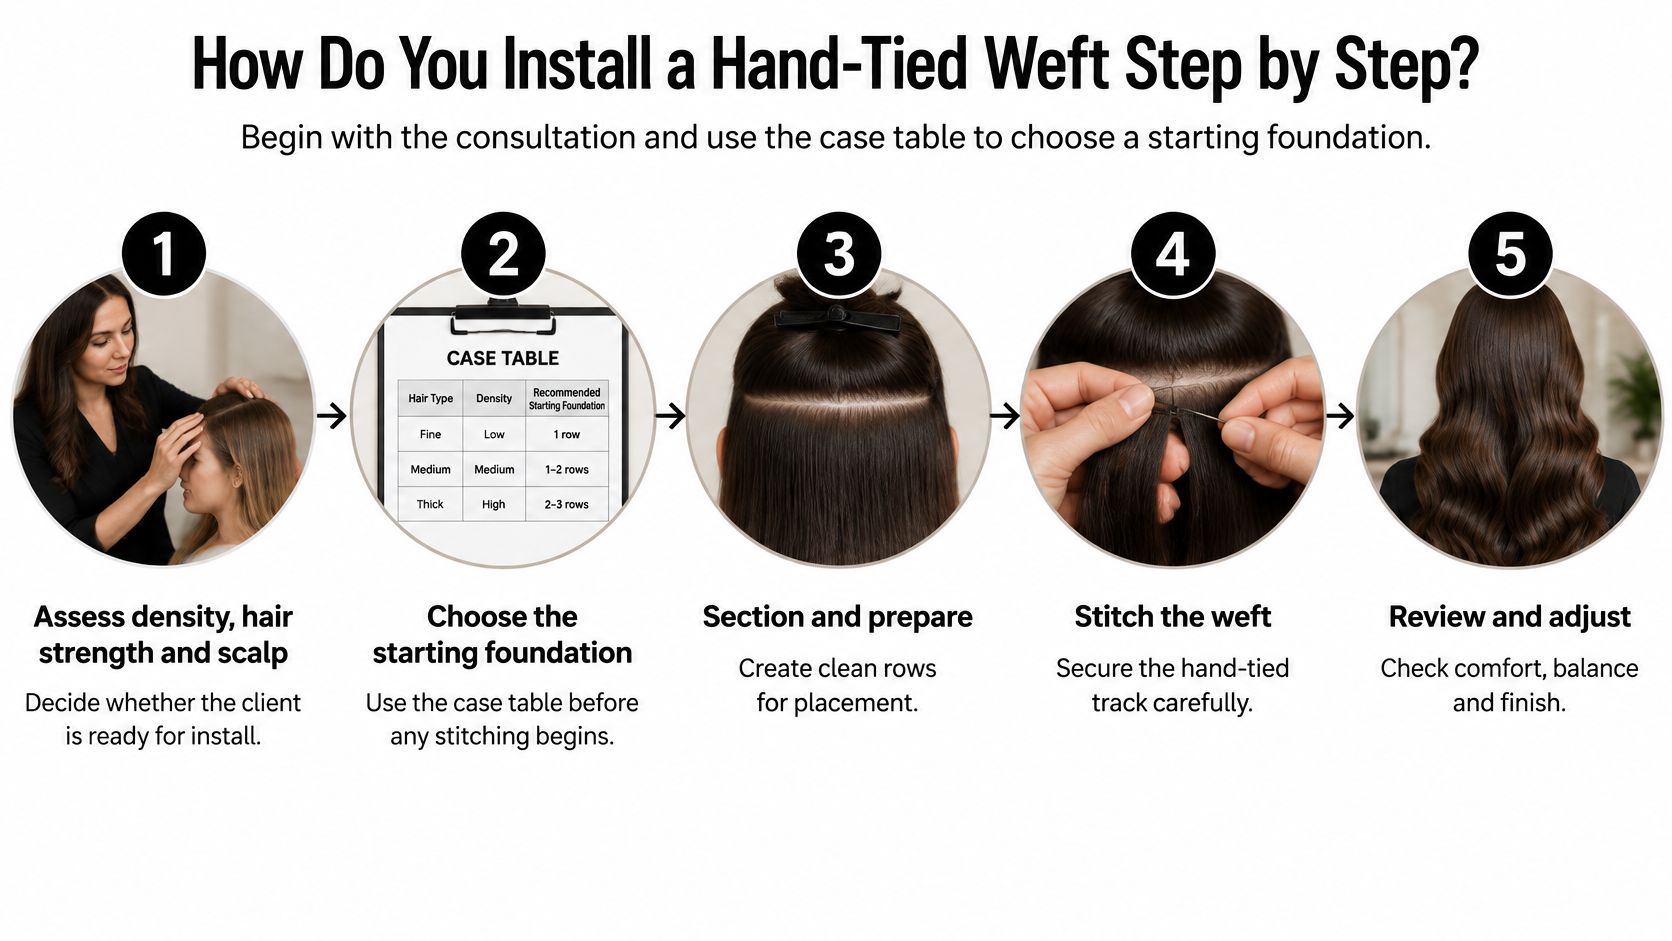
A secure row still allows natural movement. A rigid row isn't evidence of a stronger install.
The final field test is simple: the client moves the head freely and reports no tenderness along the attachment line. Any localized discomfort should be investigated before the client leaves.
| Warning Sign | Likely Cause | Action |
|---|---|---|
| Tenderness or stinging at the install line | Tension concentrated on follicles | Loosen the row or reduce the added hair, then reassess before rebooking |
| Small bumps along the row | Repeated pulling over the same follicles | Stop and inspect the anchor placement |
| Broken hairs at the hairline or temples | A tight foundation or excessive added weight | Remove or lighten the install and allow the area to rest |
| Thinning at the frontal hairline or temples | Sustained tension over time | Keep rows away from the area and refer to a physician if thinning persists |
| Pain during wear | A tight perimeter or heavy, long additions | Loosen or remove the install; refer if pain continues |
| Scalp inflammation or progressive shedding | A possible underlying condition | Stop the service and refer to a qualified medical professional |
A client who reports stinging along the temple after a week needs an assessment, not an adaptation period. The Institute of Trichologists' traction alopecia guidance lists tenderness, stinging, bumps, broken hairs, and thinning around the frontal hairline and temples as warning signs. Early changes may be reversible once tension is removed, while persistent traction can cause lasting follicular damage. Log the finding; refer when the sign persists.
Inspect the location and the client's report. Stinging, tenderness, restricted movement, or discomfort during ordinary head movement calls for action that day. Check whether an end anchor is overdirected, a stitch has caught stray hairs, or the row carries more hair than its supporting section can reasonably bear.
The relationship between shaft structure and breakage is useful context when examining the hair. The structure of hair explains the anatomy of the strand, but scalp inflammation or progressive thinning needs medical review. Bumps and shedding can have causes other than the extensions, especially if they continue after the attachment is adjusted.
Record the location, the client's description, visible findings, adjustment, and whether the service continued or stopped. Tell the client which changes to report, including renewed stinging, tenderness, bumps, breakage, or thinning. Connect the finding to the installation variables: added hair load, tension, placement, and the timing of removal. A lighter design can still create traction when weight is concentrated on a small section or the attachment remains under tension. When symptoms point to sustained pulling, changing the placement or removing the row matters more than waiting for the next check.
Set the first review appointment before the client leaves after installation. The schedule should reflect the client's hair load, the row's tension and placement, and how the foundation changes as the hair grows. A lightweight install is a design objective, not a guarantee that the wear period will be safe for every client.
Guidance summarized by Practical Dermatology recommends removing weaves and extensions after approximately 6–8 weeks and periodically alternating styles to reduce follicular stress. Use that interval as a removal review point, not as a blanket wear allowance. At the review, move the row up only if the supporting hair and scalp remain suitable; otherwise, remove it and reassess before reinstalling.
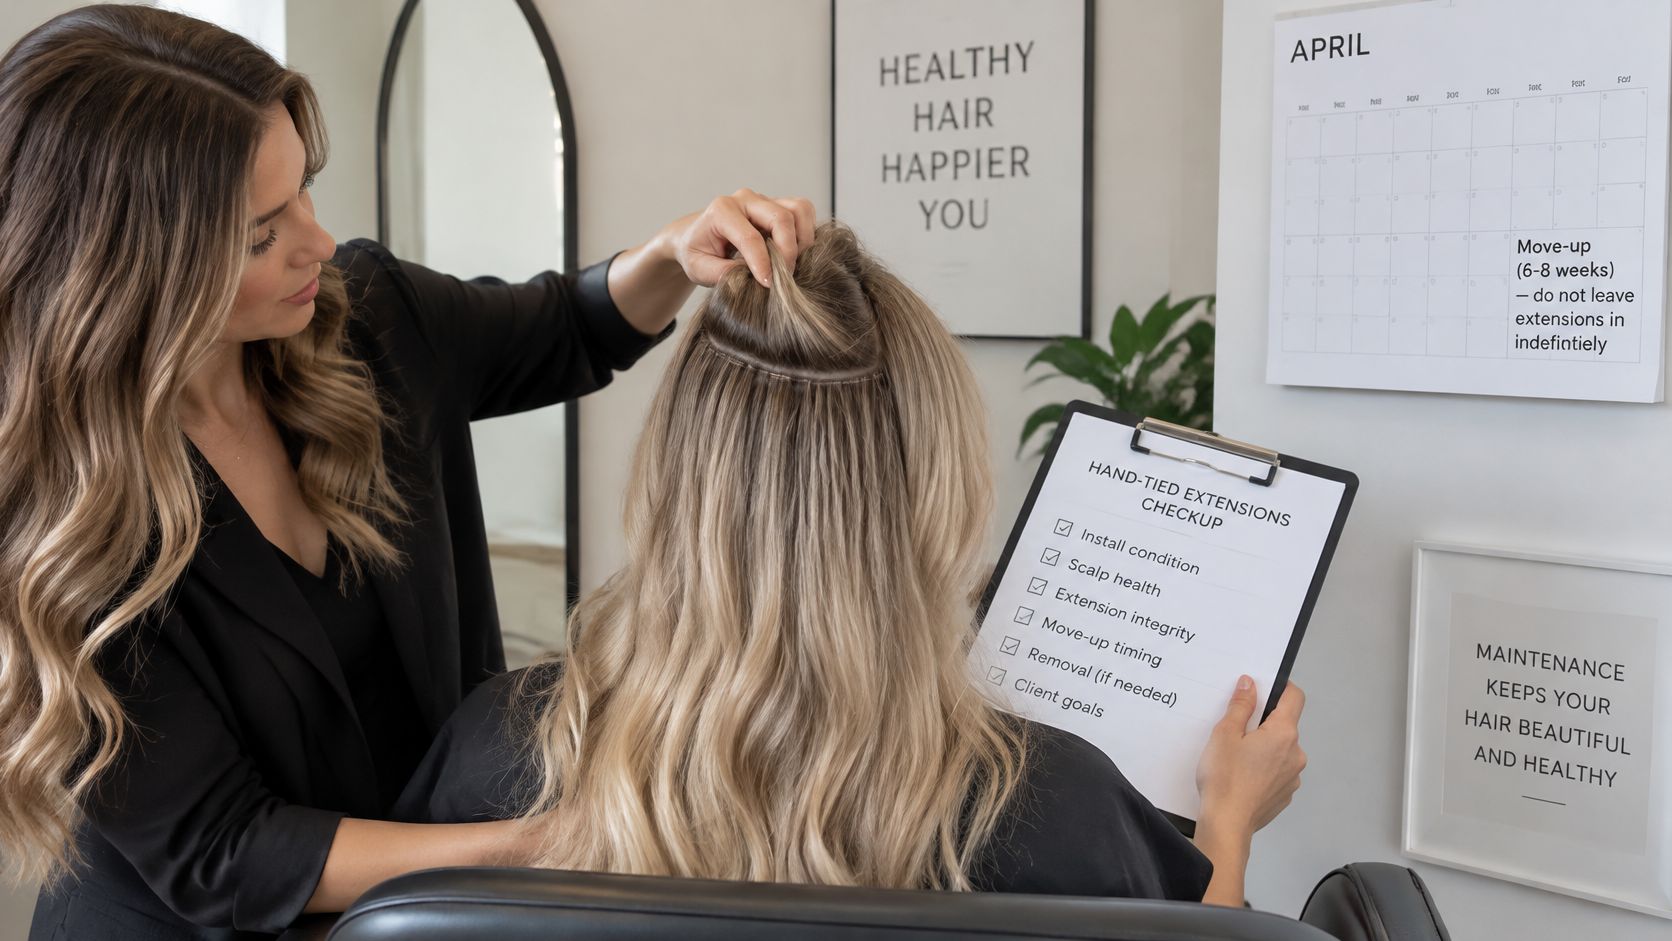
Hand-tied install review schedule
| Checkpoint | Timing | What to Check |
|---|---|---|
| Pre-install consultation | Before the first install | Density, porosity, existing breakage, scalp sensitivity, hairline strength |
| Post-install check | Before the client leaves the chair | Movement, concealment, security, localized pulling |
| Maintenance visit | Interval set at install | Row movement, shedding, matting, early traction signs |
| Removal or move-up review | At the removal interval cited above, or earlier for symptoms | Breakage, traction signs, whether the hair can support a move-up |
| Recovery break | Before any reinstall | Scalp and hairline condition, with break length set by reassessment |
Compare the current attachment with the consultation record, not just the client's satisfaction with its appearance. A blended finish can hide matting, weakened support, or discomfort that has gone unreported.
If the foundation or supporting sections are compromised, remove the weft and revise the plan rather than moving it up. Delayed visits can leave more detangling and corrective work, or lead to an unsuitable reinstall, so explain the maintenance schedule when booking.
The recovery break should be based on removal findings. Reinstall only when reassessment supports another service, rather than letting an event date dictate timing.
Treat lightweight as a design objective, not a safety guarantee. Before ordering hair or confirming a booking, match the proposed install to the client's density, hairline condition, chemical history, scalp sensitivity, and ability to support the planned load. Placement, tension, and removal timing all affect whether the design is appropriate.
Keep the assessment practical. Record each area as acceptable, requiring modification, or requiring deferral. Use that record to guide the row plan and service decision.
Conde's catalog includes Volume Weft, Thin Weft, Tape Weft, Tape-In, K-Tip, Bulk, and Clip-In methods. Extensions are available in 18", 20", 22", 24", 26", and 28" lengths, with Straight and Wavy textures. Stylists and salon owners can use a professional account to confirm the available length, texture, and construction for the selected method before finalizing the row plan.
If a stylist cannot consistently create a mobile, concealed foundation, address the technique gap before taking on a demanding correction or a fragile-hair case. Sectioning, stitching, and removal all affect the result; product choice cannot replace sound execution.
Conde's courses teach premium extension techniques and business practices, including improving installs, setting prices, and building a business. Training should inform a service plan that accounts for consultation, maintenance labor, removal, and the option to decline an unsuitable install.
Before booking, make sure the assessment, product choice, placement plan, and service cycle agree. If any part depends on excessive tension or hair that cannot support the intended load, revise the plan or defer the install.
Conde Professional sells professional extensions and offers education for stylists. Visit Conde Professional to open a professional account and confirm the method, length, and texture for the next assessed hand-tied service.


